Download
1 / 19
190 likes | 285 Views
Pedagogy Post. How to create a Post. Skills to Learn. In this tutorial you will learn How to create and edit a post for the Pedagogy Post assignment How to add a link. Locate the Posts section. Click Here. Add New Post. You can add New Posts in a few w ays. . … or mouse over ‘+New’

E N D
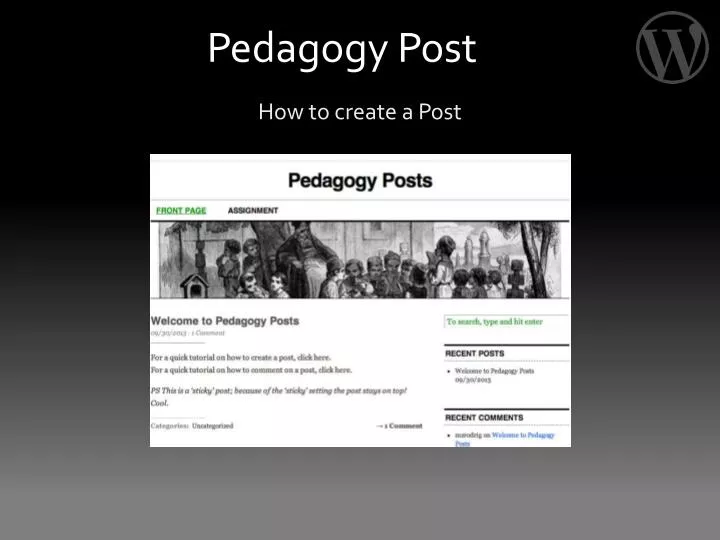
Pedagogy Post How to create a Post
Skills to Learn • In this tutorial you will learn • How to create and edit a post for the Pedagogy Post assignment • How to add a link
Locate the Posts section Click Here
Add New Post • You can add New Posts in a few ways. … or mouse over ‘+New’ and select ‘Post’ Click on one of these…
Create a Post • Give your post a title • Add text to the box below. • Click on Save ‘Draft’
Adding Text… briefly • We’ll address editing text in more detail in Wp-05. • WordPress has a Visual editor that is essentially a WYSIWYG editor. For those not familiar with HTML, this is a good starting point.
Adding Links • Select the text you’d like to make your link. • Click on the icon that looks like links. These only become active when you’ve selected text. • Choose or enter the appropriate link and then select ‘Add link’.
Adding Media • There are a few ways to add media to your post. Here you will learn the most straightforward method.
Figure out what image you want • It should be a JPG, PNG, or GIF file. • A note on using images from the web: take care to use images you are allowed to use! • A note on image size: You can use a program such as Photoshop to easily crop and resize your images (though it's not so easy that I'll save that for another day).
Save your image • Save where you know you can find it. • Save with an easy to reference name. I try to get as much information in the name as possible, such as • description_credits_size • hippo_JoeSchmoe_300x400.jpg
Upload as you Work • Place your cursor where you want your image to line up. • Click on ‘Add Media’ • Select ‘upload files’. You can drag and drop or browse. • Choose the appropriate options for your media.
Additional Post Features • You may create Categories and Tags to help your readers find what they are looking for. • Categories are the big themes you use for your posts. For example, you might use ‘Education’ or ‘Media’ or ‘Design.’ • Tags are used to describe your post in more detail. For example, you might use ‘flipped classroom’ or ‘videography.’
Add Categories • On the Left Side Menu • In the Post itself Click on one of these…
Organizing Categories • Categories can be organized in a way similar to an outline, with a ‘Parent’ and the subsequent categories that fall underneath. • Here, a ‘Graduate’ category has been created to fall under the ‘Education’ parent. • You can also access and edit under the Categories page accessed in the left side menu.
Adding Tags • Add any tags that apply to your post. You can choose from ones you already have created, or generate new tags. • Here, the tags ‘flipped classroom,’ ‘inquiry,’ and ‘hands-on’ have been created.
Publishing your Post • When you are ready to publish your post, click Publish • You can schedule WordPress to Publish your post at a predetermined time. • Find and click Edit • Choose your preferred Publish Time and click OK • Then click on Schedule
Manage your Posts • View all of your Posts on the ‘Posts’ page. Your posts
Manage your Posts • Edit, Quick Edit, Trash, View, Clone, and make a New Draft here • Quick Edit allows you to change selected items without navigating to the Post itself.
Skills Learned • In this tutorial you learned • How to create and edit a post for the Pedagogy Post assignment • How to add a link