Download
1 / 35
410 likes | 613 Views
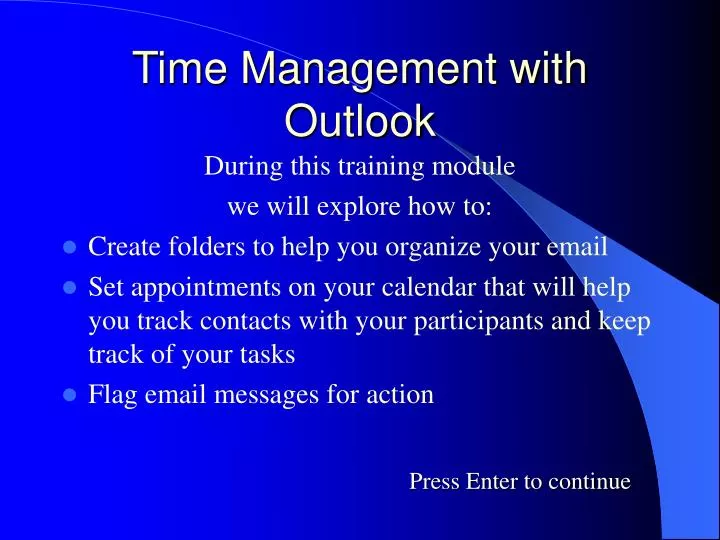
Time Management with Outlook. During this training module we will explore how to: Create folders to help you organize your email Set appointments on your calendar that will help you track contacts with your participants and keep track of your tasks Flag email messages for action.

E N D
Time Management with Outlook During this training module we will explore how to: • Create folders to help you organize your email • Set appointments on your calendar that will help you track contacts with your participants and keep track of your tasks • Flag email messages for action Press Enter to continue
Glossary Let’s begin by defining some terms we will use during this session: Left Click – a single click of the left mouse button Drag and drop – Used to move objects. To drag and drop, place your mouse pointer over the item you would like to move. Left click your mouse and keep the left mouse button depressed. Move your mouse so that the pointer goes to where you want to place the item. To drop the item in it’s new location, simply release the left mouse button. Double Click – two quick clicks of the left mouse button
Next, let’s take a look at the Outlook email desktop and name some of the objects found there.
Folder list Unopened email Bold Outlook Shortcut bar Folders for me Press Enter Outlook Assistant
Change Calendar view New Appointment Button All Day appointment Partial day appointment Press Enter
Our first objective will to be to create a folder on your email “Folder List” Folders are great for organizing your email and keeping clutter out of your “Inbox”. To begin, make sure you are on your Inbox desktop. This is where your incoming email is displayed. Next, find your “File” menu in the upper left corner of the screen. When you click on the File menu, it will open to reveal some options.
Click on the word “New” to open thiswindow File Menu When you put your mouse pointer over the word “File”, left click and this menu drops down Click the word “Folder” and a dialogue box will open for you
1. Enter the name of your new folder here Policy Clarifications 2. Use the scroll bar to scroll down the list of folders until you find “Personal Folders” Click on “Personal Folders” to highlight it. By doing this, you are indicating where you want your new folder to reside 3. Then, click the “OK” button
Your Office Assistant will prompt you to put a shortcut on your Outlook Bar. This is not needed, so click “No”. Then…
You should see your new folder listed among the others on your Folder List
Now, when a new email arrives that you want to put into the folder, simply drag and drop it into the new folder. Remember, left click the email you want to move and keep the mouse button depressed, then move the object by moving your mouse. Move the new mouse pointer over your folder name and it will highlight. Once it is highlighted, release the mouse button.
To retrieve items from the folder, just left click on the folder and it’s contents will open in the main window. Double click the email you wish to open and it will open in a new window. When you wish to return to your Inbox, just left click the Inbox icon on the Outlook Shortcut Bar. Note: Items stored in Personal Folders do not count against your Inbox size limit. This is another good reason to move things to folders.
Now, let’s look at adding appointments and tasks to our calendar. This is a great way to keep track of appointments and tasks so they are not forgotten. Outlook provides you with a reminder before the appointment or task is due. To begin, make sure you are on the calendar view of Outlook. To get there, just left click the Calendar icon on the Outlook Shortcut Bar
Note: If your screen opens in a view other than the one shown here, change the view to monthly by selecting the “Month” icon.
In this view, find the “New Appointment” button in the upper left corner of this screen. Left click this button and a New Appointment box will open for you.
Enter the title or name of your appointment here KWP Time Management Training Type in location here Use the drop down arrows to select and enter the appointment dates here Add any additional information in this area such as notes or meeting agenda.
If the appointment is not an all day event, click in this box and the “Time” boxes will appear.
Use the drop down arrows to open the Time boxes that will allow you to set the start and end time of an appointment When you have all of your information entered, click on “Save and Close” to save your appointment
After saving your appointment, the appointment will appear on your calendar
All day appointments appear like this While less than a full day appointment looks like this
Usually, 15 minutes before the appointment time, you’ll receive a reminder like this!
Using Outlook to manage your appointments and tasks is very helpful. The reminders help keep things from slipping through the cracks and some staff like to print out their monthly calendar so they can always see the month’s events at one glance. Just remember to reprint the calendar whenever you’ve added new appointments.
To print a calendar, make sure you are in Calendar view, then just click the printer icon at the top of the screen This box opens up. Select “Monthly Style” and use the drop down menus to select the days you want to print.
Remember, in addition to using your Outlook calendar to make your office appointments, you can use it to track items, such as when PA-33’s are due, when reports need to be checked, when assessments are due or any other task you need to remember. It’s a great feature with tons of uses!
Now, let’s explore the use of flags. These little items can be very useful. How many times have you opened an email that asked for some action on your part, but you just didn’t have time to act at that moment so you closed the email. Hopefully, you went back to it later when you had more time, but there is always a chance you could overlook the item and fail to act upon it. This is where flags come in handy.
When an email arrives that requires your attention, but you don’t have time to act or respond at the moment, flag it for future action. This helps to serve as a reminder that you need to take some action on this email in the future. Just click the Flag icon at the top of the open email.
After you’ve clicked the Flag icon, this box will open up for you. Click this down arrow and you will be presented with some options. Click on the selection you would like, then click the OK button. When you close the email and return to your Inbox, the email will be flagged.
Different Color Flags have different meanings: Red Flags indicate further action is required White Flags indicate that the action has been completed
To change a red flag to a white flag, once you have taken the needed action, simply open the email again, click on the “Flag” icon and once again this box will open. Click in the “Completed” square, then click OK. When you return to your Inbox, the flag will now be white to indicate the task has been completed
To remove the flag altogether, just click the clear flag button The box will disappear and so will the flag
Flags are a great way to make sure things don’t fall through the cracks. When you are busy, you can’t always attend to things on the spur of the moment and flags will help you stay on top of unfinished tasks
Outlook is a powerful email and time management tool. Explore the many features and see what else it will do. And, don’t forget these guys: Your Office Assistants. They come in many variations but they all act the same. Just left click on them, type in your question and click the search button. They can usually handle most questions you may have. Check them out!
We hope you have benefited from this short Outlook session and if you use Outlook, you’ll have a partner in your quest to master effective time management Presented by the Division for Professional Development and Training Cabinet for Health and Family Services