Download

1 / 9
90 likes | 219 Views
MSP430 Project. Chris Pendley, George Fournadjiev, Howell Peebles, Brad Lackie (with an assist from Muwafa Albaraqi). Initial Considerations. Knowing that we had a group member (George) who had already done something similar made the process easier

E N D
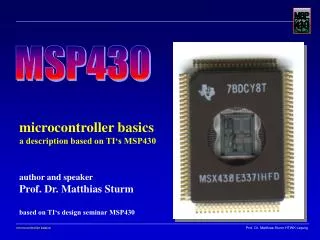
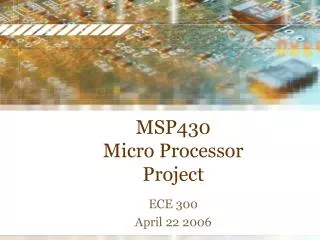
MSP430 Project Chris Pendley, George Fournadjiev, Howell Peebles, Brad Lackie (with an assist from Muwafa Albaraqi)
Initial Considerations • Knowing that we had a group member (George) who had already done something similar made the process easier • Finding out Muwafa was leaving the group was a bit of a hardship
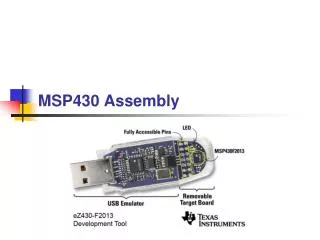
Getting the Board Done • Completed processor chip soldering in one night • Soldered rest of components onto board shortly after • (At this time, Muwafa left the group for Iraq)
What about the Sensor? • After some discussion among the group, we decided on a temperature sensor • The sensor was a National Semiconductor LM35DT • This sensor had a standard temperature range of 2ºC to 150ºC (and a maximum range of -55ºC to 150ºC, but this was dependant on the input voltage)
More Sensor Stuff • Standard 10 mV/ºC scale factor (i.e., 0 V -> 0.1 V is a 1ºC temperature increase) • Output voltage from -1 V to 6 V
Coding the Sensor • After playing around with the software for awhile, we finally figured out how to get the voltage output converted to a temperature output • This was successful • But….
Problems Begin • The output wasn’t consistent! • Temperature output would read correctly, then die out (reset). This process would repeat indefinitely, no matter how many burnings took place • After some discussion, we decided it was due to some faulty connections on the chip (the soldering failed)
The Last Gasp • After doing some more work on it (fiddling around with the connections, etc.), we determined that anything we did there wasn’t doing anything • Switching to playing with the power supply, BOOM! Controller starts to smoke • Started to smoke after the parallel/series connections were switched
The Learning Process • Soldering, by its nature, is a intricate and delicate process – it’s easy to mess up! • Programming a chip – in its entirety – is also an incredibly complicated process; use what’s come before you • Don’t play around with a power supply too much. Bad things can happen.