Download
1 / 32
320 likes | 445 Views
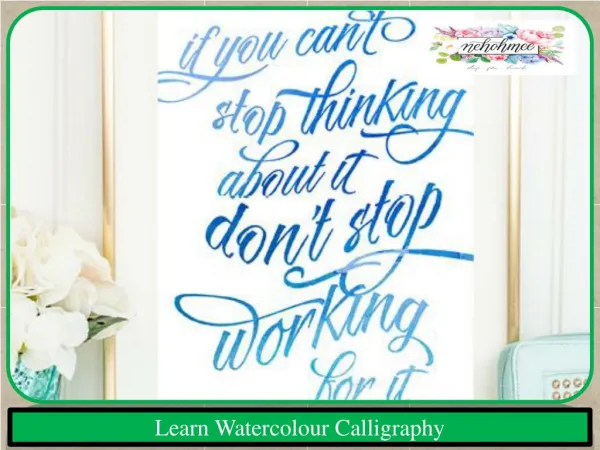
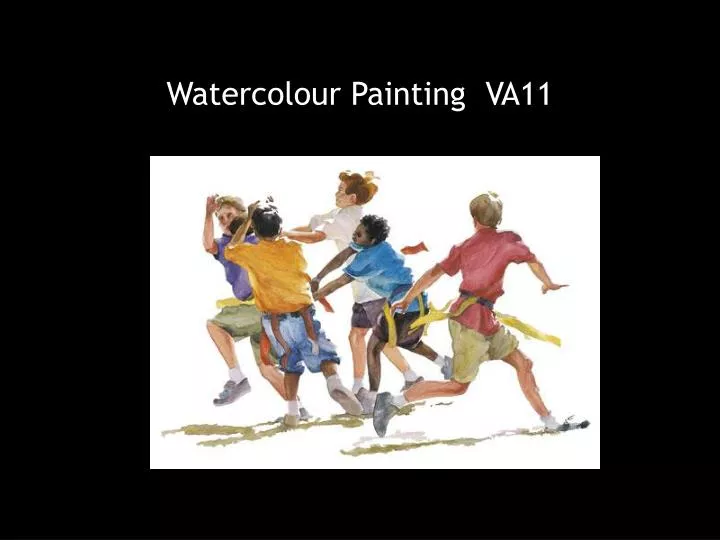
Watercolour Painting VA11. Characteristics of watercolour paintings. “Water”colour paintings often look fluid and flowing like water.

E N D
Characteristics of watercolour paintings “Water”colour paintings often look fluid and flowing like water.
Pure black is seldom used in a watercolour painting. The darks are created by layering washes of colour. A wash of colour is a little bit of paint mixed with water, it is used to create thin layers of colour.
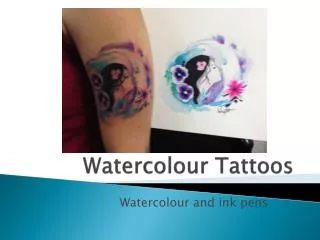
With a fine brush and attention to detail a watercolour painting can be made to look highly realistic. A watercolour painting can also be made to look colourful and abstract.
A good watercolour painter sees a lot of different subtle colours. A brown is not painted “just brown” but brown with yellow, brown with blue, brown with orange, etc.. Always look for the extra tints of colour that others cannot see.
It is difficult to hide mistakes in a watercolour painting because the layers are somewhat translucent.
Painting Exercise How to use the different values of color to make an apple appear three-dimensional.
Mix yellow with water then apply to the lighter side of the apple, covering about 80% of it. Then, mix burnt umber with a similar amount of water and apply to the dark side of the apple.
The shadow should be darker and fade gently to a lighter value as it goes away from you. You can use burnt umber and a bit of violet for the shadow. Then, mix a green color (yellow and blue) and apply onto the light area of the apple.
When the painting is dry, apply a layer of green to the dark side of the apple and in the hollow where the stem is attached.
In this last step, add a touch of complementary color (red-orange) to the lighter side of the apple. The complementary color to use here is yellow mixed with red. Then you can add just a bit of red for the top.
Clean your brush and apply clean water to wash away some of the paint at the bottom of the apple to show light reflecting from the surface under the apple. Be sure to brush softly and not damage the paper surface. Then paint in the apple stem and its shadow.
Now is the time to add the final touch - texture. If your apple is has speckles, make little dots of brown where the speckles appear. Sign your name to your beautiful apple painting!
When choosing an image to base a watercolour painting on, choose one that will lend itself well to the medium.
Choose one that has a solid composition and a nice, subtle range of colour (think in terms of how watercolour behaves based on the exercises you have done).