Download
1 / 28
300 likes | 449 Views
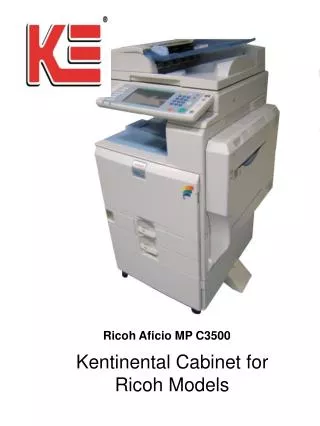
Installing Ricoh Driver. Items you need to know. IP address of Printer Options that are installed And Paper Sizes To get all this information you can print a configuration page from the Copier. Hit User Tools Then Printer Features Then Configuration Page. Software you need.

E N D
Items you need to know • IP address of Printer • Options that are installed And Paper Sizes • To get all this information you can print a configuration page from the Copier. • Hit User Tools • Then Printer Features • Then Configuration Page
Software you need • Either the CD that came with the machine • Or Drivers for the machine downloaded from Ricoh’s Website: • http://www.ricoh-usa.com • When Downloading drivers from the web you must run the downloaded file to extract the driver for use. Remember where you put them you will need this information later.
Next Start the Add Printer Wizard • Click your start Button on your PC • Then select control panel • Then select Printers • Then select add a printer On the following slides follow the notes on the side bar, Or select the buttons that are circled.
On this screen if you don’t have the ability of selecting local printer then you will have to contact your system administrator to install the printer on a server.
Make sure to select Standard TCP/IP Port on the pull down Menu
In the Printer Name or IP Address Field type in the IP address from the configuration Page. Format xxx.xxx.xxx.xxx X being a number.
Browse to the location of the driver CD or the file that you downloaded from Ricoh’s website. When you have found the location of the driver Hit the Open Button
Name the printer whatever you want to. Select whether you want the printer to be your default printer or not.
Configure Options • You should be back to the Printer Window • Right click on the Printer you just installed and Left click Properties.
Next Click The Change Accessories Tab, In The PCL Driver the name of the tab is just Accessories
On this page you will need to check mark any installed options from the configuration page you printed. You can scroll to see all available options If you have a finisher you will have to verify whether you have a punch unit or not most are 2-3 hole units. Then you will need to input the paper sizes and orientations for each tray
You will need to input all options that are installed, again you will need to verify your punch unit.