Download
1 / 25
250 likes | 539 Views
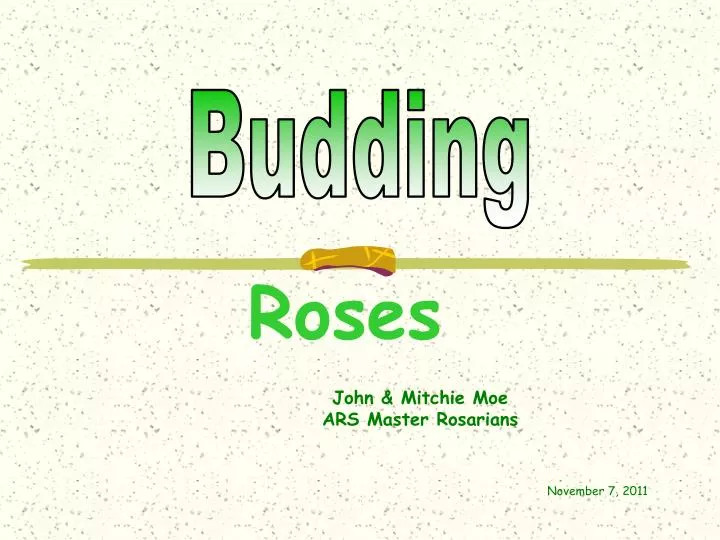
Budding. Roses. John & Mitchie Moe ARS Master Rosarians. November 7, 2011. Acknowledgements. We appreciate the efforts of the following rosarian and fellow hybridizer who contributed to this presentation;. Ted Brown Valley Rose Club of British Columbia

E N D
Budding Roses John & Mitchie Moe ARS Master Rosarians November 7, 2011
Acknowledgements We appreciate the efforts of the following rosarian and fellow hybridizer who contributed to this presentation; Ted Brown Valley Rose Club of British Columbia Member – Rose Hybridizers Association All photos by authors No commercial use of this program please!
U.S. Plant Patent Act Under the law, the grant of a patent includes the “right to exclude others from asexually reproducing the plant or selling or using the plant so reproduced.” Infringement of the patent includes the propagation or sale of a single patented rose, whether for sale or private use without permission.
Grafting • Grafting is a process by which two different plants are united so that they grow as one Scion Rootstock
Budding • Actually a form of grafting • A single bud is used instead of a scion • Budding is quicker • 2 main types: T-budding & Chip budding
Materials Needed (Just a knife and something to bind the cut after inserting the bud or chip - 4 types shown here) Teflon (plumber’s) tape Strip cut from Parafilm to bind Budding knife Patch Rubber band
Growing Rootstock Take cuttings and plant in the fall for budding the following summer. Don’t let plant dry out. Water well for several weeks before budding, and well after the bud has healed and starting to grow! Water-stressed rootstock is less likely to form a successful bud!
T-budding • Most common method • Bark must slip, leaving cambium layer exposed • Occurs only when plants are actively growing and well-watered Note: Not a T-cut – just opened to show the cambium layer
Getting Budwood Select budwood from stems that have just flowered, where the bud is beginning to swell Remove all leaves. Don’t leave any of the base of the leaf stem Keep cool and moist, will keep several days at room temp, a long time in a fridge
Cutting the Bud Use a sharp knife for a clean, even cut! Some use single edge razor blades Cut a thin slice – from the bottom up- not too much wood behind the bud - leave a tail on for ease of handling Note: I have turned the budwood upside down for clarity on this photo. Work quickly! Do this step before making the T-cut! Keep bud moist while getting rootstock ready! Some place it cut-side down on their tongue! Saliva is harmless to the bud and rose sap is harmless, unless you have recently applied a very toxic pesticide!
A Closer Look at the Bud View from the side. We want a thin slice! From the back side. See the bud?
T-cut in Rootstock First cut Second or vertical cut
Opening the T-cut The bark of the rootstock must “slip” i.e., it must split away from the wood cleanly! If it doesn’t, it is too dry!
Inserting the Bud Start to insert the bud while holding the cut open Try to insert bud in less than 10 seconds after starting the T-cut! Tail Most common failure in budding is dryinghere!
Starting the Wrap Cut the tail off! Always wrap from bottom to top, so each layer sheds rain water from layer below Wrap should be quite firm, stretching tape as you wrap almost to breaking point!
The Finished Wrap The bud is covered with only a wrap or two so the bud can grow thru the film
New Growth The new growth will come right thru the film as shown here
Cut Off Top of Rootstock The top of the rootstock can be cut off after you see a fair amount of new growth from the bud Don’t be in too much of a hurry to cut the top off. It can be several months
Chip Budding • Steps quite similar to T-budding • Advantage: wood can be dormant, bark doesn’t have to slip • Can be done any time of the year! • Difficult part – matching size of chip bud to chip removed from rootstock, so cambium layers match
Cutting the Bud Make a notch at bottom first. Cut down at about a 30 degree angle no more than 1/6 the thickness of the stem. Then make a tapered cut starting about an inch above the notch down to meet the notch. Don’t wait too long here. Bud and rootstock dry quickly!
Prepare the Rootstock Prepare a cut matching the ‘hole’ which remains on the bud-stick when the bud is removed The closer the match, the more successful the chip bud take will likely be
Inserting the Bud Chip Insert the bud chip Always wrap from bottom to top, so each layer sheds rain water from layer below Wrap should be quite firm, stretching tape as you wrap almost to breaking point!
The Finished Wrap Same as the T-bud The bud is covered with only a wrap or two so the bud can grow thru the film
Requirements for Success • Use a sharp knife • Well-watered rootstock • Make very clean, smooth cuts • Keep bud moist! • Work quickly when newly cut surfaces are exposed to the air! • Takes practice! Use unwanted canes…
Questions? Thank You!