Download
1 / 43
430 likes | 475 Views
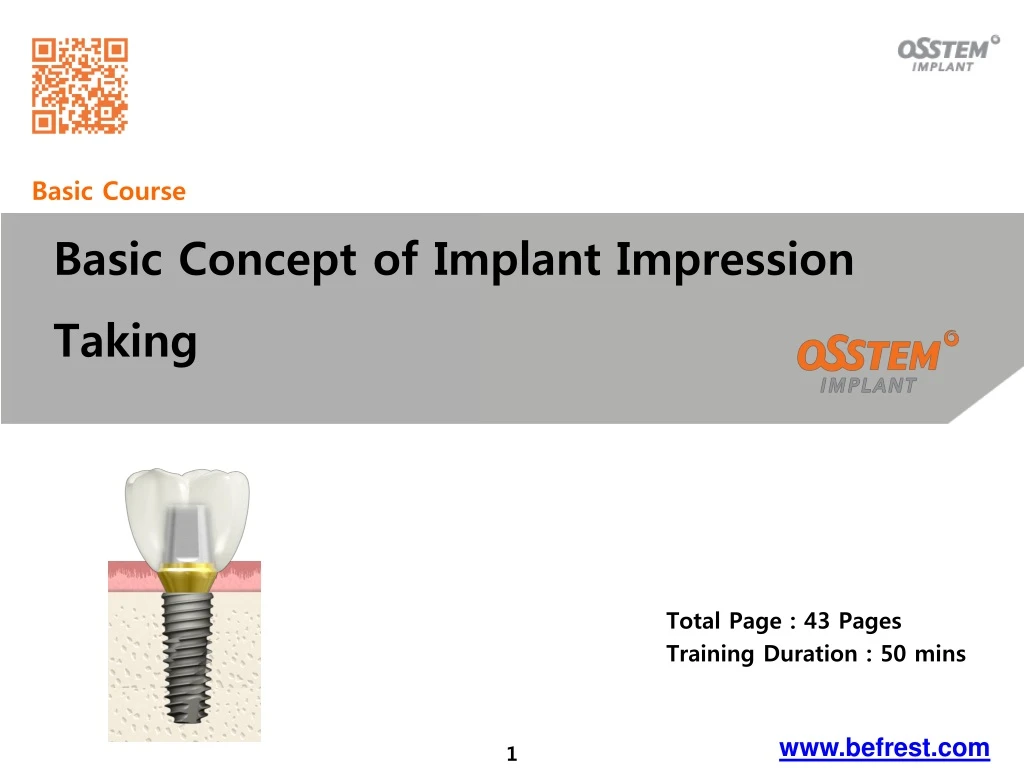
Basic Course. Basic Concept of Implant Impression Taking. Total Page : 43 Pages Training Duration : 50 mins. www.befrest.com. Training Course - Prosthesis. Total 69 hours in the Course Basic : Understanding of Prosthesis for Implant - 9 hours

E N D
Basic Course Basic Concept of Implant Impression Taking Total Page: 43Pages Training Duration: 50mins www.befrest.com
Training Course - Prosthesis Total69 hours in the Course Basic : Understanding of Prosthesis for Implant - 9 hours Advanced : The method of selection for Cover Screw, Healing ABT - 18 hours Final : ABT Category and Selection Guides – 42 Hours www.befrest.com
Concept Purpose of Training Key Point Goal of Training • To understand the method of taking Implant Impression. • To understand Overall Prosthesis for Implant. - To understand Basic Concept of takingImplant Impression. • Impression • Taking Abutment level Impression VS. Taking Fixture level Impression • Pick-Up Impression VS. Transfer Impression www.befrest.com
Contents • 1. FAQ • 2. Course Contents • Understanding of Dental Impression Taking • Feature of Impression Taking Types • Glossary • Quiz www.befrest.com
1. FAQ 1. What is difference between taking Abutment level Impression and Fixture level Impression? The purpose of dental impression taking can deliver the oral environment to the LAB and it is based on Abutment level or Fixture (Implant) level as a criteria. In general, taking Abutment level Impression has a higher precision compare to taking Fixture level Impression. www.befrest.com
2. Course Contents I. Understanding of Dental Impression Taking Purpose of taking Dental Impression. Taking Natural Teeth Impression VS. taking implant Impression. Classification of Dental Impression. www.befrest.com
I. Understanding of Impression Taking 1. Purpose of takingImpression To copy the patient’s oral structure(Teeth & Soft Tissues) to stone model. The process of taking impression for the stone model Working Model. ◆ Impression Taking on the natural teeth Impression Body Oral • Purpose of Working Model • - Impossible to work for the prosthetic in the patient’s mouth. www.befrest.com Working Model
I. Understanding of Impression Taking 1. Purpose of takingImpression ◆ Impression taking for Implant Impression Body Oral Working Model www.befrest.com
I. Understanding of Impression Taking 1. Purpose of takingImpression ◆ Main Evaluation Factor • How exactly was it replicated from the real oral structure? Accuracy Oral Structure • How easy to use? Convenience Working Model www.befrest.com
I. Understanding of Impression Taking 1. Purpose of takingImpression ◆ General Process of Impression Taking • The process of making an impression body for the stone model. Impression material on the Tray Impression Harden Remove the tray www.befrest.com
I. Understanding of Impression Taking 1. Purpose of takingImpression ◆ Components of Taking Impression 1)Impression Coping • Impression coping is for copying the shape & position of the implant to working model. • Impression coping has a various selection by diameter and gingiva height. 2)Tray 3)Impression Materials& tips www.befrest.com
I. Understanding of Impression Taking 2. Taking Natural Teeth ImpressionVS. taking ImplantImpression Natural Teeth Impression Taking Natural Teeth DirectImpression Taking on natural teeth Working Model ImplantImpression Taking ▶ Abutment Direct Impression Taking Working Model (Abutment Level) Impression Taking Rigid Abutment ▶Imp. Coping for Impression Taking www.befrest.com Impression Taking Working Model (Fixture Level) Pick-Up Imp. coping
I. Understanding of Impression Taking 3. Types of Impression Taking 1) Abutment levelImpression Impression Level 2) Fixture level Impression 3) Transfer type Impression Fixture Level 4) Pick Up type Impression www.befrest.com
2. Training Contents II. Features of Impression Taking Types Abutment level Impression VS. Fixture level Impression Pick-up type Impression VS. Transfer type Impression www.befrest.com
II. Features of Impression Taking Types 1. Abutment level ImpressionVS. Fixture level Impression ◆ The major differences between Abutment Level and Fixture Level Impression. Rigid Lab Analog Impression Coping Impression Material Abutment Fixture Impression Coping Fixture Lab Analog Impression Material Fixture
II. Features of Impression Taking Types-Abutment Level 1) Abutment level Impression Impression Materilal (1)Process flow Healing Connect Abutment Connect Impression Coping Apply Impression Material Impression Taking Remove Impression Body from working Model Remove Impression Body from the mouth Impression Body Apply stone Connect Lab analog Working Model Make Working Model
II. Features of Impression Taking Types-Abutment Level (2)ClinicalCaseExample(Rigid ABT. 3 bridge) Connect FixturetoAbutment Impression Impression Body Connect Rigid Imp. Coping to Abutment Connect Lab analog to Impression Body Working Model Connect Burn-out cylinder Wax Up casting Completion of Prosthesis Final Restoration www.befrest.com
II. Features of Impression Taking Types – Abutment Level (3)Features • Connect Imp coping to abutment in pt’s mouth • Copy abutment shape and position to working model. • Impression taking based on abutment information. • Reduce the error possibility for Lab procedure. • Relatively simple and convenience on prosthetic procedure. • Use exclusivecomponents. Plastic cap www.befrest.com
II. Features of Impression Taking Types-Abutment Level (4)OSSTEM Products Line up Rigid ABT. Transfer ABT. Impression Coping Rigid Lab analog Burn-out Cylinder www.befrest.com
II. Features of Impression Taking Types – Fixture Level 2) Fixture level Impression Apply Impression Material (1)Process flow Healing Remove Healing ABT. Connect Impression Coping Apply Impression Material Impression Taking Screw Guide Pin Remove Guide pin from working model Unscrew Guide Pinin the mouth And then separate Imp body From fixture Impression Body Apply stone Connect Lab analog Working Model Make Working Model
II. Features of Impression Taking Types-Fixture Level (2)ClinicalCase Example(Transfer ABT. 2 bridge) ConnectPick-Up type Imp. coping to Fixture Impression Body Impression Connect Lab analog to Impression body Working Model Connect ABT and customize Wax Up Casting Completed Prosthesis Connect ABT with Jig Final Restoration www.befrest.com
II. Features of Impression Taking Types–Fixture Level (3)Features • Connect Imp coping to fixture in pt’s mouth • Replicate fixture connection and position to working model. • Fixture level impression taking based on the information of Fixture. • Error can occur during the lab procedure. • Relatively complicate on the prosthetic procedure. www.befrest.com
II. Features of Impression Taking Types–Fixture Level (4)OSSTEM Products Line up Transfer ABT. Angled ABT. FreeForm ST ABT. ZioCera ABT. GoldCast ABT. NP-Cast ABT. Fixture Lab analog Pick-Up Imp. Coping Transfer Imp. Coping www.befrest.com
II. Features of Impression Taking Types - 1. Abutment level impressionVS. Fixture level impression Summary Oral Working Model Working Model Oral www.befrest.com
II. Features of Impression Taking Types - 2. Pick-Up type impressionVS. Transfer type impression 2. Pick-Up type ImpressionVS. Transfer type impression ◆ The major differences between Pick-up and Transfer type Impression. Impression Coping Impression Material Fixture Impression Coping Impression Material Fixture www.befrest.com
II . Features of Impression Taking Types – Pick-Up Type Impression 1) Pick-Up type Impression Impression Material (1)Process flow Healing Remove Healing ABT. Connect Impression Coping Apply Impression Material ImpressionTaking Screw Guide Pin Remove Guide pin from working model Unscrew Guide Pinin the mouth And then separate Imp body From fixture Imp. Body Apply stone Connect Lab analog Working Model Make Working Model
II . Features of Impression Taking Types – Pick-Up Type Impression (2)ClinicalCase Example(Transfer ABT. 2 bridge) ConnectPick-Up type Imp. coping to Fixture Impression Body Impression Connect Lab analog to Impression body Working Model Connect ABT and customize Wax Up Casting Completed Prosthesis Connect ABT with Jig Final Restoration www.befrest.com
II. Features of Impression Taking Types – Pick-Up Type Impression (3)Features • Impression Coping and Impression body are in one body. • Use for the complicated case(single orcomplicatedmultiple case). • Relatively more accurate than Transfer type impression taking. • Use Custom tray (open tray). www.befrest.com
II. Features of Impression Taking Types – Pick-Up Type Impression (4)OSSTEM Products Line up Transfer ABT. Angled ABT. FreeForm ST ABT. ZioCera ABT. GoldCast ABT. NP-Cast ABT. Fixture Lab analog Pick-Up Imp. Coping www.befrest.com
II. Features of Impression Taking Types – Transfer Type Impression 2) Transfer type Impression Impression Material (1)Process flow Healing Remove Healing ABT. Connect Impression Coping Apply Impression Material Impression Taking 1. Remove Impressionfrom working model 2. Remove Imp. Coping Remove Imp. Body from mouth Impression Body Apply stone Connect Impression Coping + Lab analog to Imp. Body Working Model Make Working Model
II. Features of Impression Taking Types – Transfer Type Impression (2)ClinicalCase Example(Transfer ABT. 2 bridge) ConnectTransfer type Imp. coping to Fixture Impression Body Impression Connect Imp. Coping to Lab analog Working Model Connect ABT and customize Wax Up Connect Imp. Coping+Lab analog to Imp. Body Completed Prosthesis Connect ABT with Jig Final Restoration Casting www.befrest.com
II. Features of Impression Taking Types – Transfer Type Impression (3)Features • Impression Coping and Impression Body are separated. • Used when the position of Fixture are parallel. • Use for the simple clinical case(single orsimple bridge case). • Relatively less accuracy than Pick-Up type impression. • Use closed tray. • Inadequate application on posterior area due to mouth opening limitation. www.befrest.com
II. Features of Impression Taking Types – Transfer Type Impression (4)OSSTEM Products Line up Transfer ABT. Angled ABT. FreeForm ST ABT. ZioCera ABT. GoldCast ABT. NP-Cast ABT. Fixture Lab analog Transfer Imp. Coping www.befrest.com
III. Glossary www.befrest.com
III. Glossary www.befrest.com
III. 용어 정리 www.befrest.com
IV. Quiz www.befrest.com
IV. Quiz 1. What called that imprinting teeth and surrounding tissues for working model to be made? Answer: Impression or Impression Taking 2. Fill out the blanks. Pick-Up type Imp Abutment level Imp 3. Which component should be used generally in Abutment level Impression? 1) 2) 3) 4) Answer: 4) www.befrest.com
IV. Quiz • 4. Choose an incorrect Fixture level impression feature: • 1) Use exclusivecomponents. • 2) Fixture level impression taking based on the information of Fixture. • 3) Relatively complicated on the prosthetic procedure. • 4) Use pick up & transfer type Imp coping Answer: 1) • 5. Choose an incorrect Transfer type impression feature: • 1) Used when the position of Fixture is in parallel. • 2) Relatively more accurate impression taking. • 3) Used withclose tray. • 4) Inadequate application on posterior area due to mouth opening limitation. Answer: 2) www.befrest.com
IV. Quiz 6. Choose an incorrect component for impression taking? 1) Tray 2) Impression Material 3) lab analog 4) Impression Coping Answer: 3) 7. Please arrange Fixture level impression process in order. 1) Connect Impression Coping 2) Make working model 3) Connect Lab analog 4) Impression taking Answer: 1) 4) 3) 2) 8. The major difference between Pick-Up type and Transfer type impression on Fixture level Impression is whether ( ) will be stuck or not in the impression body. Answer: impression coping www.befrest.com
IV. Quiz 9. Please arrange Transfer type impression taking process in order. 1) Apply impression material and impression taking. 2) Connect Impression coping to fixture in pt’s mouth. 3) Apply stone into impression body and make working model. 4) Connect Impression coping&Lab analog to impression body. ( ) ( ) ( ) ( ) Answer: 2) 1) 4) 3) 10. Please arrange Pick-up type impression taking process in order. 1) Apply stone into impression body and make working model. 2) Apply impression material and impression taking. 3) Connect Impression coping in the pt’s mouth. 4) Connect lab analog to impression copingin the impression body. ( ) ( ) ( ) ( ) Answer: 3) 2) 4) 1) www.befrest.com
Thank you www.befrest.com