Download
1 / 78
870 likes | 1.17k Views
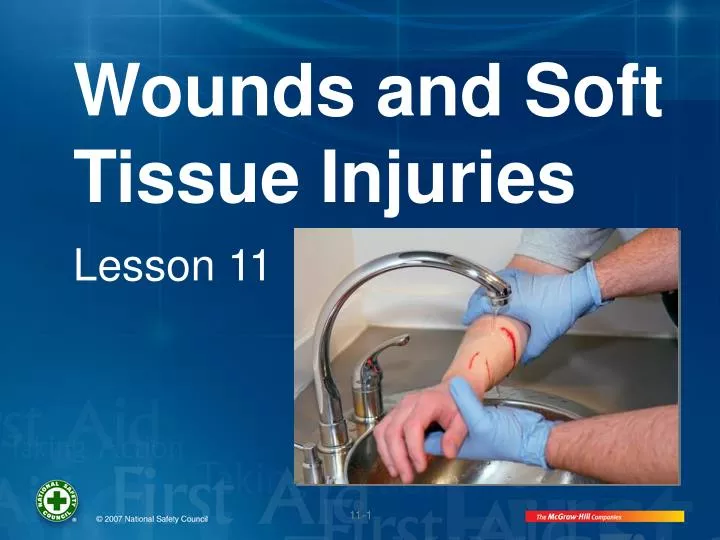
Wounds and Soft Tissue Injuries. Lesson 11. Lesson Objectives. Describe how to clean a wound. Describe the signs and symptoms of an infected wound and what to do about it. List standard guidelines for using dressings and bandages.

E N D
Wounds and Soft Tissue Injuries Lesson 11
Lesson Objectives • Describe how to clean a wound. • Describe the signs and symptoms of an infected wound and what to do about it. • List standard guidelines for using dressings and bandages. • Explain how to determine when a wound needs medical attention.
Lesson Objectives • Describe first aid for punctures, wounds with impaled objects, avulsions and amputations, and for injuries of the genitals, scalp, and specific facial areas. • Demonstrate how to apply a roller bandage.
Wounds • Different types of wounds require specific first aid • All wounds have risk of infection • Wound care involves cleaning and dressing a wound • Prevents infection • Protects wound so it can heal
Wounds • Do not waste time cleaning a wound that is bleeding severely – controlling bleeding is always the priority.
Types of Open Wounds • Abrasions • Lacerations
Types of Open Wounds • Punctures • Avulsions
Types of Open Wounds • Amputations • Burns
Cleaning Wounds • Clean wound to prevent infection unless it is very large or bleeding seriously • Wash hands and wear medical exam gloves • Gently wash wound with soap and water and rinse
First Aid: Wound Care • Gently wash wound with soap and water. Rinse for 5 minutes. • Remove any large particles. • Pat area dry. • Cover wound with sterile dressing and bandage.
Wound Cleaning Alert! • Do not try to clean major wound after controlling bleeding – it may start bleeding again • Do not put antibiotic ointment on puncture or deep wound • Use only on abrasions and shallow wounds
Wound Cleaning Alert! • Do not use alcohol, hydrogen peroxide, or iodine on wound • Avoid breathing or blowing on wound • Do not attempt to remove clothing stuck to wound • Cut around clothing and leave in place • Do not scrub wound
Wound Infection • May occur with any open wound • At greater risk are wounds from bites, • puncture wounds, dirty wounds, • wounds with jagged edges
Wound Infection • Use antibiotic ointment only on abrasions or shallow wounds • If signs of infection, see healthcare provider
Signs and SymptomsWound Infection • Wound area is red, swollen, and warm • Pain • Pus • Fever • Red streaks or trails on skin near wound
Purpose of Dressing Wounds • Helps stop bleeding • Prevents infection • Protects wound while healing
Types of Dressings • Gauze squares • Roller gauze • Nonstick pads • Adhesive strips • Bulky • Occlusive • Improvised
Guidelines for Using Dressings • Wash hands and wear medical exam gloves • Choose dressing larger than wound • Do not touch part of dressing that will touch wound • Lay dressing on wound • Cover whole wound
Guidelines for Using Dressings • If blood seeps through, do not remove dressing but add more on top • Apply bandage to hold dressing in place
Use of Bandages • Cover a dressing • Keep dressing on wound • Maintain pressure to control bleeding
Types of Bandages • Adhesive compresses • Adhesive tape rolls • Tubular • Elastic • Self-adhering • Gauze roller • Triangular • Improvised
Guidelines for Bandaging • Apply bandage firmly but do not cut off circulation • Do not cover fingers or toes • Keep checking tightness of bandage • Ensure bandage is secured so dressing will not move
Guidelines for Bandaging • With elastic and roller bandages • Anchor first end • Tie, tape, pin, or clip ending section • Use non-elastic roller bandage as pressure bandage to control bleeding and protect wound • Use elastic roller bandage to support joint and prevent swelling
Guidelines for Bandaging • Wrap bandage from bottom of limb upward • Avoid bending joint once it is bandaged
Skill: Roller Bandage
Turn bandage diagonally across top of foot and around ankle.
When to Seek Medical Attention • Bleeding not easily controlled • Any deep or large wound • Significant wound on face • Infected wound • Any bite • Foreign object in wound
When to Seek Medical Attention • Puncture wound • Unsure about tetanus vaccination • Any wound you are unsure about • Wounds that require stitches • Cuts on face or hands when edges don’t close • Gaping wounds • Cuts longer than 1 inch
Special Wounds • Puncture wounds • Impaled objects • Amputations • Genital Injuries • Head and face wounds
Injury Prevention • Follow OSHA in work setting • Follow tool manufacturer guidelines • Wear appropriate safety helmet • Wear eye shields • Wear mouth guard • Do not chew ice, hard candy, or popcorn kernels
Injury Prevention • Wear athletic cup, pelvic shield, groin pad or protector • Wear a sports bra
Puncture Wound • Greater risk of infection • Germs may not be flushed out • Remove small objects or dirt (not impaled object) • Gently press on wound edges • Helps promote bleeding
Impaled Object • Removing an object could cause more injury and bleeding • Leave it in place and dress wound around it • Control bleeding by applying direct pressure at sides of object
Impaled Object • Pad object in place with large dressings or folded cloth • Support object while bandaging it in place • Keep victim still • Seek medical attention
Avulsion • Try to move skin or tissue into normal position (unless contaminated) • Control bleeding • Provide wound care • If avulsed body part completely separated – care for it like an amputation
Amputation • Control bleeding and care for wound first, then recover and care for amputated part
Amputation • Wrap severed part in dry, sterile dressing or clean cloth (do not wash) • Place part in plastic bag, seal it • Place sealed bag in another bag/container with ice • Part should not touch ice directly • Give part to responding crew
Genital Injuries • Provide privacy for victim • Use direct pressure to control external bleeding • Call 9-1-1 for: • Severe or continuing bleeding • Significant pain or swelling • Possibility of sexual abuse
Genital Injuries • Injured testicles • Support with towel between legs • Vaginal bleeding • Have woman press sanitary pad or clean folded towel to area
Head and Face Wounds • Consider possible neck or spinal injury • Do not move victim’s head while giving first aid
First Aid: Scalp Wound Without Suspected Skull Fracture • Replace any skin flaps and cover wound with sterile dressing • Put roller or triangular bandage around victim’s head to secure dressing
Eye Injuries • Serious because vision may be affected • Avoid putting pressure on eyeball • Movement of eye will worsen injury • Keep unaffected eye covered
Blow to Eye • If eye bleeding or leaking fluid • Call 9-1-1 or take victim to emergency department • Put cold pack over eye for up to 15 minutes • Eases pain • Reduces swelling • Do not put pressure on eye
Blow to Eye • Do not remove contact lens • Have victim lie still • Seek medical attention if: • Pain persists • Vision is affected
Large Object in Eye • Do not remove • Stabilize with dressings or bulky cloth (paper cup for large object) • Cover both eyes • Call 9-1-1 or get victim to emergency department
Dirt or Small Particle In Eye • Do not let victim rub eyes • Wait to see if victim’s tears will flush out object • Gently pull upper eyelid out and down over lower eyelid to catch particle on lashes