Download
1 / 34
340 likes | 451 Views
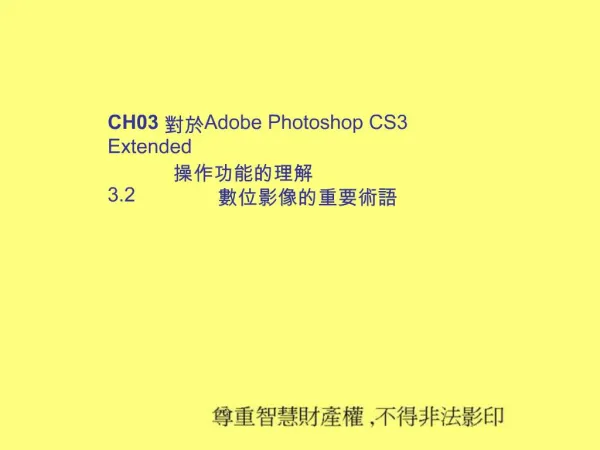
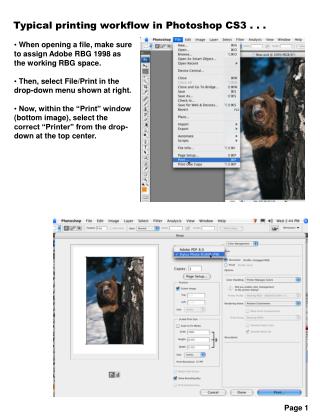
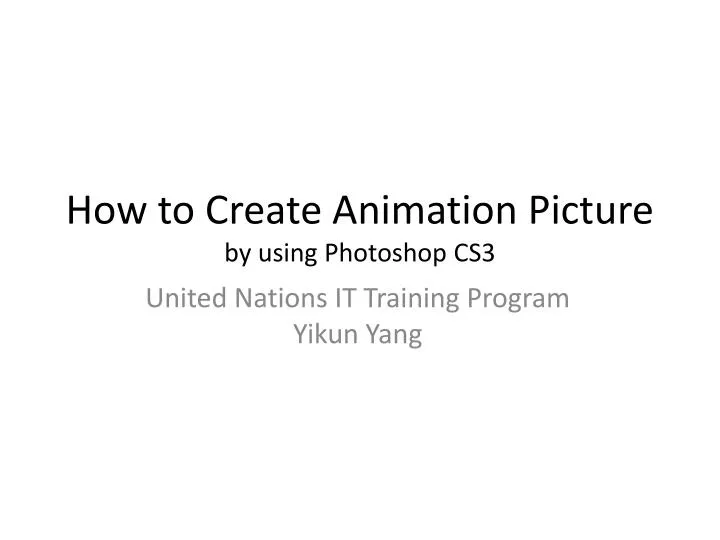
How to Create Animation Picture by using Photoshop CS3 . United Nations IT Training Program Yikun Yang. Step one Prepare source picture. 2.Adjust the background layer to your desired size. Click OK. 1.Create a new layer: Click File ----- New. Now you get a new layer as this.

E N D
How to Create Animation Pictureby using Photoshop CS3 United Nations IT Training Program Yikun Yang
2.Adjust the background layer to your desired size. Click OK. 1.Create a new layer: Click File----- New
Drag and drop pictures which you are going to use from desktop into photoshop.
Then, you get one new layer and three pictures in PS document window.
In order to combine picture A with B1 and picture A with B2, you need to resize picture B1 and B2 so that they fit the new combination.For example: how to adjust picture B2’s size?click “Image”, select “Image Size”, and then you get a new window. Adjust B2 into a suitable size.
Use “lasso tool” to lasso the body part you need from picture A.
Move it to match the body part.There are three layers. Click this and select “Merge Visible” to merge three layers into one layer.
Create a new layer and resize it to the same size as previous one.
Lasso the body part from picture A and use “Move Tool” to move it to new layer.
Lasso head part from picture B1 and use Move Tool to move it to new layer.
Click this and select “Merge Visible” to merge three layers into one layer.
Open Animation Dialog box: click “Window” and click “Animation” to get an animation tool box here.
Drag and drop every layer to the Frame. And then, delete two layers.
Move all layers into frame: click the small arrow at the right top corner in the animation tool box—click “Make Frame From Layers”.
Click the small triangle to adjust time interval between each image in the animation tool box.
Save: Press shift+ctrl+alt+s or click “File”, select “Save as web and Devices” save your animation as GIF.