Download
1 / 73
730 likes | 864 Views
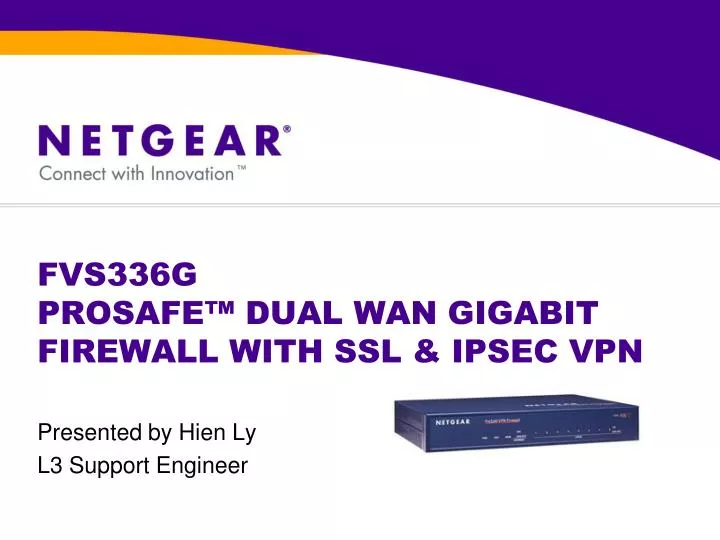
FVS336G PROSAFE™ DUAL WAN GIGABIT FIREWALL WITH SSL & IPSEC VPN. Presented by Hien Ly L3 Support Engineer. Course Agenda. Introductions Course Objectives FVS336G Features Specific features on FVS336G Firewall & Router overview VPN overview SSL overview

E N D
FVS336GPROSAFE™ DUAL WAN GIGABIT FIREWALL WITH SSL & IPSEC VPN Presented by Hien Ly L3 Support Engineer
Course Agenda • Introductions • Course Objectives • FVS336G Features • Specific features on FVS336G • Firewall & Router overview • VPN overview • SSL overview • FVS336G Administration GUI walk-through • FVS336G User SSL Portal walk-through • FAQ • Known Issues • Q&A
Introduction • Course Description: • This training is intended to provide background and update information about the new ProSafe dual WAN gigabit firewall with IPSec and SSL VPN • Course Audience: • L2, L3, SE, VAR • Course Prerequisites: • Familiarity & knowledge of NETGEAR ProSafe VPN firewall products • Basic knowledge & understanding for VPN (IPSec & SSL) concepts • Basic usage of VPN configuration on the NETGEAR ProSafe VPN products
Course Objectives • At the end of this course, Technical Support Engineers should be able to do the following: • Identify the differences between the FVS336G and other NETGEAR Firewall VPN routers • List and describe unique features on the FVS336G • Identify and list the differences SSL features on the FVS336G and the SSL312 • Configure and setup SSL Portal on the FVS336G
Features & Benefits • Dual 10/100/1000 Mbps Gigabit Ethernet WAN ports for load balancing or failover/rollover. • Built-in four-port 10/100/1000 Mbps Gigabit Ethernet LAN switch. • Supports 25 concurrent IPsec VPN tunnels. • Supports 10 concurrent SSL VPN sessions. • Bundled with the single-user license of the NETGEAR ProSafe VPN Client software (VPN01L) • Supports SNMP v2c • Italicized are new features specific to the FVS336G only
Package Contents • ProSafe Dual WAN Gigabit Firewall with SSL & IPsec VPN. • One AC power cable (100-240 VAC, 50-60 Hz). • Rubber feet. • One Category 5 (Cat5) Ethernet cable. • Installation Guide: FVS336G ProSafe Dual WAN Gigabit Firewall with SSL & IPsec VPN. • Resource CD, including: • Application Notes and other helpful information. • ProSafe Dual WAN Gigabit Firewall with SSL & IPsec VPN FVS336G Reference Manual • ProSafe VPN Client Software – one user license. • Warranty and Support Information Card.
Rear Panel • Factory Defaults button • Using a sharp object, press and hold this button for about ten seconds until the front panel TEST light flashes to reset the FVS336G to factory default settings. All configuration settings will be lost and the default password will be restored. • LAN & WAN ports • Auto MDI/MDIX, Gigabit Ethernet ports • AC Power • Universal AC input (100-240 VAC, 50-60 Hz) • On/off power switch
Bottom label • Default LAN IP address: 192.168.1.1 • Default username: admin • Default password: password
Processor Speed: 300 MHz (Cavium CN3005SCP) • Memory: 16 MB flash, 64 MB DRAM • Power adapter: 12V DC, 1.2A -plug is localized to country of sale • Dimensions: 25.4 x 17.8 x 3.96 cm (10 x 7 x 1.56 in) • Weight: 1.7 kg (3.7 lb) • Operating temperature: 0° to 40°C (32° to 104°F) • Operating humidity: 90% maximum relative humidity, non-condensing Hardware Specifications
Serial Prefix: 1PD Technical Support Info
Performance Spec • Throughput: • LAN-to-WAN: 60 Mbps total • IPsec VPN (3DES): 16 Mbps • SSL VPN: 10 Mbps • Connections: • 10,000 concurrent sessions
Admin GUI • http://192.168.1.1 • Username: admin • Password: password • Domain: geardomain
WAN Mode – Auto-Rollover • If you want to use a redundant ISP link for backup purposes, select the WAN port that will act as the primary link for this mode. Ensure that the backup WAN port has also been configured and that you configure the WAN Failure Detection Method to support Auto-Rollover. • Link failure is detected in one of the following ways: • By sending DNS queries to a DNS server, or • By sending a Ping request to an IP address, or • None (no failure detection is performed). • From each WAN interface, DNS queries or Ping requests are sent to the specified IP address. If replies are not received, after a specified number of retries, the corresponding WAN interface is considered down. • As long as the primary link is up, all traffic is sent over the primary link. Once the primary WAN interface goes down, the rollover link is brought up to send the traffic. Traffic will automatically roll back to the original primary link once the original primary link is back up and running again.
WAN Mode – Load Balancing • The VPN firewall distributes the outbound traffic equally among the WAN interfaces that are functional. • Scenarios could arise when load balancing needs to be bypassed for certain traffic or applications. If certain traffic needs to travel on a specific WAN interface, configure protocol binding rules for that WAN interface. The rule should match the desired traffic. • In the Protocol Binding menu, you specify a protocol such as HTTP, and this causes all outbound traffic of that protocol to use that WAN port.
LAN Settings – Multi-homing The secondary LAN IP address will be assigned to the LAN interface of the router and can be used as a gateway by computers on the secondary subnet
LAN Settings – Multi-homing • If you have computers on your LAN using different IP address ranges (for example, 172.16.2.0 or 10.0.0.0), you can add “aliases” to the LAN port, giving computers on those networks access to the Internet through the router. This allows the router to act as a gateway to additional logical subnets on your LAN • NOTE: IP addresses on these secondary subnets cannot be configured in the DHCP server. The hosts on the secondary subnets must be manually configured with IP addresses, gateway IP addresses, and DNS server IP addresses.
Security – Port Triggering • Once configured, operation is as follows: • A PC makes an outgoing connection using a port number defined in the Port Triggering table. • This Router records this connection, opens the INCOMING port or ports associated with this entry in the Port Triggering table, and associates them with the PC. • The remote system receives the PCs request, and responds using a different port number. • This Router matches the response to the previous request, and forwards the response to the PC. (Without Port Triggering, this response would be treated as a new connection request rather than a response. As such, it would be handled in accordance with the Port Forwarding rules.) • Note: • Only 1 PC can use a "Port Triggering" application at any time. • After a PC has finished using a "Port Triggering" application, there is a "Time-out" period before the application can be used by another PC. This is required because this Router cannot be sure when the application has terminated. • Normally for games and chat.
SSL VPN – Setup Process • Create User Portal • VPN > SSL VPN > Portal Layouts • Create Domain • Users > Domains • Select the authentication scheme • Link the new domain to the new portal that you have created in step #1 • Create Group • Users > Groups • A default group will be created when a domain is created (this is be indicated with a “*”) • You can create other groups under each domain • Create User • Users > Users • Define Login policies