Download
1 / 20
240 likes | 390 Views
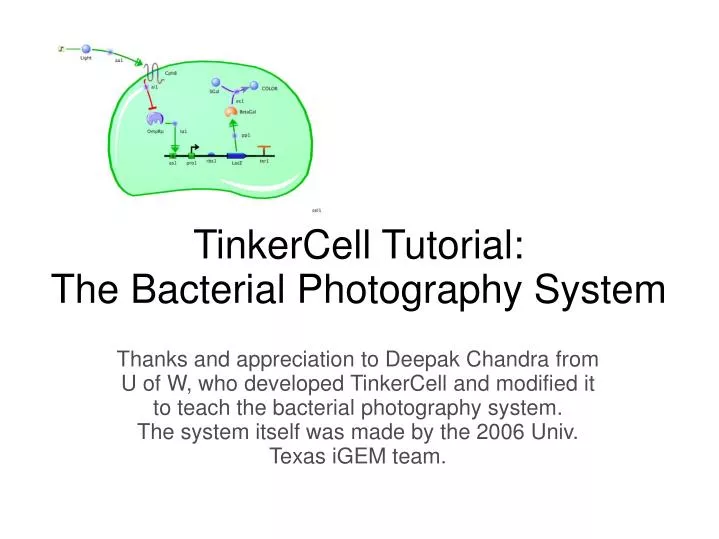
TinkerCell Tutorial: The Bacterial Photography System. Thanks and appreciation to Deepak Chandra from U of W, who developed TinkerCell and modified it to teach the bacterial photography system. The system itself was made by the 2006 Univ. Texas iGEM team.

E N D
TinkerCell Tutorial: The Bacterial Photography System Thanks and appreciation to Deepak Chandra from U of W, who developed TinkerCell and modified it to teach the bacterial photography system. The system itself was made by the 2006 Univ. Texas iGEM team.
Select “New canvas” from the File menu or use the “New” icon at the left of the top toolbar Start a new canvas
From the “Parts” tab, select and place an “Inducible Promoter”, “RBS”, and “Coding” icon on the canvas. Assemble Reporter
Drag items on the canvas next to one another to align them. Rename the promoter “PompC” and the coding sequence “LacZ”. Align and Name
From the “Molecules” tab, add a transcription factor to the canvas and rename it OmpRp Add a transcription factor
Select OmpRp, then from the “Edit” menu, choose “Add Decorator”. From the “Decorator” tab, select “phosphorylation”. Visual appeal: add a 'P'
From the “Regulation” tab, choose “Regulation”, then click OmpRp and PompC. Choose “Transcriptional Activation” from the pop-up. Regulate transcription
From the “Molecules” tab, place a “Receptor” on the canvas and rename it Cph8. Add light receptor
From the “Regulation” tab, choose “Regulation, then click on Cph8 and OmpRp, then select “Allosteric Inhibition” from the popup menu. Regulate OmpRp with Cph8
From the “Molecules” tab, place an “Enzyme” on the canvas. Name it “BetaGal”. Add the BetaGal protein
From the “Reactions” tab, choose “1 to 1” then click on the lacZ orf and the beta-gal protein, and choose “Protein Production” from the popup menu. Produce BetaGal protein
From the “Molecules” tab, place two “small molecules” on the canvas. Name the first “SGal” and the second “COLOR”. Add the colorful molecule
Double-click on SGal, select the “Initial Values” tab, and change its initial concentration from 1 uM to 15. Supply SGal
From the “Reaction” tab, choose “2 to 1”, then click on BetaGal, SGal, and COLOR. Add the color reaction
From the “Compartments” tab, choose “Cell”. Place and resize it on the canvas to include all components (but leave Cph8 in the membrane). Add a chassis
From the “Molecules” tab, place a small molecule outside the cell and rename it “Light”. Add light
From the “Regulation” tab, choose “Regulation” and click on Light and Cph8 and choose “Activation” from the popup menu. Regulate Cph8 with light
From the “Inputs” tab, choose “Step input” and click on the Light molecule. Turn on the light
Double click on the “step” that’s on the canvas then click the numerical icon. Change “Step_time” to 50. Change the timing
Your circuit should be complete. Now you can start modeling the outputs. Use the “play” arrow to run simulations with different inputs for each element. Start Simulating!