Download
1 / 11
110 likes | 325 Views
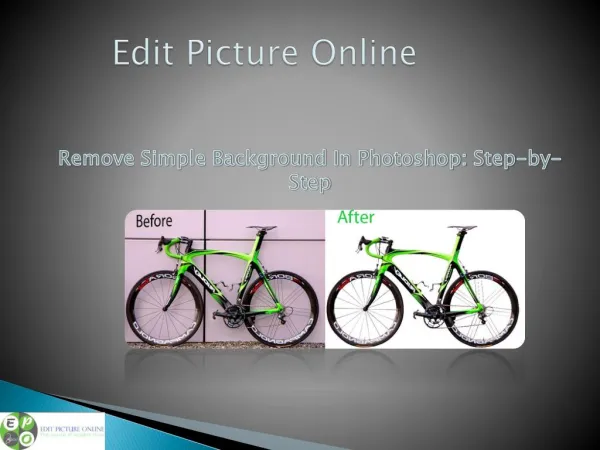
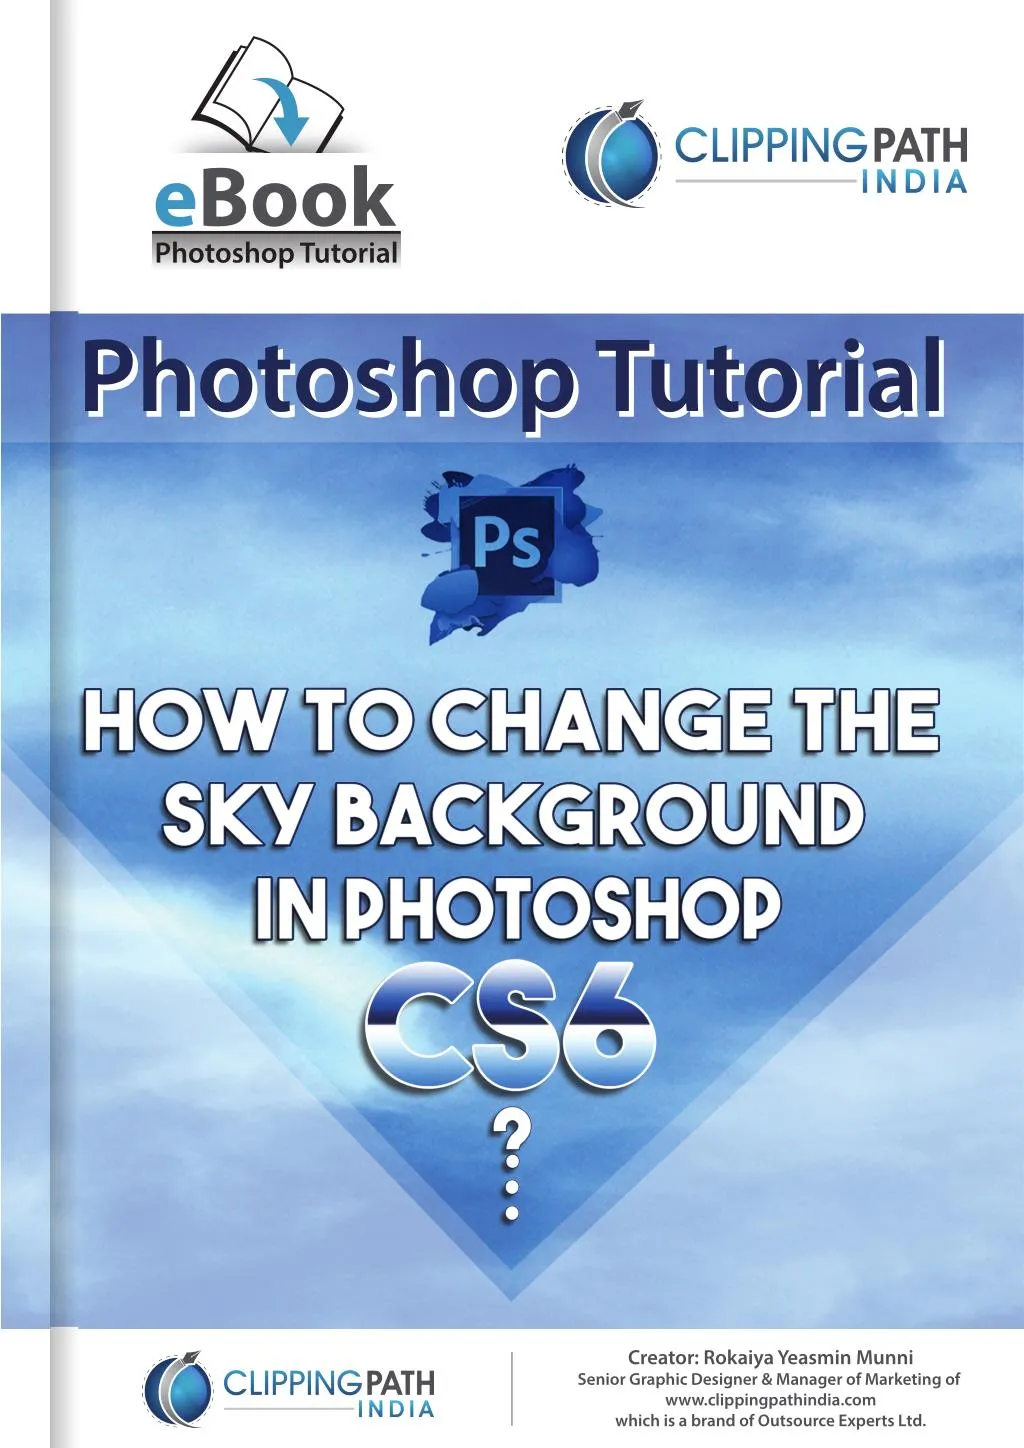
The following photo manipulation tutorial is going to illustrate the process of replacing the sky background in an image using Photoshop CS6.

E N D
eBook Photoshop Tutorial Photoshop Tutorial Photoshop Tutorial Creator: Rokaiya Yeasmin Munni Senior Graphic Designer & Manager of Marketing of www.clippingpathindia.com which is a brand of Outsource Experts Ltd.
1 This is a photo manipulation tutorial on how to replace the sky in an image using Photoshop CS6. Most of the time the sky is a background feature, with the primary focus of the picture on the subject or subjects in the foreground. However, it is possible to overlook the fact that the sky is actually taking away from the focus of the image because it is too light, too bright, or too dark. So it is important that you carefully examine your images and decide if you need to change the sky background. But you may not only want to adjust the sky because it is distracting. Sometimes the sky needs to be enhanced so the image itself is more interesting. Whatever the reason, you will be able to apply the steps in this photo manipulation tutorial to replace the sky and use it to achieve the desired results. Original Image ClippingPathIndia.com Creator: Rokaiya Yeasmin Munni
2 The Steps Search sky image in Google: Search your personal collection or go out onto the Internet and fnd a sky image that has the qualities you are looking for. Remember the replacing the sky in a photo is a matter of getting the efect you desire, so you may want to fnd several diferent types of sky images to achieve your goal. ClippingPathIndia.com Creator: Rokaiya Yeasmin Munni
3 Use downloaded sky with original image: Open the selected alternate sky image and add it to your existing project by copying it. Paste the image onto a separate layer. You should now have two images to work with on your screen. ClippingPathIndia.com Creator: Rokaiya Yeasmin Munni
4 Work on original image to select sky area: Return to your original image by turning of the visibility of the new image. You should now only see your original image. Select Color Range by clicking on Select menu. ClippingPathIndia.com Creator: Rokaiya Yeasmin Munni
5 And be sure you are in Quick Mask Mode. What you would see is a black and white image in the Color Range Window. Adjust the Fuzziness slider: Next, adjust the Fuzziness slider to include all of the sky in the original image. Carefully increase the amount of fuzziness to be sure that all of the sky in the original image is selected, but also be sure to keep the level low enough so it does not include other objects in the image that would be afected by the sky changes you are about to make. Do not to try to be too perfect with this adjustment, as you can deselect smaller items if necessary. ClippingPathIndia.com Creator: Rokaiya Yeasmin Munni
6 Click OK to close the Color Range window and you will see the sky area is selected. Add layer mask in sky image: Now return to the sky layer you added to replace the original sky. Add the layer mask and you will see the new sky replacing the sky in your original image. ClippingPathIndia.com Creator: Rokaiya Yeasmin Munni
7 Change the Blend Mode to Multiply: Change the Blend Mode to Multiply, which will signifcantly enhance the edges of the new sky. At this point, you want to evaluate the sky image you have just added and determine how realistic the new sky looks in relation to the primary subject(s) and to the image as a whole. Remember that the goal is not merely to replace the sky, but to make it look as natural in the original image as possible. If you need to make more adjustments in color of sky image, you will have to go into the Hue Saturation palate from Image>Adjustment>Hue/Saturation and make sure you have selected Layer Thumbnail in the sky image layer. ClippingPathIndia.com Creator: Rokaiya Yeasmin Munni
8 You will see the Hue, Saturation, and Lightness slider bars that you can use to make adjustments to the color of the sky. Changing the color is generally not needed, so you will primarily be dealing with the lightness. For realists: (Think about it. Why would you select a sky image that you will have to be making signifcant adjustments to? It is a better use of your time to fnd a sky color that is what you are seeking to change.) For those who are more adventurous: (If you want a sky that is surreal, here is where you can create unique and dramatic sky backgrounds. There are no guidelines to follow for your creation, so adjust the slider bars until you get the desired efect.) ClippingPathIndia.com Creator: Rokaiya Yeasmin Munni
9 Use a gradient over sky image: To make the sky more realistic, use brush tool to give a white shade at the lower part of the sky image. To do it, you have to make a selection of the sky again by holding down Command and click on Layer Mask Thumbnail in the sky image layer. You can hide the selection by clicking Command+H. Now select the brush tool from toolbar. ClippingPathIndia.com Creator: Rokaiya Yeasmin Munni
10 Then from tool option select a big size of the brush and select opacity by 50%. Now, create a new layer and apply brush tool at the lower part of the sky, make sure that you have selected white color in foreground color palate. Final Image So you now have this step-by-step program to go from an original image with an out-of-place sky to one that fts the purpose of the original image. This is a basic method and there are other techniques you can learn later to enhance your sky and be even more creative. Yet it is important to keep in mind that for the purposes of most people, the sky is a background issue. Images where the sky is the dominant focus of the picture will rarely apply to this sky changing method. After going through these steps, you can see that in most cases you will want the sky to appear as natural as possible for the selected image. It is recommended that you frst learn these basic steps to change the sky background and become more confdent in their use before moving to more advanced levels of photo manipulation. ClippingPathIndia.com Creator: Rokaiya Yeasmin Munni


![Adobe Photoshop CS6 Crack Free Download [WORKING]](https://cdn4.slideserve.com/1291709/download-link-in-description-dt.jpg)