Download
1 / 9
90 likes | 230 Views
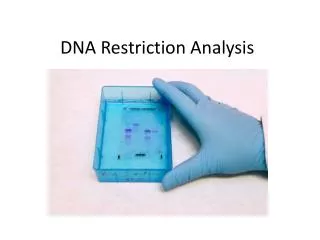
DNA Restriction Analysis. 1. Obtain 4 tubes Use permanent marker to label B, E, H, C (on the lids). B = BamH1 E = EcoR1 H = Hind111 C= Control. 2. Add chemicals according to this Table – buffers and enzymes have already been combined. 3. Centrifuge .

E N D
1. Obtain 4 tubes Use permanent marker to label B, E, H, C (on the lids) • B = BamH1 • E = EcoR1 • H = Hind111 • C= Control
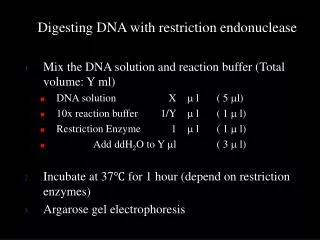
2. Add chemicals according to this Table – buffers and enzymes have already been combined
3. Centrifuge 4. Incubate In hot bath for 30 minutes use tape to label your row of tubes in the incubator
Use gloves whenever you touch this gel 5. Pour a new gel Wet gasket Insert gel box Pour 5 mm of gel Comb placed at end When gel is solid, rotate box so that comb matches to negative pole (owl symbol) Add buffer to cover gel, then remove comb Put lid on and leave chamber at station
After 30 minutes of incubation: Bring your 4 tubes to the tube rack at my desk Leave the tape with your name on it Tubes will be frozen overnight so as to halt the reaction/prevent over-digesting of the DNA
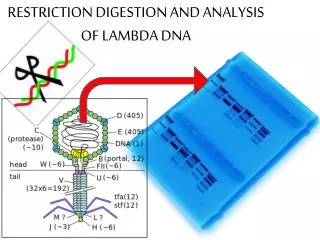
Electrophoresing the DNA • Check that wells are at negative electrode • Add 1.0 ul of Loading Dye to each tube, then spin • Load 10.0 ul of each of B,E,H,C to their own well (keep track where you put each sample) • Hook up chamber to power, voltage to 130v again • Run for about 15 - 25 min • Remove gel slab usinggloves, put in ziplock bag • Bring gel in bag to the UV chamber to observe the fingerprints
Clean up • Buffer poured back into milk jug • Rinse and dry both chamber and gel box • Gels and tubes can be thrown in garbage
AnalysisSketch the following on your page and then answer the questions Number of Bands: 3 4 5 1