Download
1 / 12
120 likes | 749 Views
Major Goals of this Experiment Isolate mitochondrial DNA (mtDNA) from cheek cells and amplify two separate regions of the mtDNA using the polymerase chain reaction (PCR). Following PCR, use electrophoresis to separate and determine the size of the PCR amplified mtDNA fragments

E N D
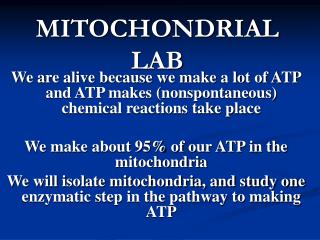
Major Goals of this Experiment Isolate mitochondrial DNA (mtDNA) from cheek cells and amplify two separate regions of the mtDNA using the polymerase chain reaction (PCR). Following PCR, use electrophoresis to separate and determine the size of the PCR amplified mtDNA fragments Compare DNA polymorphisms between individuals in the class Understand the structure and function of mitochondria Lab 9. Human Mitochondrial Analysis using PCR and Electrophoresis
Day 1 Activities (Monday 11/30/09) Module I: Isolation of mtDNA from human hair follicles or cheek cells: Pages 7 - 8 Module II: Amplification of two regions of mtDNA by PCR: Pages 9 - 10 Day 2 Activities (Tuesday 12/01/09) Module III: Separation of PCR amplified mtDNA regions by Electrophoresis: pages 11 - 14 Day 3 Activities (Friday 12/04/09) Module IV: Stain Gels and Visualization of the PCR amplified mtDNA regions: Page 15 Size Determination of the of the PCR amplified mtDNA regions—done at home: Page 16 Overview of the Procedure (page 6)
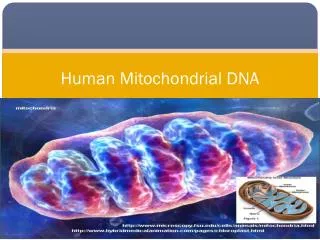
mt DNA—a circular chromosome! 16,569 base pairs 37 genes that encode for ETC complex proteins Mitochondrial ribosomal RNA ATP Synthase The D-loop Varies greatly between individuals Can be sequenced to demonstrate variations. Cannot be used to conclusively link suspects to crime scenes Used to include or exclude suspects for further scrutiny. Genetic Map of mtDNA 0 / 16569 bp 12360 bp PCR Products 11688 bp 9199 bp 8278 bp Fig. 3 (page 2). Genetic Map of mtDNA
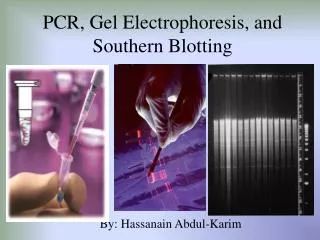
Quick, easy, automated method to make copies of a specific segment of DNA What’s needed…. DNA primers that “bracket” the desired sequence to be cloned Heat-resistant DNA polymerase DNA nucleotides PCR—Polymerase Chain Reaction
PCRPolymerase Chain Reaction(page 5) Three cycles of the polymerase chain reaction
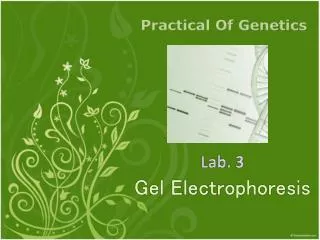
A method of separating mixtures of large molecules (e.g. proteins and DNA & RNA fragments) on the basis of molecular size and charge. How it’s done… An electric current is passed through a gel containing the mixture The each molecule travels through the gel is inversely related to its size and electrical charge: Rate a 1 / size & charge Agarose and polyacrylamide gels are the media commonly used for electrophoresis of proteins and nucleic acids. Gel Electrophoresis
The Process of DNA Electrophoresis Step 1 Prepare a tray to hold the gel Step 2. Pouring the Gel A "gel comb" is used to create “wells” (holes in the gel to hold the mixture of DNA fragments.
Step 2. Pouring the Gel • The gel comb is placed in the tray. • Agarose powder is mixed with a buffer solution, The solution is heated until the agarose is dissolved—like making Jello • The hot agarose solution is poured into the tray and allowed to cool. • After the gel is cooled and solidified, the comb is removed and the gel tray is placed in an electrophoresis chamber.
Step 3. Loading the Gel • Fill electrophoresis chamber with buffer, covering the gel to allow electrical current from poles at either end of the gel to flow through the gel. • DNA samples are mixed with a "loading dye". • The loading dye • allows you to see the DNA as you load it and contains glycerol to make the DNA sample dense so that it will sink to the bottom of the well.
Step 4. Running the Gel • A safety cover is placed over the gel (to keep you from frying yourself) and electrodes are attached to a power supply. High voltage is applied. • DNA fragments migrate through the gel at various rates, depending on their size and • When the loading dye reaches the end of the gel, the current is turned off, the gel removed from the try and then developed to see the DNA fragments
Step 5. Visualization of the DNA Fragments • Stain gel with dye that binds to DNA • Methylene blue (safe) • Time consuming • Poor resolution • View with naked eye • Ethidium Bromide (carcinogen) • Fast + high resolution • View under UV-light • Take Polaroid picture