Download
1 / 17
170 likes | 299 Views
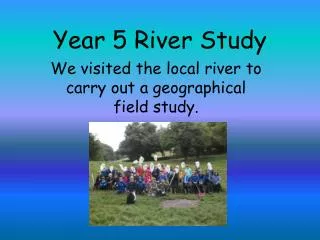
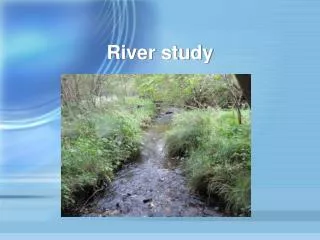
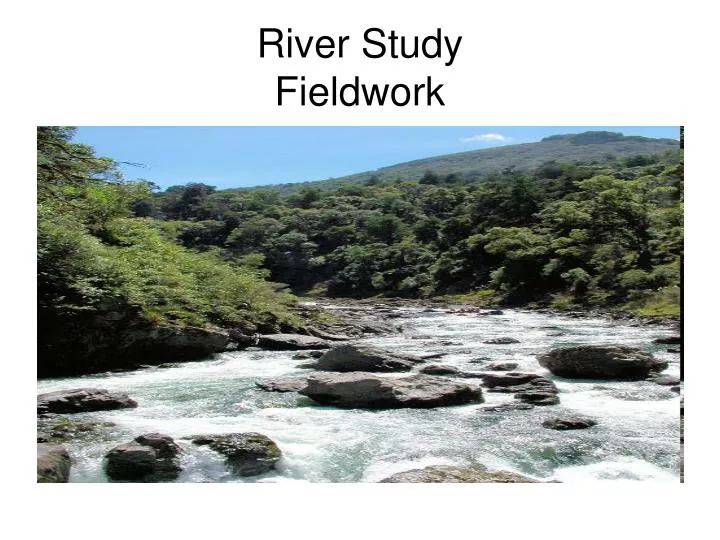
River Study Fieldwork. Planning. Why – Whitewater River Close proximity to the school/Killowen Outdoor centre Studying rivers/fluvial environments in Module 1. The river could be easily accessed and the sites could be reached from the road (accessibility).

E N D
Planning • Why – Whitewater River • Close proximity to the school/Killowen Outdoor centre • Studying rivers/fluvial environments in Module 1. • The river could be easily accessed and the sites could be reached from the road (accessibility). • Data could be safely collected at this river (safety aspect). A risk assessment had been completed by the teachers prior to the fieldtrip to determine that this was the case. Nice clear water so we could see where we were walking • Discussed in class what to measurements would be taken and how eg Width, depth, wetted perimeter etc • Students were informed how to use the equipment required for the above measurements and record results.
Health & Safety Issues • Obtain permission from Parent(s)/Guardian(s) – letters home • Collect medical information – eg asthma – take inhalers • Take into consideration the size of the group • Behaviour of students – fully co-operate with leaders and teachers • Consult a weather forecast • Check each site for access and safety • Carry a first aid kit • Wear warm and waterproof clothing/protective clothing (helmets) • Inform others of your destination and time of return • Bring a mobile phone
Health & Safety in the field • Wear helmets. Buoyancy aids must be worn with waders. Carry a throw line. • Be aware of slippery and uneven surfaces – rocks/boulders. • Use the equipment properly. Take care with hazardous equipment eg ranging poles. • Potential hazards include Weils disease and giant hogweed vegetation. • Strong currents. • Variable depths of water. • Overhanging banks. • In the event of an accident, remove everyone from danger, apply first aid, phone for assistance and stay together.
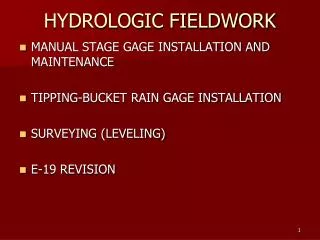
Primary and Secondary Data • PRIMARY DATA – that collected in the field, river width, depth, gradient, GPS co-ordinates etc • SECONDARY DATA • Ordnance Survey maps – for altitude, distance from source (see table) • Weather forecast – bbc.co.uk
Sampling Methods • What is the aim of sampling? It is impossible to due to time and resource constraints to test everything therefore sampling becomes necessary. • Systematic sampling was used for sites. • Random sampling was used for bedload. • Stratified sampling is used for an area which has two distinctive areas e.g a rocky and sandy area on a beach.
What did you do? To investigate how a river can change downstream, it is possible to examine a local river Any river may be divided off into 3 main sections called courses – upper, middle, lower. Various fluvial characteristics are measured at regular points (10 Sites) along the White Water river This type of sampling is called systematic sampling and it allows the investigation of continuous changes as distance increases from the source of the river How are these things measured?
Aim of Fieldwork • To investigate several physical characteristics of the White Water River and how they change from source to outflow • The 6 characteristics we have chosen are: • 1. Velocity (metres/second) • 2. Width (metres) • 3. Depth (cm) • 4. Wetted Perimeter (metres) • 5. Bedload size (cm) • 6. Gradient (degrees)
Hypotheses to be Tested • The river and its channel get wider as you travel downstream. • The depth of the river increases as you travel downstream. • The velocity of the river increases as you travel downstream. • The size of the bedload decreases and its roundness increases as you travel downstream.
Width • This is measured by placing one end of a measuring tape at one side of the river channel, then pulling it out to the other side of the channel • The distance is the width of the river
Depth • This is completed using a metre stick • It is lowered into the water every 10 cm, and the distance from the top of the water to the river bed gives the depth of water • An average of all these readings is taken
Discharge • This is the amount of water passing any point in a river in a certain river, normally given as cubic metres of water per second (cumecs) • It is calculated by multiplying the cross-sectional area of a river channel at a certain point by the speed (velocity) of the river at the same point • The cross-sectional area is obtained by multiplying the width of the river by the average depth • The speed (velocity) of the river is recorded using a flow meter (a small propeller attached to a rod) that when dipped into the river gives a digital reading of the speed of flow in metres per second • Can also be recorded manually using flotation objects such as twigs placed in the centre of the river. These can be used to estimate the surface velocity by timing the twig travelling a distance of 10m
Load • The load of a river is the material it is carrying, ranging from small sediment to large boulders • It is very hard to measure the size of the load in suspension, so instead, we can concentrate on the load lying on the channel bed – called the bed load • This load is measured for size and roundness • By measuring the longest axis of 15-20 random samples at each point an idea of the size of the load is obtained • Each stone is then given a rating for roundness
Wetted Perimeter • This is the surface of the bed and banks, which is in contact with the water in the channel – measured by a tape, weighed down with small stones across the river or with a chain
Gradient • The angle at which the river is flowing • This can be found using a clinometer, whereby 2 ranging poles are set 10m apart, parallel to the bank and the inclined clinometer indicates the angle one is from the other
Improvements to fieldwork • Visit more sites – more than 10 sites. • Take more readings to improve the accuracy of the data collected. The bigger the range in your sample, the more samples you should take to reduce errors e.g river depth. • Use digital equipment for data collection. • Same students collect the same information at each site to ensure consistency in the results. • Allocate more time with the data collection – not rushing – making errors. • Compare results – different time of year / different river • Compare results with other schools. • More practice in using equipment to improve accuracy. • Measure velocity always along the same transect as where you measured width to ensure accurate cross sectional area and so discharge