Download
1 / 10
100 likes | 252 Views
A. Lets Build. Gable Roof. Created by the:- Carpentry & Joinery Section Granville & Chullora Technical College. This is a plan view of a gable roof. To build this roof certain stages must happen to successfully complete correctly and safely. Plan View Gable Roof Construction. 4000 mm.

E N D
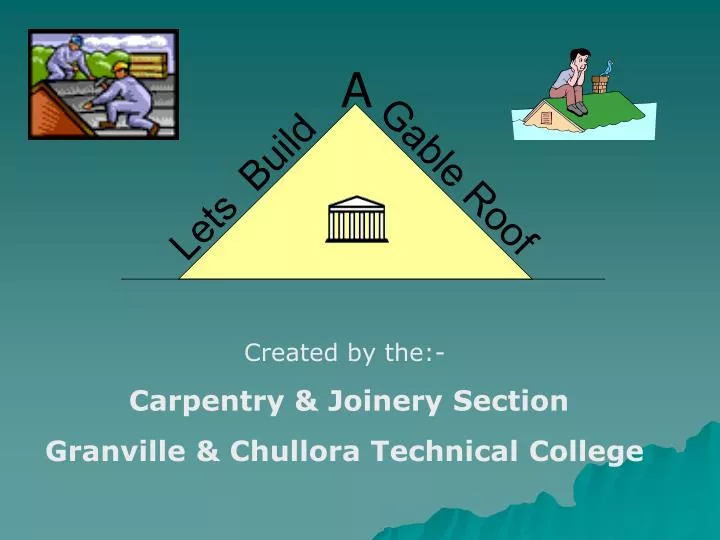
A Lets Build Gable Roof Created by the:- Carpentry & Joinery Section Granville & Chullora Technical College
This is a plan view of a gable roof. To build this roof certain stages must happen to successfully complete correctly and safely. Plan View Gable Roof Construction
4000 mm Center line 3000 mm Center line Center line Center line • The bases or top plate dimensions are 3.0m X 4.0m • Measure from the centre of the top plates out at 450 centers. • Mark ceiling joists and rafters on the top plate. Plan View Gable Roof Construction
Place ceiling joists in position & fix down. This protects you or your mate from falling off of ceiling frame because of racking. • Place ceiling trimmers in position & fix Plan View Gable Roof Construction
Brace for hanger • Place hanger beam in position but don’t forget to brace & plum the hanger before you fix the ceiling joists to it. • A plank next to the hanger will help you in fixing the hanger safely. Plan View Gable Roof Construction
Measure and cut ridge beam & place on top of the hanger beam. • Cut pattern rafter & use it to cut common rafters. • Fix centering rafters into position and lift ridge beam into place.
Plum rafters & brace ridge. This brace also stops wind load from pushing the finished roof over. It must conform with the B.C.A. • Place common rafters into position & fix.
1/3 2/3 • Place pitching plate into position then outriggers will sit on top and support the barge rafter. • The outriggers must conform with the B.C.A in the sense that the counter lever is 2/3 inside and 1/3 outside the pitching plate.
1. Brace roof using hoop iron or speed brace material & once again it must conform with the B.C.A. 2. Place Painted fascia & painted barge board to finish the work. Don’t forget the bell cast for roof material
Gable Roof • Safety first ( you are working at height) • Don’t cut any timber that is painted • Use triple grips & screws for fixing. • Efficiency in building will make the task easier. • Clean up at the end of the day must be done safely & correctly • When in doubt ask the teacher !!!!!!!