Download
1 / 6
60 likes | 166 Views
Making the Haiti Project Video. By Gamalieel Gonzalez Edited by Mrs. Montgomery. How W e Started. Contacted Numana and got permission to use and edit their video on www.vimeo.com . Brainstormed ideas for our skit and video.

E N D
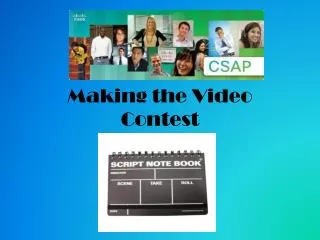
Making the Haiti Project Video By Gamalieel Gonzalez Edited by Mrs. Montgomery
How We Started • Contacted Numana and got permission to use and edit their video on www.vimeo.com . • Brainstormed ideas for our skit and video. • Started taking pictures of students tutoring at the Elementary School.
Action • Decided to try the food that we are working for. • Took pictures as we cooked and ate the food. • Made video of our skit. • Found music for the video.
Numana’s Video • Numana video was found on www.vimeo.com. • Rick Rogers, our field coordinator, told us about (www.zamzar.com) which would convert Numanavideo from Mp4 to Windows Movie Maker (WMV). • After we converted the video, we saved it to the video file on the computer. • Opened Movie Maker – imported Numana video from video file to Movie Maker and edited it to desired timeline length.
Editing the Final Product • We used a USB cord to save our video of the skit and pictures of our tutoring from the digital camera to the computer. • Imported the video of our skit and pictures of our tutoring from our computer to Movie Maker. • Went to timeline on Movie Maker and moved everything to desired positions.
Final Steps • Recorded several people speaking into an audio recorder to see which sounded best for video. • Imported voice recording from audio recorder using USB and saved to music file. • Imported voice recording and music from music file to Movie Maker. • Dragged sounds to desired place on our final video. • Added titles and headings to transition slides and pictures. • Made credits to give everyone their recognition. • Burned a CD to mail to OTAC because the file was so large.