Download

1 / 2
40 likes | 168 Views
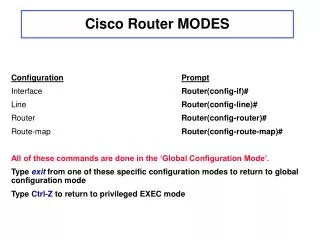
ADS42JB49 CONFIG. June 2014 Texas Instruments. IMPORTANT: Push the hardware reset (SW1) on the ADC board. This is required each time the EVM is powered up to ensure proper operation Start the EVM software and click on the “ connected ” button.

E N D
ADS42JB49 CONFIG June2014 Texas Instruments
IMPORTANT: Push the hardware reset (SW1) on the ADC board. This is required each time the EVM is powered up to ensure proper operation • Start the EVM software and click on the “connected” button. • Click on the LOAD button and browse to the configuration file ads42jb49_lmf_421_2Gbps_fs_200M.txt • The configuration file sets the ADC up for Fsampling = 200MHz, lane rate = 2GHz, L=4, M=2, F= 1 • Click on the SEND button to load the configuration file. • IMPORTANT: Click on the LMK04828 Outputs tab and click on the SYNC button. This is needed to setup the correct frequency for the output clocks.