Download
1 / 23
230 likes | 325 Views
Find the full instruction of how to using bio-profiler software<br>http://bioprofiler.com.au/

E N D
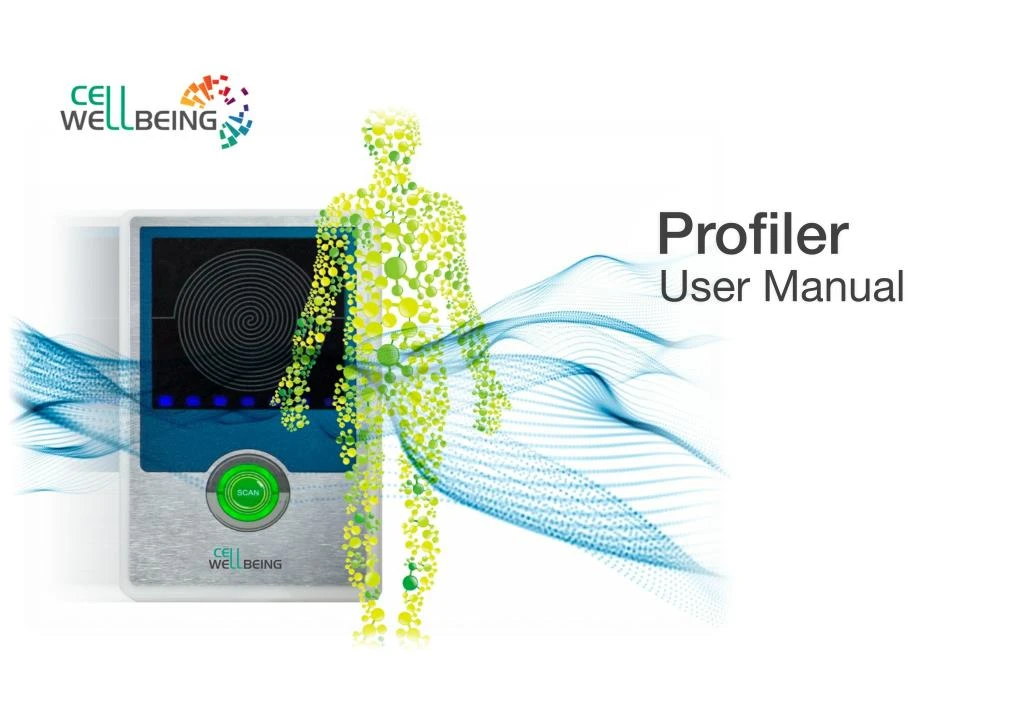
Profiler User Manual
before scanning 1 2 3 1 2 3 Plugin the Bio- Profiler to laptop USB socket. Remove the protection film from the plastic disc. Please double click on the profiler icon on your desktop to open the software. 2/23
profile plan account login When plugged in the first time, the Profiler will establish an internet connection to your profile plan account and will ask for your username and password. These have been emailed to you from our business portal. If you cannot find this email please login to your user account at buisness.cell-wellbeing.com and select the tab 'Profiler' and you will be able to view your account details here. 3/23
user license details Please check the pre-filled data for correctness, and change fields if necessary. Now click „Save Licence Details“ to complete. 4/23
client data entry Once you have completed the license details select the „CLIENTS“ tab and then „NEW“. This will enable you to begin using the system and sending in data for profiling. You are not able to hit the „SCAN“ button, unless you have filled in all mandatory fields. Then the field „ Basic Data“ in the progress bar in the right column turns to bold. 5/23
client data entry Fill in the data fields ensuring that you provide the information in the mandatory fields marked in yellow*. Once filled in, ensure that you place the hair samples on to the profiler before you select the ‘Scanning’ button. 6/23
hair sample 2 3 1 1 2 3 • Take 4 strands of hair with the root attached (small bulb at the follicle end) Preferably from back of the head/nape of neck • Eyebrow/body hair will do if head hair not available, optimum length 2 to 3cm but shorter is testable • Dyed or permed hair can be tested – please wait 5 days after hair treatment before testing • Place hair directly on to the scanning plate • Do not scan in plastic or other containers •Remove and dispose of hair after scanning. Do Not keep hair samples • Cover with the retaining disc • Commence the scan process from the computer end not the scanner end button 7/23 •
profiler scanning The scanning process takes about 10 seconds. 8/23
requesting a report online Once the scanning is completed, select „Send Now“ and then „Wellness Report“ from the drop down menu. Other profile options may be available depending on your profiler set-up. For some organisations, the number of remaining stock amount is shown in brackets after the profile option when selecting „Send Now“. 9/23
accept terms and conditions You are required to accept the terms and conditions of use and the profiler user statements before you submit any data for testing. 10/23
data sent for processing You will receive confirmation that the data has been successfully transferred. 11/23
not connected to the internet If you are not connected to the internet and choose the „Send later“ option, you can select „Pending Outbox“ when connected to the internet and all tests not previously sent will be transmitted. 12/23
report inbox The profile results will be delivered directly into the software and you will be notified by the appearance of a small PDF icon in the bottom bar of the page. You can retrieve a list of the retrieved reports by clicking on one of the PDF icons in the statusbar or menu. 13/23
new client Select „New“ to clear the data and commence entering basic data for a new client. 14/23
re-testing from client list If a client returns for a re-test, DO NOT re- enter their data but search for their existing record in the search box, using surname, first name, as above. Then scan and ‘send’ as normal. When searching in that box, you don‘t need to enter the complete names. Just type in some characters, then type a comma and enter search character for the next column. 15/23
searching client request Select the ‘history’ tab to review all tests completed for a client (or pending tests). 16/23
searching test history There are a number of search criteria you can use to review requests and tests, please select „Filter“ 17/35
report options Select the reports option to view all of the reports, viewed and un-viewed to navigate to a specific client. 18/23
online update of the software If you go to Maintance -> Search for an internet update and if you do NOT have administrator privileges on your system, the above box will popup. This means, the update application will be launched now but it might be necessary to supply the credentials of an user with administrator privileges. If you do not provide them, the update cannot be installed. The software will check repeatedly (every 3 to 7 days) for new updates and will inform you if there is one available. 19/23
All incoming and outgoing data to our servers is encrypted to ensure it cannot be traced and hacked and our servers are SSL (the highest level of online security) certificated for additional piece of mind. data handling and protection We strongly suggest that you back up your own systems to keep locally stored records secure and run firewall and virus protection on all machines hosting the profiler software. We take data protection very seriously and we do everything within our power to ensure that any data provided is kept in a secure environment and adequately protected by suitable firewalls and systems. Incoming test data and final report PDFs are kept for 90 days, after which they are deleted from our database. All financials records are stored for the statutory period. All data is stored in a secure server environment and is duplicated and backed up to ensure safety and compliance along with first class service. 20/23
best practice physical body and the bio-field which reflects these changes even thousands of times per second. Having worked with this system for 9 years we have developed a best practice working model to optimise consistency of results and client compliance. Inter-test variability is an issue with all testing protocols and our bio-profiling system is no different. The effects of diet, environment and lifestyle are constantly changing the cellular interactions, even thousands of times per second. The bio-field is a dynamic and non-linear field which is constantly adjusting to all of the myriad of cellular changes and environmental shifts in the body. There is a constant unseen interplay between the To minimise the impact of this each profile is generated using the current test data, a correlation algorithm and any previous results within a 90 day period. This gives a statistical bias which runs through the 90 day period and gives better consistency. In order for the algorithm to work effectively the same name and date of birth are required for each test. Hence it’s very important that you use existing data when completing a retest and DO NOT generate a duplicate record. 21/23
important user information The Profiler and report provide an indication of topics which may require user consideration. These ‘topic’ areas can be overlooked in other test procedures. The system provides suggestions in many cases, to move towards the restoration of bodily functions and overall systems recovery. The technology has been developed in Germany, certified to the high EU standards and is based on the principles of natural and empirical medicine. It should be noted that this process/report is not a classical laboratory examination with absolute figures. It is also not intended to replace or compete with such a test. It provides indications on the extent of reaction/resonance in the person, with regard to important environmental influences on the field of information. The evaluation may assist users to consider other options on a cellular level and the level of substance exchange, which in turn could lead to improved health and wellbeing. ! It is normal that fluctuations/changeability are present, these fluctuations are acceptable and known in many cellular examinations. This analysis is in no way intended to be a complete medical evaluation. To that extent, no final warranty is given or assumed. Any medical complaints should always be treated by a qualified professional. To expand on this, the testing protocol can be explained using the onion ring principle, i.e. layered. Profiler results are indications of underlying resonance responses and it is for a qualified medical Doctor, practitioner or health professional following the Profile results, to interpret them and apply them to their clients/patients needs using their own professional opinion and advice. The first profile report recognises the most prominent resonant emissions intensities present, which are then released (the tension in the bio-field dissipates) during the scanning process. The second scan, the next layer and so on and so on. In order not to let this changeability distort the picture and obtain expressive indications for decision making, we suggest a minimum 30- day period between tests. If a specific protocol (for example supplementation) is being followed, we recommend testing only after all suggested programs are completed fully. All distributors and their users must NOT make any claims in advance of the nature of the Profiling system that are not explained or laid out in this description. No responsibility or liability rests with the Profiler, the Bio-Profile reports or the company in the event that the service is misused or marketed in a false and misleading manner. From extensive practitioner experience, there can be recognisable patterns in the profile results when used as recommended. Responsibility for the health and welfare of all Profiler users’ clients remains firmly with the user and their professional opinion and indemnity. 22/23
Profilertroubleshooting Please ensure that your system is running on Windows XP and above and that all windows updates are up to date. softwareInstalled, but cannot connect to the Profiler ? softwarewill not install Please ensure that you have followed all instructions on page 4 of the user guide – before installation. If your software is open but your profiler will not connect, then try going to the settings page and using the „COM autodetect“ button to identify the right com port for connection. • • The device should not be connected You windows updates must be up to date If the above process does not work, then please contact the immediate person who registered you as an user of the profiler and provided you with your login details. This may be your local distributor or sales agent. To install the software, then once installed, you should remove the folder from future scans which may block online updates of the program: c:/program files/cell wellbeing If this does not work then it might be your „anti-virus“ software which is blocking the program. Before trying to re-install the software please disable your anti- virus and try the process again. The anti-virus/firewall-software may ask you if you want to block or allow some of the downloaded files. You should click allow in all cases otherwise the software will not run. If it is the „anti-virus“ issue enables you to install the software, then once installed, you should remove the folder from future scans which may block online updates of the program: c:/program files/cell wellbeing 23/23