Download
1 / 22
220 likes | 439 Views
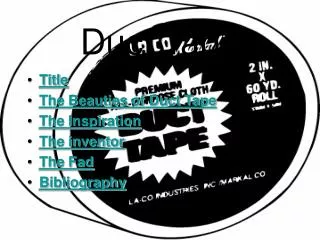
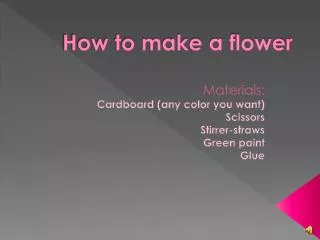
How to build a duct tape flower. In 20 easy, idiot-proofed steps!. STEP ONE. Cut the wire to the length you want your flower to be. Step two. Cut a piece of tape, the colour you want the stem, that is about the length of the wire. Step three.

E N D
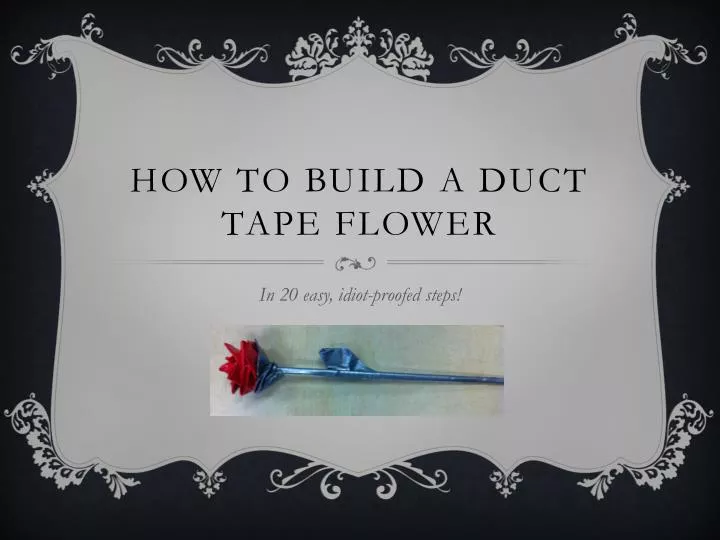
How to build a duct tape flower In 20 easy, idiot-proofed steps!
STEP ONE Cut the wire to the length you want your flower to be.
Step two Cut a piece of tape, the colour you want the stem, that is about the length of the wire.
Step three Rip that piece of tape lengthwise to create two equal pieces.
Step four Roll the wire up in the tape, non-sticky side out.
STEP FIVE Repeat step four with the other half.
Step six Choose the tape colour you want for the petals and cut a long strip.
Step seven Tear or cut multiple squares of that tape.
Step eight Bring one corner towards the opposite corner, leaving two strips of the sticky side showing.
Step nine Do the same thing with the other top corner to make a point.
Step ten Tightly wrap the petal around the tip of the stem, sticky edge towards the bottom.
Step eleven Repeat steps 8 to 10, gradually moving the petals down the stem to create the flower.
NOTE! Make sure to rotate the petals as you add them so the points don`t all align. After the first few you may angle the points and flare them out.
Step twelve Take some of the same coloured taped you used to make your stem and create some petals to put around the base of the flower.
Step thirteen For leaves, pick the stem colour, or any other colour you would like the leaves to be, and cut yourself a long strip of it.
Step fourteen Cut some pieces from the strip that are slightly larger than the ones used for the petals – more rectangular shaped.
Step fifteen Bring the two corners of one of the longer sides towards the middle, but leave a strip of sticky between them.
Step sixteen Fold the tip in to the edges of the two triangles, lining the edges up.
Step seventeen Bring one of the sticky corners to the opposite edge, creating a point.
Step eighteen Place the leaf where you would like it on the flower and wrap the sticky edge around the stem to hold it in place. Wrap extra tape around the base of the flower if it isn’t quite staying where you want it
Step nineteen Repeat steps 15 through to 18 until you have a sufficient number of leaves on your duct tape rose.
step twenty You’re done! Stand back and enjoy your (hopefully) beautiful duct tape rose!