Download
1 / 15
150 likes | 156 Views
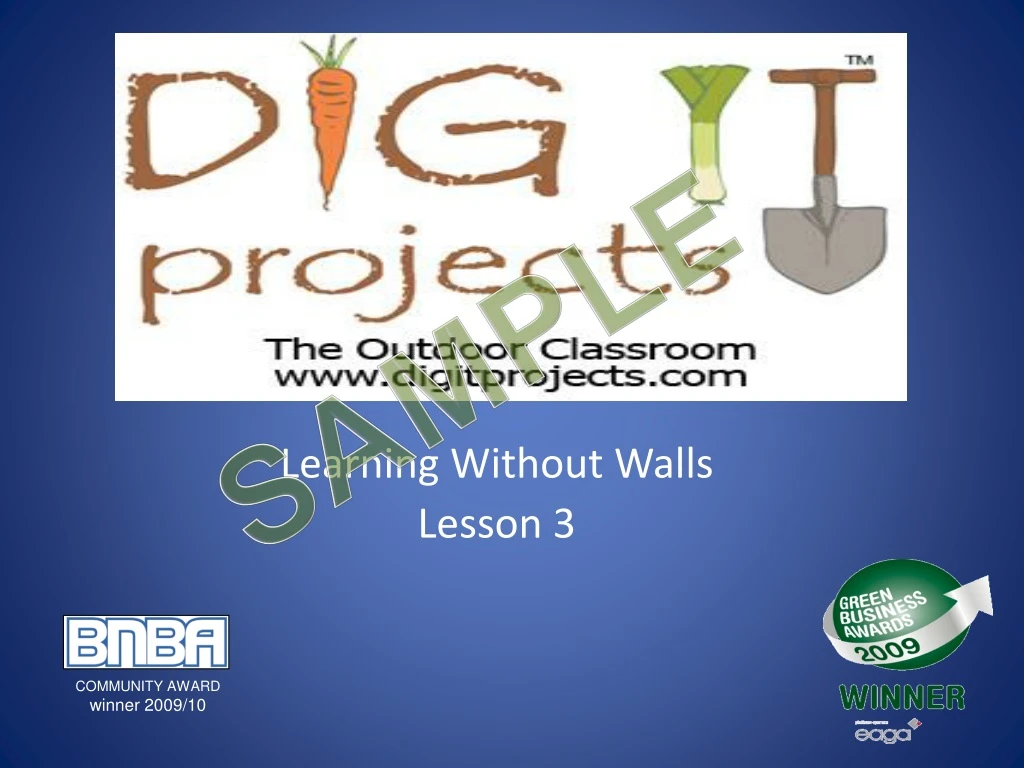
S AMPLE. Learning Without Walls Lesson 3. COMMUNITY AWARD winner 2009/10. Roots & Shoots. This is a project to discover the way a seed germinates. Each student will create their own seed container/propagator and watch as the

E N D
SAMPLE Learning Without Walls Lesson 3 COMMUNITY AWARD winner 2009/10
Roots & Shoots This is a project to discover the way a seed germinates. Each student will create their own seed container/propagator and watch as the Bean produces its shoot and root SAMPLE
What we will learn? • Seed germination – Swelling, root development & shoot (stem & leaf) growth. • The requirements of seeds – Water, light & dark, warmth. • Direction of roots & shoots SAMPLE
Equipment required • Small plastic water bottle • Scissors • Sellotape • Pen • Black sugar paper or card • Kitchen towel or cotton wool • Broad bean seed • Watering can/jug SAMPLE
Equipment required Small plastic water bottle The green line is where you cut the bottle SAMPLE
What you have to do? • Take your small plastic water bottle and remove the label from around it. You need the bottle to be completely clear in order to see the germination • Make a small hole on the side where the top of the bottle starts to slope in at the neck. You can draw a line on the bottle to allow the student to cut along it and create his or her own container. SAMPLE
What you have to do? • You now need to half fill your container with damp kitchen roll or cotton wool. It needs to be well packed but not tightly squeezed in. • Take your broad bean seed and place it upright against the side of the container. • It is important that the bean is standing upright, as this is how it will sprout so you can clearly see. Also to stop it lying in too much water and possibly rotting. SAMPLE
Planting the bean seed Take your broad bean seed and place it upright against the side of the container. It is important that the bean is standing upright, like this, so you can clearly see how it will sprout. This position will prevent it lying in too much water and possibly rotting. SAMPLE
What you have to do? • Fill the rest of the container with kitchen roll so the seed stays in place and is clearly viewable. • Cut a piece of black paper/card to the same height as your container and long enough to wrap around the bottle so it is completely covered. Make sure that the card is loose enough to slide off the bottle so you can view the seeds development. Secure with a piece of sellotape. SAMPLE
What you have to do? • Each student writes their name on the card and container too. Be sure to write the date of when you first sowed the seed to keep a diary of its progress. • You can now place your containers in a warm light place. Preferably a windowsill that is secluded from any drafts. SAMPLE
What you have to do? • Your seed will need to stay damp and will occasionally need watering. With a watering can or jug, carefully pour some water into your container. You only need to put around 2 cm’s of water into the bottom of the bottle and the kitchen roll will soak it all up. SAMPLE
What you have to do? • Leave your seeds and take a look at them everyday by carefully lifting the card sleeve. You will soon start to see the root breaking from the seed and then the shoot. • Don’t worry if the seed was put the wrong way up. This is a good experiment to watch the roots and shoots coming out the wrong way round and making a full U-turn to go the correct way. The roots will know to head for the dark and the shoots will know to head for the light. SAMPLE
What you have to do? • If you wish to plant these out then you will need to do it before the seed starts developing any leaves as too much energy would be used up without the nutrients from soil and will produce weak plants. You will need to carefully tip the bean and paper from the container and place into a deep enough hole in the soil to not break the root. Placing it deep enough for the tip of the shoot to just be showing on the surface of the soil. SAMPLE
Transplanting SAMPLE
What we can then do? • Discuss and record the main features of the root and shoot developments. • Relate the growth rate to the passage of time and especially the rate of growth of the shoots when re-planted in soil • As well as recording the growth in writing, also ensure that drawings are made and, perhaps, photographs taken • Explain what has been observed • Prepare for and set up a display of work SAMPLE