Download
1 / 47
470 likes | 622 Views
Welcome to the World of Digital Photography!. Learning to shoot photos with the Powershot 460 digital camera. Basic Components and Controls. The following demonstration will teach you how to get started taking pictures with the Powershot 460 digital camera.

E N D
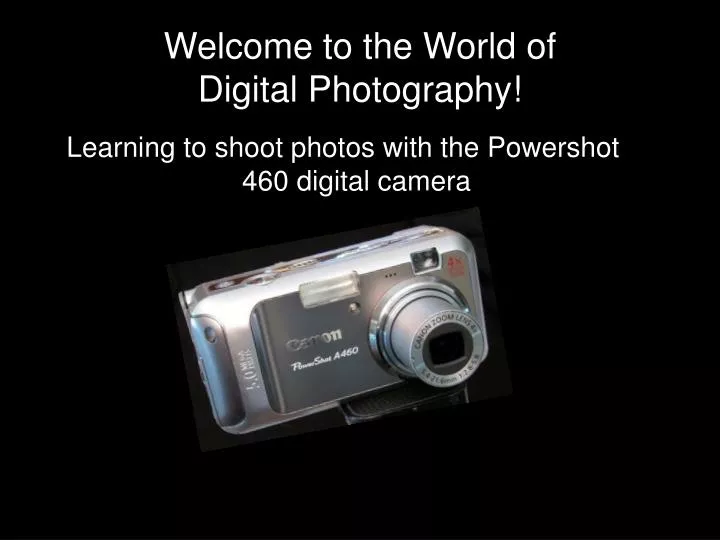
Welcome to the World ofDigital Photography! Learning to shoot photos with the Powershot 460 digital camera
Basic Components and Controls The following demonstration will teach you how to get started taking pictures with the Powershot 460 digital camera. Information about the advanced features can be found in the paper manual that came with the camera. Let’s get started!
Basic components and controls Let’s begin by learning where the various components and controls are on the Powershot 460. Please have your camera in hand as we go through the exercises.
Front view of the Canon Powershot 460Basic components and controls With your new Powershot 460 digital camera in hand, find the controls indicated in the following screen from the front view of the camera.
Front view of the Canon Powershot 460Study this graphic to learn the name of each component Shutter button Viewfinder Flash Power button Lens
Basic components and controlsStudy this graphic to learn what each component does Viewfinder: use this to see your subject Shutter button: push to record a photo Flash: provides added light to your photo Power button: turns camera off and on Lens: how the camera “sees” your photo; don’t cover this up!
Front view of the Canon Powershot 460Basic components and controls Try to identify what each of the components and controls does in the next slide while studying the front view of the camera.
Basic components and controls Viewfinder: use this to see your subject Shutter button: push to record a photo Flash: provides added light to your photo Power button: turns camera off and on Click to Start Here Lens: how the camera “sees” your photo; don’t cover this up!
Back view of the Canon Powershot 460Basic components and controls With your new Powershot 460 digital camera in hand, find the components indicated in the following screen from the back view of the camera.
Back view of the Canon Powershot 460Study this graphic to learn the name of each component Viewfinder Shutter button Power button Mode Dial LCD Monitor Multi-function button
Basic components and controlsStudy this graphic to learn what each component does Shutter button: push to record a photo Viewfinder: window to see your photo subject Mode Dial: Auto and Manual settings; Review photos Power button: turns camera off and on LCD Monitor: see your photo subject & display your settings Multi-function button: Zoom, Macro and Flash
Back view of the Canon Powershot 460Basic components and controls Try to identify what each of the components and controls does in the next slide while studying the back view of the camera
Basic components and controls Shutter button: push to record a photo Viewfinder: window to see your photo subject Mode Dial: Auto and Manual settings; Review photos Power button: turns camera off and on Click to Start Here LCD Monitor: see your photo subject & display your settings Multi-function button: Zoom, Macro and Flash
Lets shoot a photo: 4 Easy Steps! Now that you know where controls on the camera are,let’s take a quick photo! 1. Press the Power Button to turn on the camera
Lets shoot a photo: 4 Easy Steps! 2. Turn the Mode Dial to Auto
Lets shoot a photo: 4 Easy Steps! 3. Aim the camera at the subject Look through the viewfinder Or Use the LCD monitor to center your subject
Lets shoot a photo: 4 Easy Steps! 4. Focus and ShootFirst, press the shutter button halfway for automatic focus.Then press the shutter button fully to shoot the photo.
Congratulations! You have taken your first digital photo! Did you see it on the LCD Monitor? Would you like to review your photo? To review your photo, use the Mode Dial and the Multifunction button.
How to Review your Photos Turn the camera on. Turn the Mode Dial to Playback.The last recorded photo will display in the LCD monitor. Press on the Multifunction button to cycle forward or back through your photos.
Controls and ComponentsWhat does everything do? Now let’s explore the additional control settings available in Auto Mode to give you more flexibility in shooting photos.
Control settings: Mode Dial With your new Powershot 460 digital camera in hand, find the Mode Dial.
Control settings: Mode Dial The Mode Dial sets up the camera for using basic or advanced features on the camera. Turn the dial to change settings for different modes: Playback-for reviewing photos Auto-for easy shooting Manual -for advanced control over shooting Scene-for shooting special scenes Movie-shoots a movie
Control settings: Mode Dial To set the camera in Auto Mode: • Turn the camera on. • Turn the Mode Dial to Auto Mode. • Can you identify the modes on the dial? Clue: there are 5 • Answer: (click the mouse button) • Playback-for reviewing photos • Auto-for easy shooting • Manual -for advanced control over shooting • Scene-for shooting special scenes • Movie-shoots a movie Auto Shooting Modeis displayed
3 1 4 Control Settings: Multi-function Button The Multi-function button controls several settings: Zoom in on subject 2 Set in Macro forclose-ups, like flowers Turn Flash on and off Zoom out on subject
Control Settings: Multi-function ButtonFlash To set Flash in a photo, change settings with the Multi-function button • Turn the camera on. • Set the camera in Auto Mode (use the mode dial). • Press the Flash button to cycle through the flash settings.
Control Settings: Multi-function ButtonFlash What flash settings are available in Auto Mode? Answer: Auto Flash: camera will flash whenever additional light is necessary Flash Off: camera will not flash
Control Settings: Multi-function ButtonZoom To Zoom in and Out on the subject, change Zoom settings with the Multi-function button • Turn the camera on. • Set the camera in Auto Mode (use the mode dial). • Look through LCD monitor. Press on the button at the top of the dial then on the bottom of dial
Control Settings: Multi-function ButtonZoom What happens on the LCD monitor? Answer: Pressing on button at the top of the button Zooms in on subject Pressing on button at the bottom Zooms out on subject
Control Settings: Multi-function Button-Macro To shoot close-ups photos like flowers change to Macro with the Multi-function button • Turn the camera on. • Set the camera in Auto Mode (use the mode dial). • Press the Macro button to cycle through the available settings.
Control Settings: Multi-function ButtonMacro What settings are available in Auto Mode? Answer: The two settings available in Auto Mode Macro: for shooting close-up shots Normal: for all other shots
Summary of Auto Mode Settings In Auto Shooting Mode Use the Multifunction Button to set: Flash or No Flash Zoom in and out Macro for closeups
Photo Assignments Following are three assignments. Each assignment has two photos. Take the first photo in Auto Mode; do not make any additional setting changes. Review the photos using the LCD monitor. Assignment 1: Take one photo indoors of a friend or family member in Auto Mode; Using the Multi-function button, change to No Flash and take the second photo of the friend. Review your photos-what difference do you see when using the camera with No Flash?
Photo Assignments Each assignment has two photos. Take the first photo in Auto Mode; do not make any additional setting changes. Review the photos using the LCD monitor. Assignment 2: Take one photo of a friend or family member in Auto Mode; Using the Multi-function button, Zoom In on your friend and take the second photo. Review your photos-what difference do you see when using the camera with Zoom In?
Photo Assignments Each assignment has two photos. Take the first photo in Auto Mode; do not make any additional setting changes. Review the photos using the LCD monitor. Assignment 3: Take one photo of a flower in Auto Mode; Using the Multi-function button, change to Macro and take the second photo of the flower. Review your photos-what difference do you see when using the Macro setting?
Advanced Control Settings:Multi-function button plus Function button Using both the Multifunction button and Function (Func) button allows you to: Use the Self-timer (also known as Drive Mode) Determine the size of your photos First let’s learn the Self-Timer feature.
Advanced Control Settings:Multi-function button plus Function button Use the Self-Timer and be in the photo too! • Turn the camera on. • Set Mode Dial to Auto. • Press the Func (function) button. The camera is now in Drive Mode. The icon of a square in the LCD monitor indicates Drive Mode.
Advanced Control Settings:Multi-function button plus Function button Use the Self-Timer and be in the photo too! • Press the Multifunction Button to select a timer for the number of seconds before camera shoots photo. • Choose 10 seconds, 2 seconds (not recommended!), or customize for additonal time (see the manual).
Advanced Control Settings:Multi-function button plus Function button • Press the Func button again to set the camera.
Advanced Control Settings:Multi-function button plus Function button • Center your subject. • Press the shutter button. • Run and get into the picture. • Review your photo! Before After
Advanced Control Settings:Multi-function button plus Function button The final advanced setting in Auto Mode is Recording Pixels. What are Pixels? Pixels are dots of color. There are millions of dots of color in a digital photo you take. Some photos you will want to print big, some small. Some you will only want to send through email to your friends. By setting how many pixels your camera records in your photos, you can make good decisions about printing your photos.
Advanced Control Settings:Multi-function button plus Function button So, why not shot all of my pictures to record as many pixels possible? Setting the Pixels your camera records will also determine how much space your picture will use on the camera memory card. The higher the Pixels you capture, the fewer the photos that will fit on your camera memory card. Let’s set up the camera to Record the Pixels.
Advanced Control Settings:Multi-function button plus Function button How to Set up your camera to Record the Pixels • Turn the camera on. • Set Mode Dial to Auto. • Press the Func (function) button. • Press Up on the Multifunction button to change to Record Pixel mode. The icon of an SL symbol in the LCD monitor indicates Record Pixel Mode.
Advanced Control Settings:Multi-function button plus Function button How to Set up your camera to Record the Pixels • Press the Multifunction button to see the different Record Pixels settings. • After choosing a setting, press the function button to set.
Advanced Control Settings:Multi-function button plus Function button How many different settings are available for Recording Pixels? Answer: There are 6 different settings Question: Name two of the different settings, based on what you see on the LCD monitor Answer: 2952 x 1944 (Large) 2048 x 1536 (Medium 1) 1600 x 1200 (Medium 2) 640 x 480 (Small) 1600 x 1200 (Postcard) 2592 x 1456 (Wide)
Photo Assignments Assignment 4: (Final assignment!) Using the Multi-function button, change the Record Pixels to at least three different settings, and take photos. Review your photos-what differences do you see when using the different Record Pixels setting?
Basic shooting with the Powershot 460 Designed and developed by Della R. Shorman Colorado Department of Education for use by the 21st Century Community Learning Centers