Download
1 / 15
150 likes | 280 Views
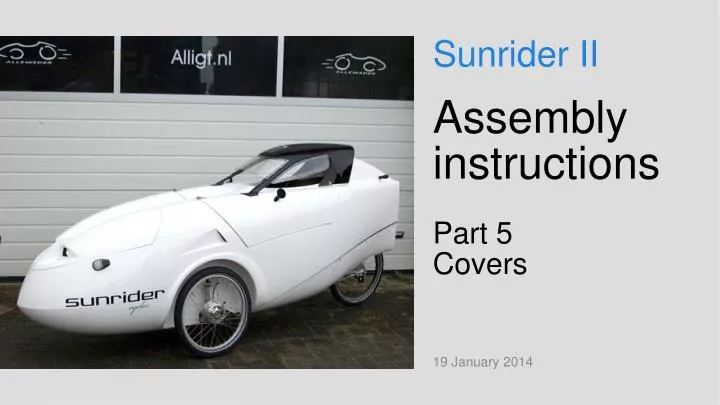
Sunrider II. Assembly instructions Part 5 Covers. 19 January 2014. Contents part 5 – Covers Sec. Subject Slide 5/1 Rear wheel cover 5/2 Entry cover 5/3 Bracket cover. 5/1. Rear wheel cover. . Cut a hole in the rear cover along the markings. . Fit it.

E N D
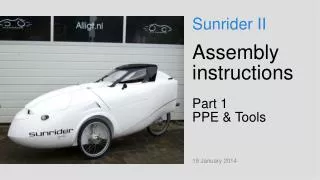
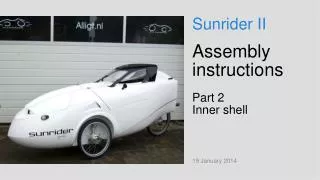
Sunrider II Assembly instructionsPart 5Covers 19 January 2014
Contents part 5 – Covers Sec. Subject Slide 5/1 Rear wheel cover 5/2 Entry cover 5/3 Bracket cover
Push the cover forwards until it rests against the outer shell. Fixate it in this position with some tape.
The hood must fit all around in the recess of the outer shell. Where needed, re-size the hood. Smoothen the re-sized hood using a sanding block.
Apply pieces of velcro-tape to avoid flapping noises of the hood. Maintain 1 cm clearance between the velcro-tape and the edge of the recess. This way, the velcro-tape remains invisible when the hood is assembled.
Fit the hood again. The clearance between the hood and the tire & rear fork shall be 2 cm minimum. Drill 7 holes 3 mm as indicated through the hood and the outer shell (halfway the recess). Re-drill the holes in the outer shell to 10 mm. Push the rivet insert nuts in this holes and fasten it using the rivet insert nut plier.
Assembly of the inserts might need some practicing. If so, use the part cut from the hood for that.
Mind the position of the bottom insert.- too much to the middle: the inner shell sits in the way.- too much to the outside: the chain-tube sits in the way. Re-drill the holes in the hood to 7 mm.
Apply a laminate at both sides of the hood-opening, consisting of 2 layers of glass fabric ## g/m2. Assemble the hood using M6 bolts with big bold head and nylon washers.
Bend the entry cover frame to fit the entry cover.Apply some kit on the entry cover frame. … and on the entry cover.
Bolt it to the entry cover using 2 bolts M# x #. … and on the entry cover.
Bend the entry cover frame to fit the entry cover.Apply some kit on the entry cover frame. … and on the entry cover.