Download
1 / 28
280 likes | 444 Views
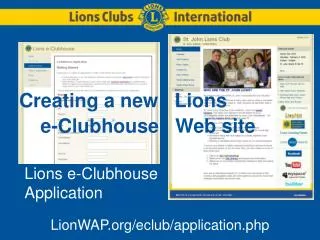
Lions e-Clubhouse Application. Creating a new Lions. e-Clubhouse Web site. www.e-Clubhouse.org/application.php . Fill in the Application. Mandatory fields:. Club Name District Country State Club Number.

E N D
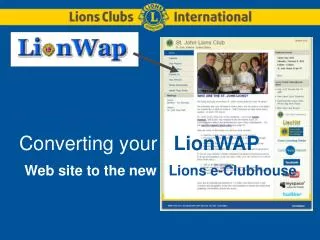
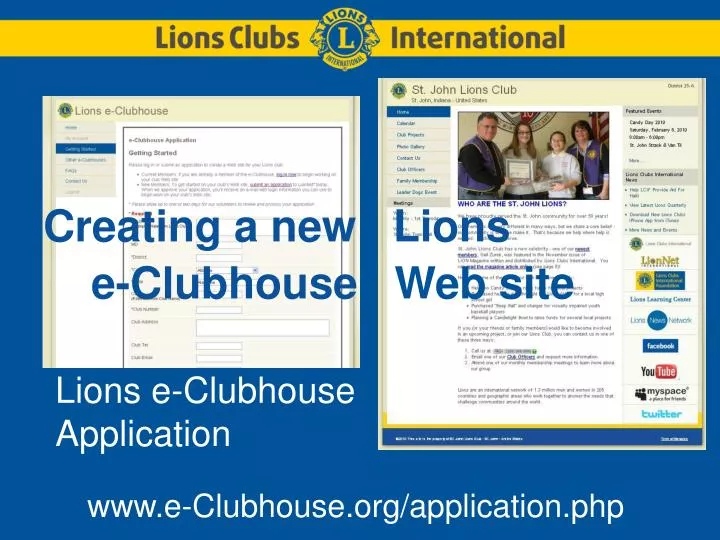
Lions e-Clubhouse Application Creating a newLions e-Clubhouse Web site www.e-Clubhouse.org/application.php
Fill in the Application Mandatory fields: Club NameDistrictCountryState Club Number Club Meeting Date & TimeClub Meeting Location Presidents NameWeb Master Name Web Master Email Other fields of interest: City - (If different from Club Name) Club Address Club Telephone Club Email
Approval notification via e-Mail e-Mail will include Login parameters:Username & Password Basic instructions to get started
Log in at new login page www.e-Clubhouse.org
Edit your Home page Once logged in, click on MANAGE PAGES
Once in the editing mode, just type Making text changes is easy
Before you go too far, Preview then Publish
Let’s ADD a photo Then HIT the Submit button.
The Next Time that you EDIT Click on UPLOAD to add a photo From the UPLOAD section, you will be able to find a photo on your computer to transfer to your website.
SEND IT TO THE SERVER When successful, click OK.
PREVIEW, then PUBLISH then click VIEW SITE
Let’s ADD a LINK Log in again to edit a page Type in the basic text on the page first
Highlight the text to be linked Click on the LINK tool
Select the Target section And pick New Window
What about a Newsletter? • First, make that newsletter a PDF file, under 2MB in size(Try the free Cute PDF Maker from www.cutepdf.com) • Rename the file to use only Letters and Numbers(Example: WatertownCTJan2010.pdf) • Use the UPLOAD section in the same manner that you uploaded a photo. • Then Link to it.
Pick PREVIEW, then Publish Preview then Publish
Let’s use the Calendar Log in again and Click on MANAGE EVENTS
Just Fill Out the Form * Optional items
Use FEATURED EVENT Featured Events will appear on your HOME page Use only one or two events Select that event from the pull-down menu
Let’s Get Connected! Click