Download

1 / 9
90 likes | 308 Views
Myitlab Student Registration. Walk-Through. Step One – Beginning the Registration. Using Internet Explorer, type www.myitlab.com in the browser address bar Click on Students in the First-Time Users register here. Step Two – License Agreement.

E N D
Myitlab Student Registration Walk-Through
Step One – Beginning the Registration Using Internet Explorer, type www.myitlab.com in the browser address bar Click on Students in the First-Time Users register here
Step Two – License Agreement Review and Accept the License Agreement and Privacy Policy
Step 3 – Access Information Click No, you do NOT have a Pearson account. Create a Login Name – Enter your MEID Create a Password – Review the requirements Access Code – Enter the 36 character Access Code from your myitlab access code from your book bundle Click Next
Step 4 – Account Information First and Last Name – Enter your First and Last Name Email Address – enter your Gmail as shown School Location – Select the Country and School ZIP is 85302. School Name – Select Glendale Community College from drop down list. Security question – select the question of your choice and enter your own answer Click Next
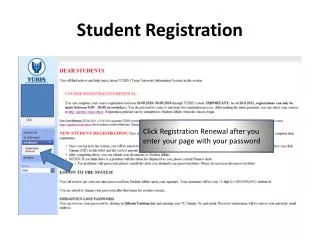
Step 5 - Confirmation Summary A Confirmation & Summary page information you that your student registration has been successful. Click the Log In Now button On the Log In page, type the login name and password you crated during the registration and click Login
Step 6 – Enrolling in a myitlab Course You may get a message, Welcome to your Course. If so, click to check the box “Do not display this message again and click OK. My Courses will display. Click – Enroll in a Course
Step 7 – Course ID Enter the Course ID provided by your Instructor. Note: Course ID is not case sensitive Click Submit The Confirm course information will display. Verify information is correct with the information your instructor has provided Click Confirm
Step 8 – Getting Started You will now see your section displayed in My Courses.