Download
1 / 20
240 likes | 1.77k Views
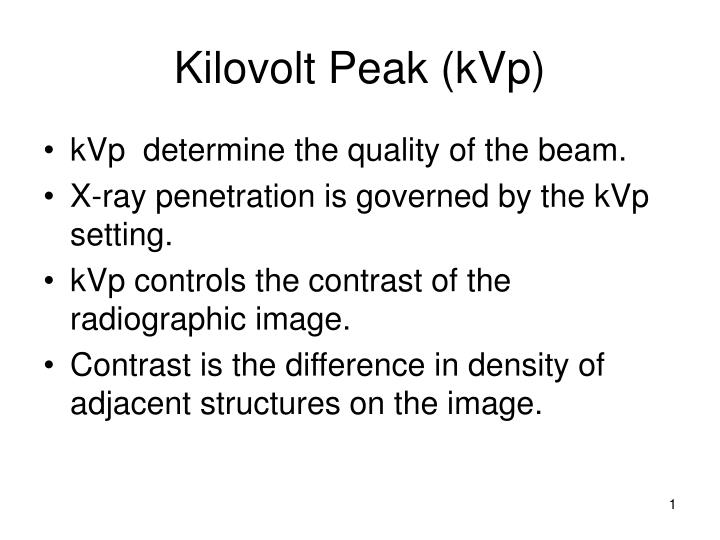
Kilovolt Peak (kVp). kVp determine the quality of the beam. X-ray penetration is governed by the kVp setting. kVp controls the contrast of the radiographic image. Contrast is the difference in density of adjacent structures on the image. Kilovolt Peak (kVp).

E N D
Kilovolt Peak (kVp) • kVp determine the quality of the beam. • X-ray penetration is governed by the kVp setting. • kVp controls the contrast of the radiographic image. • Contrast is the difference in density of adjacent structures on the image.
Kilovolt Peak (kVp) • kVp and the density of the body part impacts the amount of scatter radiation. • High kVp = more scatter = low contrast = more penetration • Low kVp = less scatter = high contrast = less penetration
Kilovolt Peak (kVp) • Optimum kVp = consistent scatter = adequate contrast = sufficient penetration • Optimum kVp is based upon the area of the body and film size to assure adequate penetration.
Technique Selection • Adjusting kVp and mAs is a balancing act. • When kVp is increased, mAs must be decreased. • We are balancing both density and contrast of the image.
kVp Adjustment • If kVp is increased without reducing the mAs, penetration increases and contrast is reduced. • Over penetrated images lack contrast and have high density (black). • Under penetrated images have very high contrast with dense structures not being penetrated.(white)
kVp and Radiation Exposure • The higher the kVp used, the less enter -action the photons will have with the tissue being exposed. • When we increase kVp by 10, we reduce the exposure by about 25%. • Use as high as possible kVp that will provide adequate contrast.
kVp and Tissue Density • The tissue types will determine how much kVp is needed. There are four basic tissue types. • Air filled least dense • Fat more dense • Muscle more dense • Bone most dense
kVp and Tissue Density • As we age, we loose bone and muscle mass, the kVp is reduced to compensate for this. • Very muscular patients require more kVp to assure proper penetration. • Disease processes that impact bone and tissue density will require adjustment of the kVp.
Over Penetrated Too High kVp • Over penetrated view have too much kVp. • They appear gray and lack contrast. • The upper lumbar spine is hard to visualize.
The 15% Rule or the Rule of 10 • If kVp is increased by 15%, the mAs is reduced 50%. • If kVp is reduced by 15%. The mAs is doubled. • Between 60 and 90 kVp and adjustment of 10 kVp equal 15%.
The 15% Rule or the Rule of 10 • Increase kVp 8% = reducing mAs 25% • Decrease kVp 8% = increasing mAs 25% • Remember that it take a 20 to 30% change in mAs to see a visible difference in the density of the image. • It can be said that an 8% change in kVp is needed to make a visible change on the film.
Adjusting Contrast Using the 15% Rule • The kVp can be adjusted to enhance contrast . • When the kVp is too low, the image is under penetrated. • When the kVp is high, the image lacks contrast.
Baseline kVp • The kVp is adequate to penetrate the bone and visualize the soft tissues. • Patient exposure is low. • Contrast is adequate
kVp increased 15% • There are more shades of gray making this a broad scale of contrast. • There is lower contrast compared to the base line image.
kVp Decreased 15% • There are less shades of gray making this a shorter scale of contrast. • This image is higher contrast than the base line image. • Also higher exposure to the patient.
kVp Decreased 30% • This is a very high contrast image. • It has the shortest scale of contrast. • The carpal bones are under penetrated. • Much higher exposure to the patient.
Observations • 1. Does Image #2 have more or less contrast? • Less contrast, more shades of gray or broader contrast = higher kVp. • 2. Compare the appearance of image #3 and #4 to image #1.
Observations • As the kVp is reduced, the contrast increases. Low kVp = High Contrast • 3. Which Image is Best? • Image #3 is best but the exposure is higher than image # 1.
What would you do to this image? • This image provides a real challenge. • It is over penetrated or iver exposed for the upper lumbars. • It is properly exposed for L5 and sacrum. • Next week we will see how to improve the image.
The End Return to Lecture Home Page

![[Radiography] Technique - Exposure Factors](https://cdn0.slideserve.com/546181/radiography-technique-exposure-factors-dt.jpg)