Download
1 / 6
60 likes | 70 Views
Contact Lia Infraservices the No.1 Digital Marketing Company in Chennai to check how Google Renders the changes you have made in your Website pages. We have listed a few methods to solve the Google Cache Issue on your website<br>

E N D
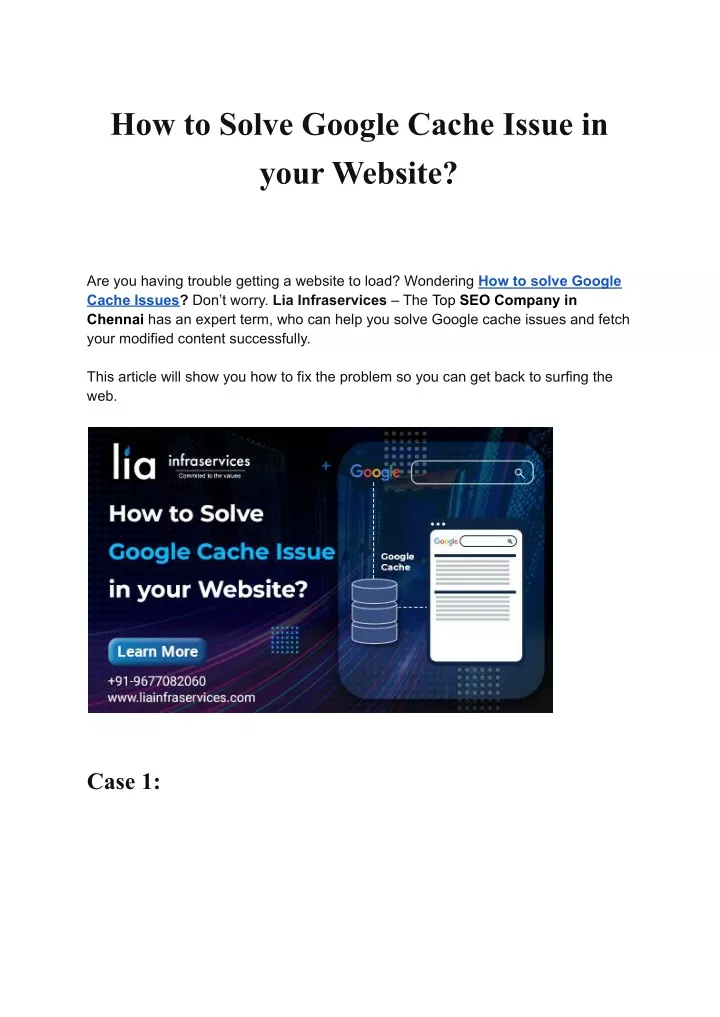
How to Solve Google Cache Issue in your Website? Are you having trouble getting a website to load? Wondering How to solve Google Cache Issues? Don’t worry. Lia Infraservices – The Top SEO Company in Chennai has an expert term, who can help you solve Google cache issues and fetch your modified content successfully. This article will show you how to fix the problem so you can get back to surfing the web. Case 1:
Issue: “I don’t see the latest changes I made to my website”. First, go to one of the pages you changed, and choose your web browser’s reloaded or refresh command. In Chrome, go to the View menu and choose Reload Page. If you still don’t see your changes, next empty your browser’s cache. In Chrome web browser, go to the Chrome menu and choose Empty Cache. Then quit your web browser, open it again, and visit your website and see if your changes appear now. If you still don’t see your updates after doing that, you may have uploaded your new web pages to a different folder than the one where the old webpages are. Follow these steps: Do these steps and then reload the website you’re having trouble with. Step 1: Click on the menu button horizontal menu Button to open the menu panel. Step 2: Click History and select Clear Recent History…. Step 3: In the Time Range to clear: drop-down, select Everything. Step 4: Below the drop-down menu, select both Cookies and Cache. Make sure other items you want to keep are not selected.
Step 5:Click OK. Case 2: Issue: “Some of my website’s links do not work or some of my pictures do not appear”. If you rearranged or renamed files before uploading your website, that may be the source of the problem. Generally, it is best to rename or rearrange websites using your website design program; do not rename or rearrange files in the Finder. If you are using iWeb, after you make changes to your website, you must re-publish and re-upload the entire site. Because of the way iWeb creates websites, if you only upload some of your files after updating them, your website may not work properly. If you use the Fetch Mirror command to upload your website, it will correctly upload all the updated files as necessary. Case 3:
Google Cache Issues If you find a lock icon in your browser, see if your browser has blocked parts of your web page that are not secure. Case 4:
Issue: Content-Encoding Error If you get the error message Content Encoding Error or The page you are trying to view cannot be shown because it uses an invalid or unsupported form of compression, use the below procedure to diagnose and fix them: Check the settings of any Internet security applications you use (including firewalls, anti-virus or anti-spyware programs, and privacy protection programs). You should try to remove any permissions those applications have for Firefox and then add them again. For program-specific instructions for a number of applications Case 5:
Issue: “Unable to find the proxy server” If you connect to the Internet through a proxy, compare Firefox’s settings to Internet Explorer’s see Microsoft’s guide to proxy settings. To check your connection settings in Chrome browser: 1. Click the menu button and select Settings. 2. In the General panel, go down to the Network Settings section. 3. Click Setting: The Connection Settings dialogue will open. 4. Change your proxy settings: 5. If you don’t connect to the Internet through a proxy (or don’t know whether you connect through a proxy), select No Proxy. 6. Close the Connection Settings dialogue. 7. Close the about: preferences page. Any changes you’ve made will automatically be saved. Conclusion: Don’t panic if you see weird things like Google Cache issues on your website. It’s best to invest your time and money with a professional SEO Company in Chennai. Because Google doesn’t see the way you see your website. Contact Lia Infraservices the No.1 Digital Marketing Company in Chennai to check how Google Renders the changes you have made in your Website pages. We have listed a few methods to solve the Google Cache Issue on your website