Download
1 / 5
50 likes | 58 Views
Here is all step by step guide to add google analytics and set up goals for the website. It can help you to track your visitors on your website. Learn more @ https://digitalsushma.com/how-to-add-google-analytics-to-your-website/

E N D
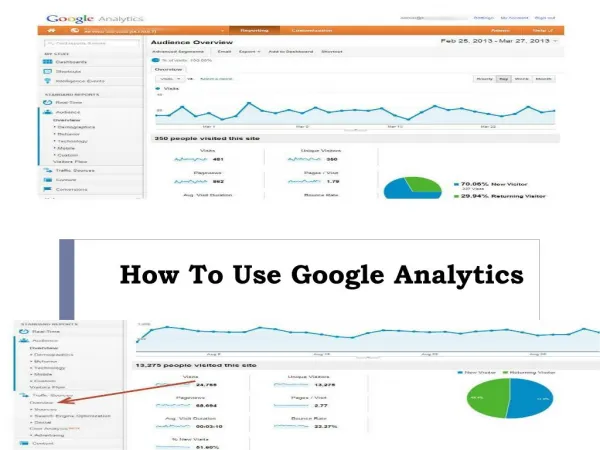
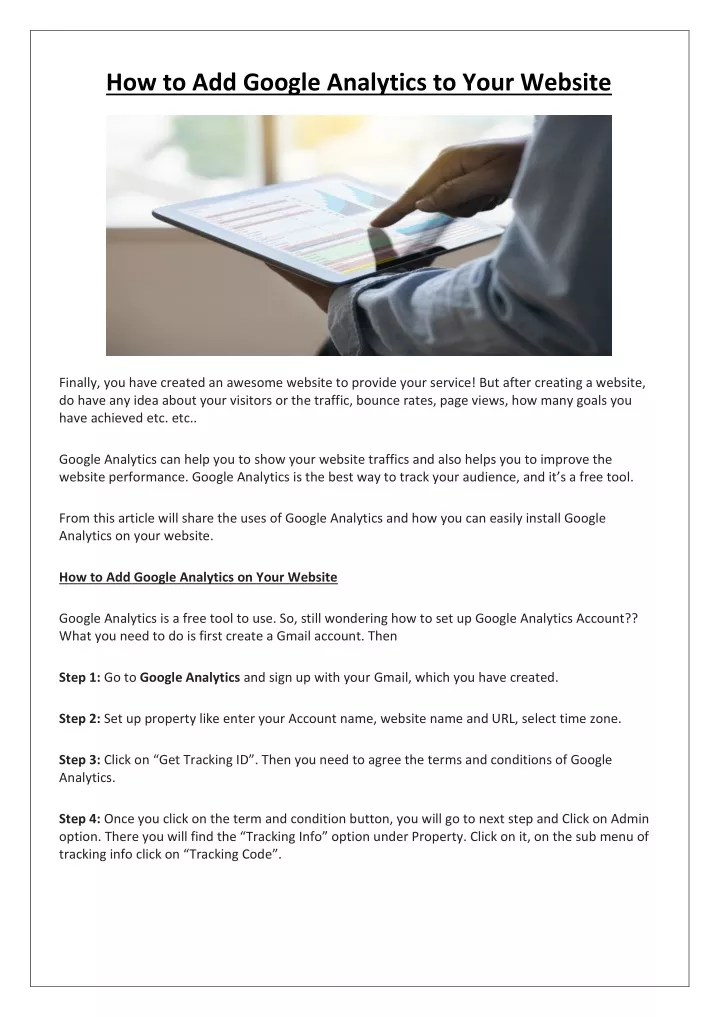
How to Add Google Analytics to Your Website Finally, you have created an awesome website to provide your service! But after creating a website, do have any idea about your visitors or the traffic, bounce rates, page views, how many goals you have achieved etc. etc.. Google Analytics can help you to show your website traffics and also helps you to improve the website performance. Google Analytics is the best way to track your audience, and it’s a free tool. From this article will share the uses of Google Analytics and how you can easily install Google Analytics on your website. How to Add Google Analytics on Your Website Google Analytics is a free tool to use. So, still wondering how to set up Google Analytics Account?? What you need to do is first create a Gmail account. Then Step 1: Go to Google Analytics and sign up with your Gmail, which you have created. Step 2: Set up property like enter your Account name, website name and URL, select time zone. Step 3:Click on “Get Tracking ID”. Then you need to agree the terms and conditions of Google Analytics. Step 4: Once you click on the term and condition button, you will go to next step and Click on Admin option. There you will find the “Tracking Info” option under Property. Click on it, on the sub menu of tracking info click on “Tracking Code”.
Step 5: Tracking code needs to update on header section of every page of your website. Method 1:If you are using “WordPress”, you can install it from using Plugin “Google Analytics Dashboard for WP by ExactMetrics(formerly GADWP)”. Login to your “wp-admin”> Plugin> Add Plugin. Type in a search box Google Analytics Dashboard for WP. Click on “Install”. After installing the plugin, it will easily take your ID directly from your Google Analytics account. Method 2:Add Google Analytics Code manually through your WordPress backend. Just login to “wp- admin”> Appearance> Theme Editor. Then search for “header” in the search box and paste your tracking code in the header section.
Hey, you are done.. After installing the Google Analytics code on your website, it can take up to 24 hours to show the results like: Real Time that means it will show you the current number of users. Audience option will show you the number of users (on a daily, weekly or monthly basis). Acquisition will show the report from where you are getting the traffic (like organic, social or from PPC). Behavior tab you can see the summarize report (like traffic from blog content, page etc.). Conversion shows you the goals that means how many calls you are getting; how many people are completing the contact forms etc. How to Set Up Goals By setting up your goals, Google Analytics will able to track your conversion of your website. You can set up to 20 Goals for your website. Here are some few steps that will help you to set up goals for your website: Step 1:Click on Admin. Under “View” column click on “Goals”. Step 2:Click on the button “+New Goal”.
Step 3: After clicking on +New Goals, one tab will be open showing Goal Setup, Goal Description and Goal details. First click on Goal Setup. Under goal setup choose the option depends on your website. Step 4: Then next step is Goal Description. Fill the details according to the requirement. Step 5: Next you need to go on Goal Details. Here you have typed your destination URL. Let’s say for an example you want set goal for your “Thank You” page. Type the same URL of your Thank You page (e.g. “/thank-you” or it may be “/thankyou”).
Step 6:Finally click on “Verify this Goal” and then hit on “Create Goal”. Here you are all done. Conclusion: This is how Google Analytics helps you to track each and every thing of your website. If you haven’t set you Goals this article will help you to setting up Goals for your website and you can easily track your conversions. Source: https://digitalsushma.com/how-to-add-google-analytics-to-your- website/ Contact: Email ID: contact@digitalsushma.com Website:https://digitalsushma.com/ Social Media Link: Facebook: https://www.facebook.com/digitalsushma/ Twitter: https://twitter.com/digitalsushma Pinterest: https://in.pinterest.com/digitalsushmacom/ Instagram: https://www.instagram.com/sushmasmaurya/ LinkedIn: https://www.linkedin.com/company/digital-sushma/