Download
1 / 4
40 likes | 45 Views
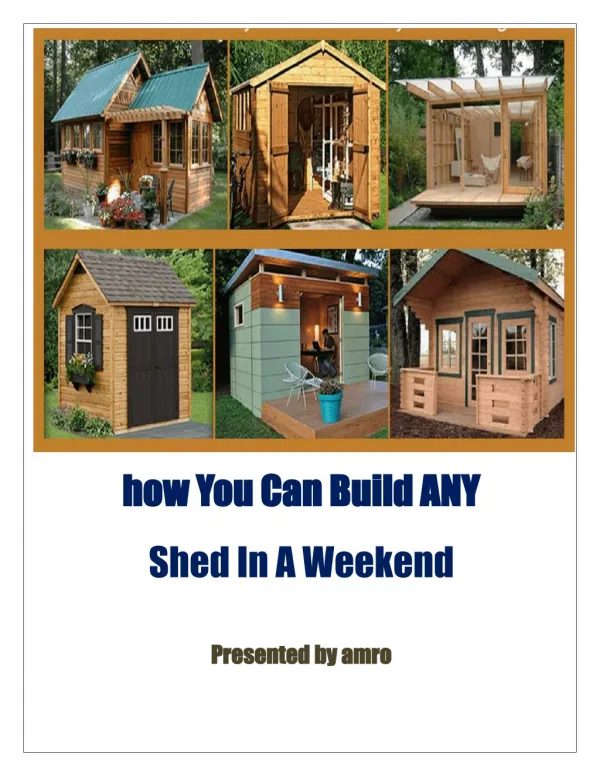
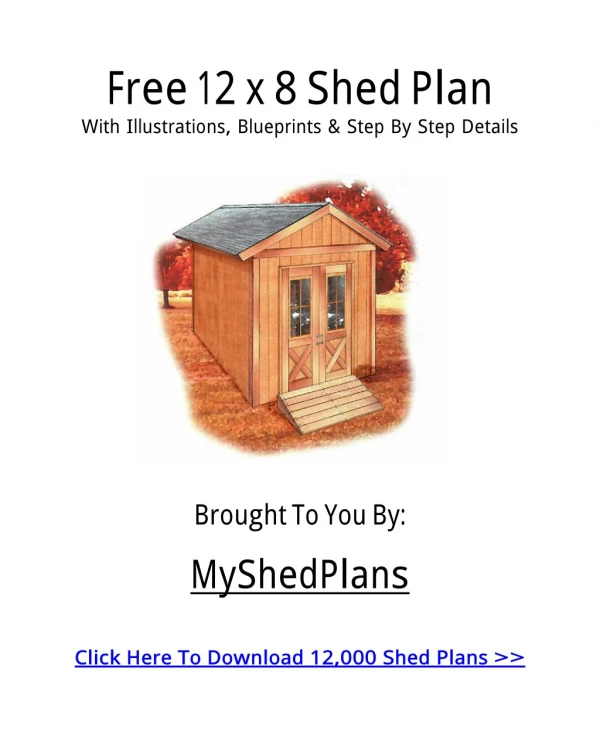
http://22dc80rxoh2z8kfpu7kg00qi17.hop.clickbank.net/<br><br>Now You Can Build ANY Shed In A Weekend Even If You've Zero Woodworking Experience!<br>Start building amazing sheds the easier way with a collection of 12,000 shed plans!

E N D
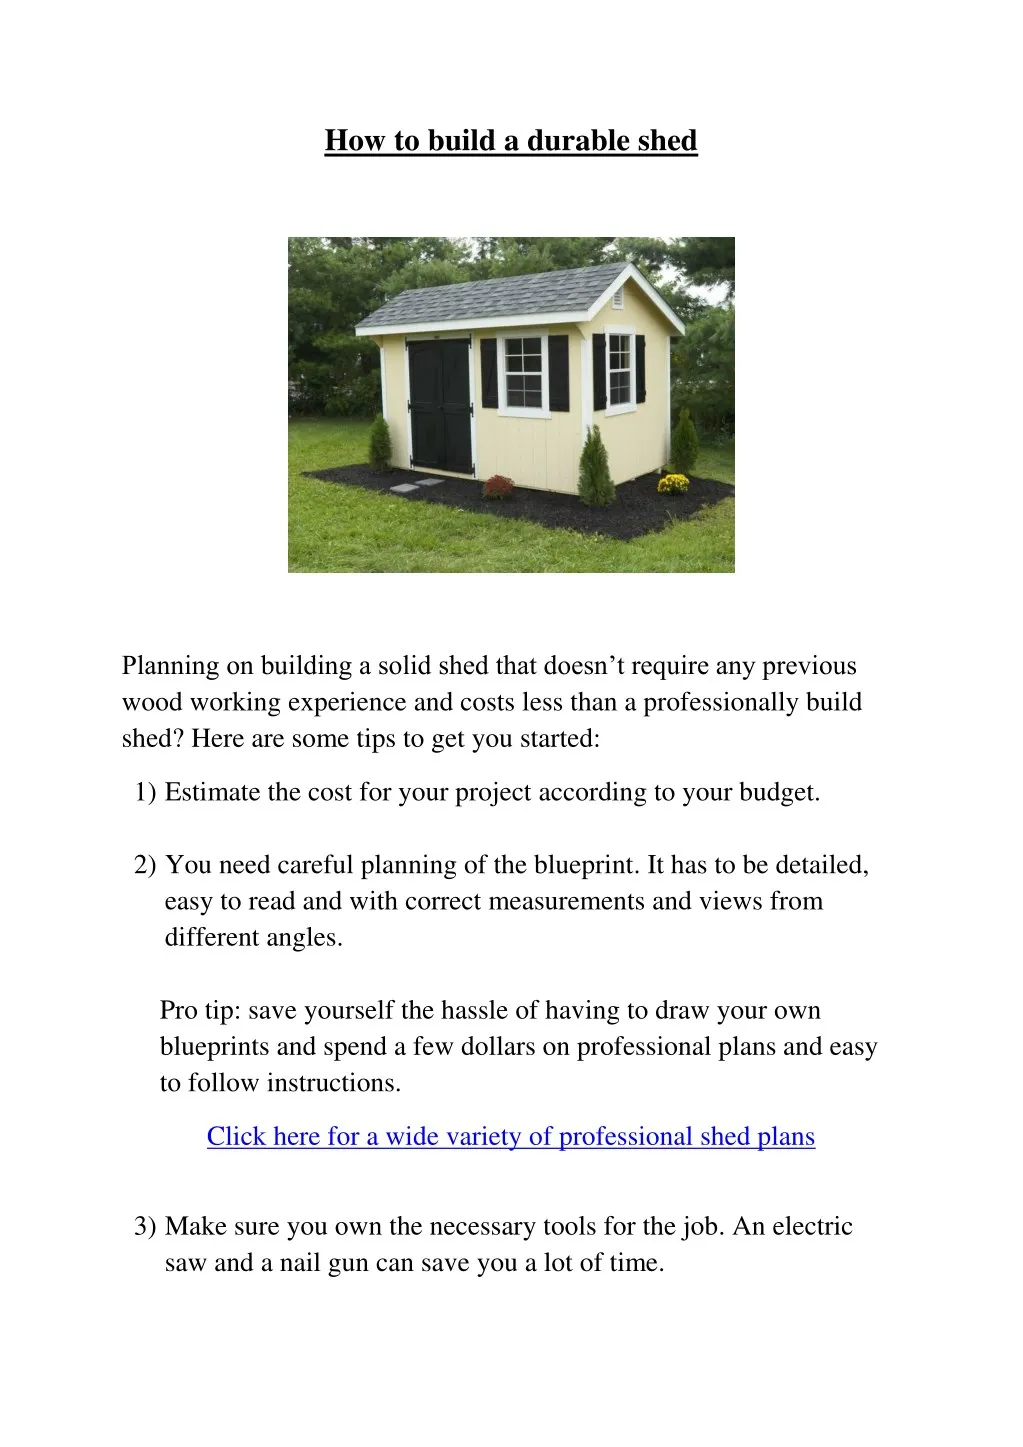
How to build a durable shed Planning on building a solid shed that doesn’t require any previous wood working experience and costs less than a professionally build shed? Here are some tips to get you started: 1)Estimate the cost for your project according to your budget. 2)You need careful planning of the blueprint. It has to be detailed, easy to read and with correct measurements and views from different angles. Pro tip: save yourself the hassle of having to draw your own blueprints and spend a few dollars on professional plans and easy to follow instructions. Click here for a wide variety of professional shed plans 3)Make sure you own the necessary tools for the job. An electric saw and a nail gun can save you a lot of time.
4)Prepare a list for every material and cutting needed (you want to avoid going to the store every time you notice something missing during construction). 5)Choose the right space for the shed. Make sure it doesn’t stand directly on the ground to allow for air circulation, thereby prevent moisture buildup. The same goes for the space around the shed – give it some room. Now for the actual building process: 1)Make sure the ground is level (level it if necessary). Install 3×3 deck piers along a grid to support the shed. Be aware that you need a permit before doing any in-ground foundation work in some countries. 2)Once you installed the deck piers it’s time to lay three supporting beams lengthwise on top of them. Each beam will be supported by 3 deck piers. To keep them in place use metal straps with build in nail holes.
3)Attach a rim joist on the outer edge of the two outer support beams. Make sure they are the same length as the support beams they rest on. Now you can install 8-12 floor joists between the two rim joists. Obviously you have to measure the space between the rim joists and cut the floor joists accordingly. To make sure the floor joists stay in place install blockings between them along the center support beam. 4)Use plywood sheets on top of the joist to form the floor. If you use multiple sheets to fill out the floor space use H-clips between the sheets to provide more structural support. Nail the sheets to the outer support beams and joists. 5)Walls: The front wall should be a few inches taller than the back wall to allow rain to be directed to the rear of the shed. Starting with the back wall, build the framework according to the length of the floor, with the vertical studs spacing identical to the floor joists spacing. The front wall is similar to the back wall, just a bit taller and with a door frame. The side walls have to fit inside the distance from the front to the back wall. Note however that the top plate is angled so that the roof is sloped. Therefor the height of each vertical stud in the frame of the sidewalls is slightly different and has to be cut accordingly. Assemble the four wall frames by nailing them downward through the plywood into the joists. 6)Roof: Lay rafters on top of the frame and space them the same way you did with the floor joists (this time the wooden spacers go along the outside beams). The roof structure should overhang the back and front wall for better weather protection. Now you can nail plywood sheeting to the rafters. For the walls you can use textured plywood. 7)The last step is to lay tar paper on the roof, starting from the lower part of the roof and making sure that each new paper overlaps the one below it. This way the rain will slide to the back of the shed without seeping through the roof.
Keep in mind that these are just general instructions for a very simple shed. If you would like a more in depth and detailed construction manual for a shed of your choice click here. Have fun with your project and good luck!