Download
1 / 14
370 likes | 732 Views
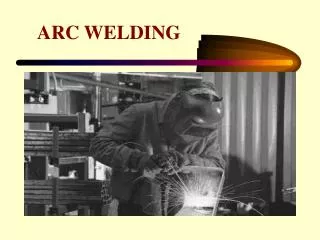
Arc Welding Equipment. Prepared by Dr. Dale Carpentier and Mr. Barry Brazelton Monroe Area High School. Modified by Georgia Agriculture Education Curriculum Office June 2007. Miller Dialarc 250/250P AC/DC Arc Welder and equipment.

E N D
Arc WeldingEquipment Prepared by Dr. Dale Carpentier and Mr. Barry Brazelton Monroe Area High School Modified by Georgia Agriculture Education Curriculum Office June 2007
Miller Dialarc 250/250P AC/DC Arc Welder and equipment E.Q. - What are the parts and functions of the arc welding outfit?
Power Switch • Used to turn welder on and off
Range Selector Switch • Use switch to select ac or dc welding amperage. • High and Low range • If amperage is in overlapping range use lower range for better amperage control. • Do not change position of switch while welding.
Amperage Adjustment Control • Use control to adjust amperage. • Inside dial is ac low and high range. • Outside ring is dc low and high range. • Do not adjust when circuit is closed.
Circuit Breaker, CB1 • If CB1 opens, weld output drops to the minimum of the range selected, and cannot be adjusted by the Amperage Adjustment control. • Press button to reset breaker.
Duty Cycle • Duty Cycle is the percentage of 10 minutes that unit can weld at rated load without overheating. • 100% duty cycle @ 100 amps or less. • Exceeding duty cycle can damage unit by overheating.
Cable attachments for AC & DC • Cables are attached for AC welding. • Do not walk on cables. • Do not change to DC welding without instructor approval.
Ground Clamp • Must be attached to welding table or metal to be welded in order to complete welding circuit. • You must clean painted, dirty, or rusted metal to get a good ground.
Electrode Holder • Insulated. • Holds electrodes while welding. • Do not burn electrodes shorter than 1 inch.
Welding Table • Must be made of metal. • Hang cables on hooks rather than laying on floor. • Position exhaust vent near welding base metal.
Welding Electrodes • Standard diameter sizes are 3/32”, 1/8”, and 5/32”. • 6013 rod is for new metal. Attractive bead. Easy to weld with. • 6011 rod is for used and dirty metal. Deep penetration. Most utilitarian rod for farm and ranch use. • 7014 rod is a fast fill rod that produces attractive welds. • 7018 is a low hydrogen rod. Best with DCRP.
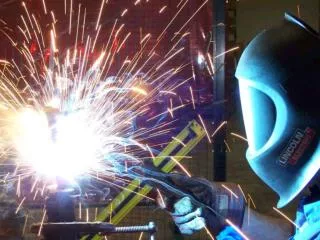
Welding Helmet or Shield • Used to protect face and eyes. • Must have a shade10 lens, minimum.
Other Equipment Chipping hammer • Used to remove slag. Welding gloves. Used to protect hands. Wire brush and file. Used to clean metal. Tongs Used to carry hot metal.