Download
1 / 20
200 likes | 305 Views
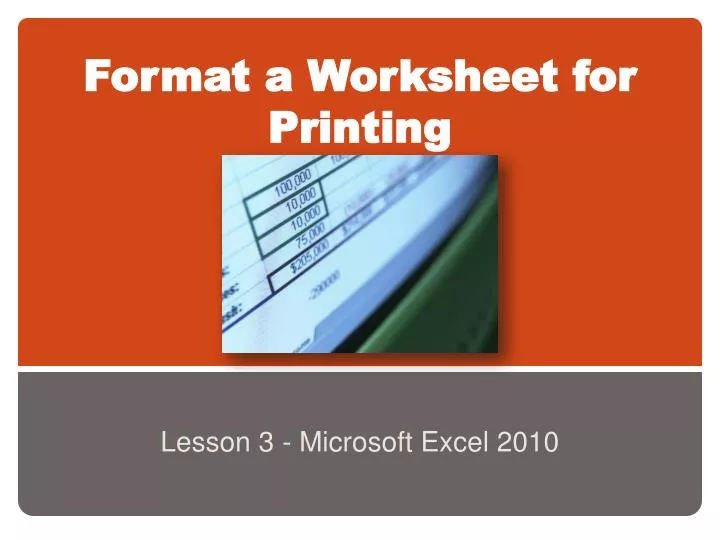
Format a Worksheet for Printing. Lesson 3 - Microsoft Excel 2010. Learning Goals. The goal of this lesson is for students to successfully format a worksheet for printing in Microsoft Excel 2010.

E N D
Format a Worksheet for Printing Lesson 3 - Microsoft Excel 2010
Learning Goals • The goal of this lesson is for students to successfully format a worksheet for printing in Microsoft Excel 2010. • The student will learn to apply specific formats to a worksheet that will enhance the appearance of the hard copy.
Learning Objectives • On completion of this lesson, students will be able to do the following: • Add a header and footer to a worksheet • Change margins and center a worksheet • Change the orientation and the scale of a worksheet • Add and delete page breaks • Set and delete page breaks • Set other print options • Magnify and shrink a worksheet on-screen • Hide and unhide rows and columns
Lesson Introduction • Microsoft Excel enables users to format the appearance of a worksheet to enhance the printed hard copy. • When might you need a printed hardcopy of a worksheet?
Adding a Header and Footer • Headers and Footers are lines of text that print at the top (header) and bottom (footer) of each page in the spreadsheet. • You can create custom headers and footers or use predefined headers and footers.
Adding a Header and Footer • Use Insert tab Text group Header and Footer command 1. Click INSERT tab. 3. Click HEADER & FOOTER. 2. Go to TEXT group.
Changing Margins • Margins are the blank space around the edge of a the printed page. • Default margins are .75 inch at the top and bottom and 0.70 inch left and right.
Changing Margins • Increasing the margins means that less information will fit on the page, decreasing them means that more will fit. • Change the page margins using the Page Setup Group from Page Layout Tab.
Centering a Worksheet • The worksheet may be centered both vertically and horizontally on the hard copy. • Use the Page Setup dialog box to center the worksheet and use custom margins.
Changing the Orientation and Scale • Printing all information on one page increases readability. • Change the scale of a worksheet to print it on one page or multiple pages. Portrait – Paper is taller than wide. Landscape – Paper is wider than tall.
Adding and Deleting Page Breaks • Page breaks can be automatically inserted with you run out of room on one page, or manually inserted when you want to start data on the next page. • Page breaks allow the user to organize the worksheet in a desired manner. Manually insert page break by using the Breaks command in the Page Setup group on the Page Layout tab. Select a cell under a manually inserted page break and choose “Remove Page Break” to delete it.
Setting and Clearing a Print Area • Defining a print area will allow the user to control the portion of a worksheet that prints. • Remove the print area by selecting the Print Area drop down on the Page Layout Ribbon and then choosing Clear Print Area. • Set or change a print area by selecting a range of cells to print and choosing Print Area on the Page Layout Ribbon.
Setting and Clearing a Print Area Choose “Print Selection” in the Print menu to print only the selected area in a spreadsheet.
Setting Other Print Options • Print titles for rows and columns using the Print Titles command in the Page Setup Group on the Page Layout Ribbon. • Printing the headings for rows and columns on each page means the reader won’t need to flip to the first page to check which row or column the information is located.
Setting Other Print Options • Altering the print quality of a worksheet can help conserve toner or ink. • Alter the print quality by choosing the desired quality from the Print Shortcut tab in the Page Setup dialog box. Then change the Print Quality to Fast Draft. • Fast Draft print quality can save money by conserving toner or ink.
Magnifying and Shrinking a Worksheet • In some cases it is helpful to magnify or shrink the worksheet view to get a clear picture of the data.
Magnifying and Shrinking a Worksheet • Magnify or shrink the worksheet view using the Zoom Group on the View Ribbon or the zoom controls on the bottom right corner of the worksheet. • Magnifying and shrinking does not affect the print settings of the worksheet.
Hide and Unhide Rows and Columns • It may sometimes be necessary to hide rows or columns for readability or printing purposes. • Hiding rows or columns does not delete the data.
Hide and Unhide Rows and Columns • Hide and unhide rows or columns using the Format Command in the Cells Group on the Home Ribbon or… • Hiding rows or columns does not delete the data.
Hide and Unhide Rows and Columns • …by right clicking on the row or column to be altered and choosing the hide/unhide options on the shortcut menu. • Hiding rows or columns does not delete the data.