Download
1 / 6
60 likes | 188 Views
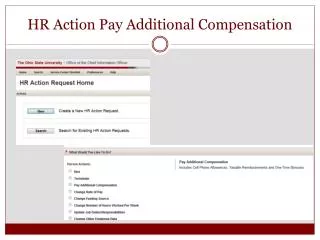
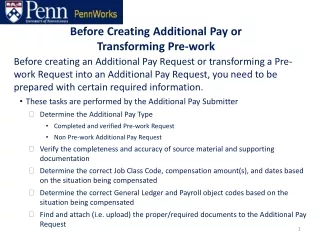
Before Creating Additional Pay or Transforming Pre-work. Before creating an additional pay request or transforming a pre-work request into an additional pay request, you need to be prepared with General Ledger and Payroll codes, the correct compensation amount(s), and payroll dates.

E N D
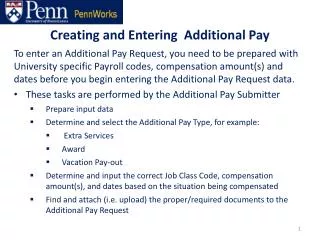
Before Creating Additional Pay or Transforming Pre-work • Before creating an additional pay request or transforming a pre-work request into an additional pay request, you need to be prepared with General Ledger and Payroll codes, the correct compensation amount(s), and payroll dates. • These tasks are performed by the Additional Pay Submitter • Determine the Additional Pay Type: • Completed and verified pre-work request • Non pre-work additional pay request • Verify the completeness and accuracy of source material and supporting documentation • Determine the correct Job Class Code, compensation amount(s), and dates based on the situation being compensated • Determine the correct General Ledger and Payroll codes based on the situation being compensated • Find and attach (i.e. upload) the proper/required documents to the Additional Pay Request
Know About Preparing Input Data • After determining the Type of additional pay, determine and collect the data required for the additional pay request (varies by Additional Pay Type); for example: • Calculate the compensation amount for extra services and vacation payout • For Extra Services Weekly Paid, if work exceeds 40 hours in the week being compensated, calculate the compensation amount to account for overtime pay (i.e. time-and-a-half)* • Other Additional Pay Types require no calculation • For these requests, verify the total amount of compensation being requested • Determine the proper Job Class, Fund, Object, Program, and CREF codes • Scan attachments (required documents vary by Additional Pay Type) *For Extra Services Additional Pay to Weekly Paid employees working multiple jobs at different rates, consult Human Resources Compensation at 215-898-1317 for details on calculating and processing. *Weekly paid employees who work extra hours as part of their regular job duties should be paid overtime through On-Line Time Reporting.
Know About Inputting Job and Compensation Data • Determine the appropriate Job Class Code, General Ledger and compensation details. • Many employees have only one Job Class Code; this is the default Job Class Code • In some cases an employee has multiple Job Class Codes (e.g. Faculty) and you must use the appropriate Job Class Code based on the situation being compensated • Determine the General Ledger and Payroll codes that will be used for payment • Ensure that these codes align with the Job Class Code and the circumstances being compensated • Determine the dates, these include: • Compensation Dates - the date(s) the work was/is to be performed • Earliest Pay to Include - earliest pay date in which the pay will be included • Distribution Period End - the Calendar Period in which the pay will be distributed in the selected account code combination(s)
Know About Attaching Documents • Locate and upload the attachments that support the additional pay request. • On your computer desktop, locate the attachments for the additional pay request • Upload the attachments by using the PennWorks Upload feature called Attachments > View/Edit • No one can edit or delete the documents you attach • Approvers will be able to view your attachments and/or add additional documentation as an attachment
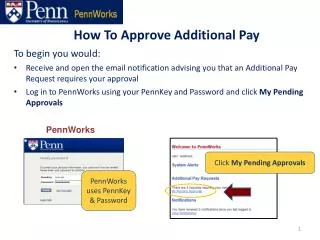
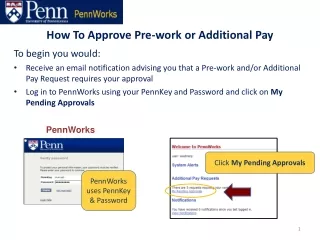
Know About The Approval of Additional Pay • Additional pay requests routes automatically to: • Paying and Home ORG Approvers (and ORS if a Grant is the funding source), and then on to higher level Approvers (e.g. Home/School, Provost, H.R.) depending on the Type of additional pay request • If an Approver rejects the additional pay request, it is immediately removed from the Approver queue and routed back to the Submitter • Submitters can check on approval progress via PennWorks Additional Pay Routing History • The School/Center Access Administrators maintain a list of Additional Pay Approvers; contact the appropriate Access Administrator if you need the name of the Approver for a given ORG for follow-up purposes The same person cannot be both the Submitter and the Paying ORG and/or Home ORG Approver, and/or Home School/Center Approver. At least 2 different people must be involved in the Submit and Approve process before the Provost or HR.
Know About The Issuance of Additional Pay • Once all the approvals have been obtained, PennWorks sends the additional pay request to the Payroll system for processing. • Pay will be issued in accordance with established Payroll procedures based on the Earliest Pay to Include date entered in PennWorks Additional Pay (assuming all approvals were obtained in time for inclusion in that particular payroll run) • Verification of issued pay should be conducted using existing procedures and reporting mechanisms (i.e. Salary Management and Data Warehouse reports)