Download
1 / 2
0 likes | 7 Views
Learn key steps for a flawless epoxy floor, from surface prep to application techniques, ensuring a smooth, durable, and professional-looking finish.

E N D
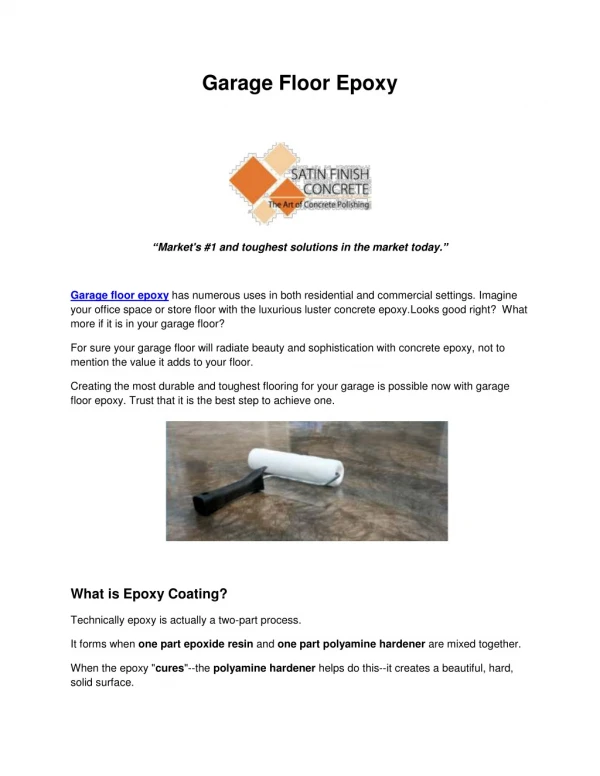
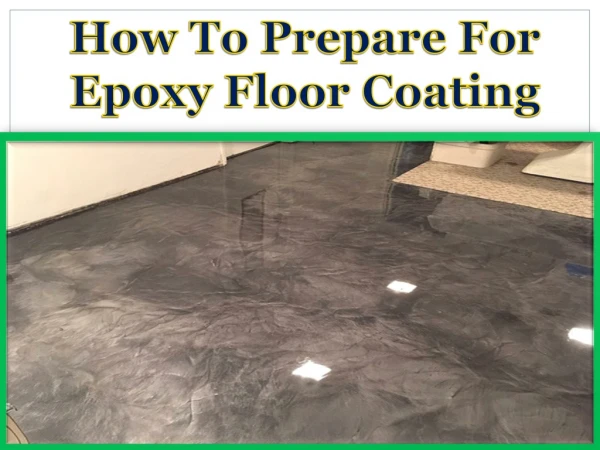
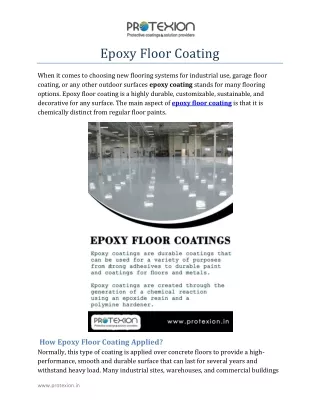
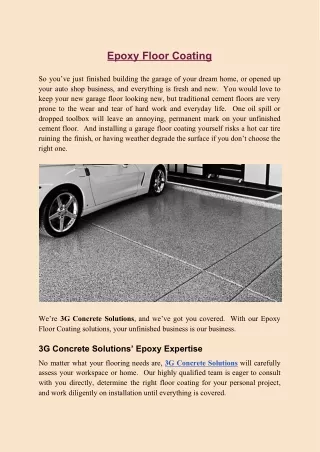
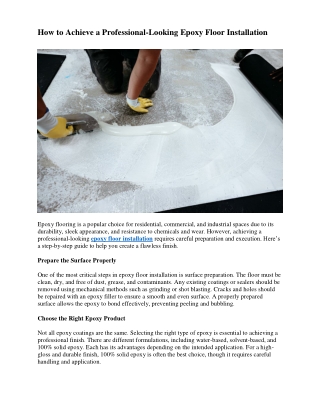
How to Achieve a Professional-Looking Epoxy Floor Installation Epoxy flooring is a popular choice for residential, commercial, and industrial spaces due to its durability, sleek appearance, and resistance to chemicals and wear. However, achieving a professional-looking epoxy floor installationrequires careful preparation and execution. Here’s a step-by-step guide to help you create a flawless finish. Prepare the Surface Properly One of the most critical steps in epoxy floor installation is surface preparation. The floor must be clean, dry, and free of dust, grease, and contaminants. Any existing coatings or sealers should be removed using mechanical methods such as grinding or shot blasting. Cracks and holes should be repaired with an epoxy filler to ensure a smooth and even surface. A properly prepared surface allows the epoxy to bond effectively, preventing peeling and bubbling. Choose the Right Epoxy Product Not all epoxy coatings are the same. Selecting the right type of epoxy is essential to achieving a professional finish. There are different formulations, including water-based, solvent-based, and 100% solid epoxy. Each has its advantages depending on the intended application. For a high- gloss and durable finish, 100% solid epoxy is often the best choice, though it requires careful handling and application.
Apply a Primer for Better Adhesion A primer coat is often overlooked but plays a crucial role in ensuring a strong bond between the floor and the epoxy. A high-quality primer helps to seal the concrete, reducing air bubbles and increasing adhesion. Applying a primer also allows for a more uniform final coat, preventing uneven absorption of the epoxy. Mix and Apply the Epoxy Correctly Once the surface is ready, it’s time to mix and apply the epoxy. Epoxy coatings consist of two components: resin and hardener. These must be mixed in the correct ratio and used within the specified working time. It’s important to follow the manufacturer’s instructions carefully. Mixing too much epoxy at once can cause it to harden prematurely, making application difficult. Use a roller or squeegee to spread the epoxy evenly across the floor. Work in sections to avoid lap marks and ensure a smooth application. If using decorative flakes, apply them while the epoxy is still wet for a uniform distribution. Allow Proper Curing Time Curing time is essential for the durability and appearance of the epoxy floor. The initial curing process takes about 24 hours, but full curing can take up to seven days. During this time, avoid heavy foot traffic and placing objects on the surface to prevent imperfections. Apply a Topcoat for Added Protection For a truly professional finish, consider applying a clear topcoat. This extra layer enhances the floor’s durability, making it more resistant to scratches, stains, and UV damage. A topcoat also provides a glossy or matte finish, depending on the desired look. Maintain the Epoxy Floor Properly Once installed, regular maintenance will keep the epoxy floor looking new. Cleaning with a mild detergent and avoiding harsh chemicals helps preserve the finish. Using protective pads under heavy furniture and equipment can prevent scratches.