How to Build a Multi-Vendor Marketplace Using WordPress
0 likes | 5 Views
Building a multi-vendor marketplace might sound like a big task, but WordPress makes it incredibly doable, even for beginners. With a solid setup and the right tools, you are not just building a website, but creating a business ecosystem.<br>Start small, test often, and focus on creating a smooth experience for vendors and customers. Before you know it, you could be running the next big online marketplace.<br>

How to Build a Multi-Vendor Marketplace Using WordPress
E N D
Presentation Transcript
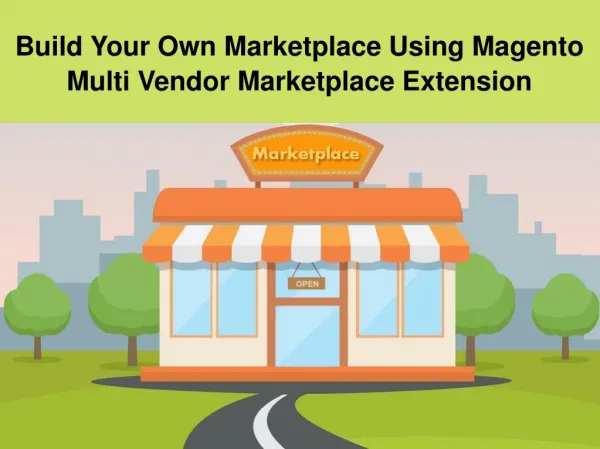
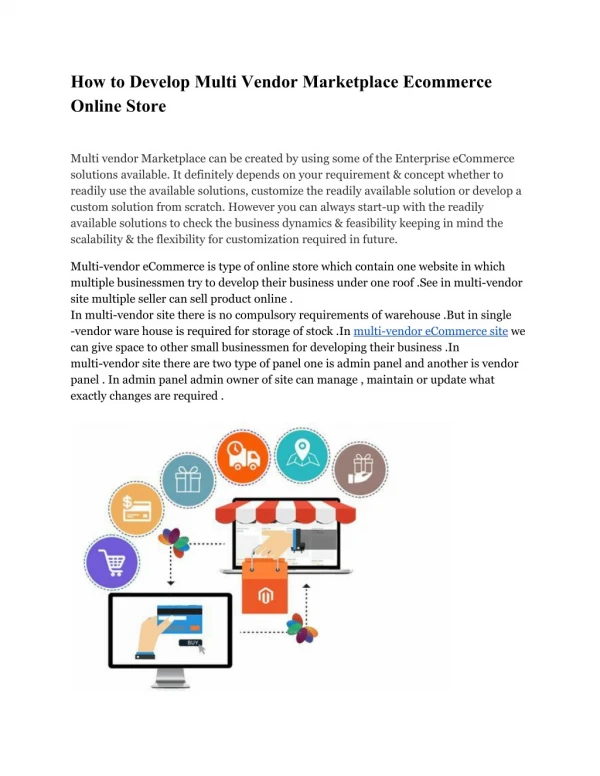
How to Build a Multi-Vendor Marketplace Using WordPress? Have you ever thought about running your own version of Amazon or Etsy? A place where multiple sellers can list their products, customers can browse and buy, and you earn a commission from every sale? The good news is that you can build it, and you do not need to be a tech wizard to do it. Thanks to WordPress and a few powerful plugins, creating a multi-vendor marketplace is surprisingly accessible. Whether you're based in Kent, London, or anywhere else in the UK, this blog by a leading WordPress Development Company in Kent covers everything you need to know to build and launch a successful local or global online marketplace. From expert WordPress Developers in London to tailored online marketplace development services across the UK, we've got you covered. Let’s break it down and walk you through the process step by step. But let’s first understand what a multi-vendor marketplace is. A Multi-Vendor Marketplace is an online platform where multiple independent sellers can register and sell their products. As the site owner, you are not selling the products yourself, instead you are providing the platform. Think of it as running a digital mall. You handle the structure, and the vendors manage their individual shops. The biggest benefit? You earn a commission on each sale without holding inventory. Why Use WordPress? WordPress powers over 40% of websites worldwide for a reason. It is flexible, user-friendly, and has an enormous library of plugins. When paired with WooCommerce, WordPress becomes a full-featured E-Commerce Solution. To turn that store into a marketplace, you simply add a multi-vendor plugin. No coding, no huge budget—just the right tools and a bit of setup.
What You Will Need to Get Started Before jumping in, make sure you have: 1.A domain name and web hosting (providers like Bluehost or SiteGround offer WordPress- ready hosting). 2.WordPress installed on your domain. 3.The WooCommerce plugin to enable E-Commerce functionality. 4.A multi-vendor plugin like Dokan or WCFM Marketplace. These plugins handle everything from vendor registration to commissions and order tracking.
Step-by-Step Setup Guide 1.Install WooCommerce After installing WordPress, your first step is to add WooCommerce. This plugin turns your site into a basic online store with features like product listings, payment gateways, and shipping settings. 2.Choose and Install a Multi-Vendor Plugin Two of the most popular plugins are: Dokan: Beginner-friendly, with a clean dashboard for vendors WCFM Marketplace: Very flexible, with lots of features even in the free version Install your preferred plugin and activate it. This will add vendor features like storefronts, dashboards, and commission settings. 3.Set Up Vendor Management Decide how vendors will register—open registration or admin approval? Set commission rates and choose payment withdrawal methods like PayPal or direct bank transfer. A good plugin will also allow vendors to manage their orders and products through a simple frontend dashboard. 4.Customize Your Store’s Look Choose a marketplace-ready WordPress theme (Astra and OceanWP are great options) and customize it using Elementor or the built-in Customizer. Highlight product categories, featured vendors, and add search and filter options to make browsing easy for customers. 5.Configure Payments Go to WooCommerce > Settings and set up payment methods. If you are using Dokan or WCFM, both support split payments so that vendors get their share automatically after a sale. 6.Test Before You Launch
Before going live, create a test vendor and go through the entire shopping process—add products, place an order, check emails, and ensure commission tracking works correctly. A smooth process builds trust with real vendors later. Once everything is in place, invite vendors to join your platform. If you are based in Kent or London, promote your marketplace in local Facebook groups, small business networks, or even at local markets. Offer low commissions or early-bird perks to attract your first sellers. Promote your platform on social media and consider adding a blog or YouTube channel to draw in organic traffic. Building a multi-vendor marketplace might sound like a big task, but WordPress makes it incredibly doable, even for beginners. With a solid setup and the right tools, you are not just building a website, but creating a business ecosystem. Start small, test often, and focus on creating a smooth experience for vendors and customers. Before you know it, you could be running the next big online marketplace. #LondonDeveloper, #LondonWebDesign, #WebDeveloperLondon, #KentWordPressDesign, #KentWordPress, #KentWPDeveloper, #KentWPCustomization, #KentWooCommerce, #WooCommerce, #LondonWooCommerce