Download
1 / 3
30 likes | 44 Views
Use the troubleshooting manual to fix the HP printer that prints blank pages. Fix not printing, won't print, printing blank pages issues on the HP printer.<br><br>https://123hp.org/

E N D
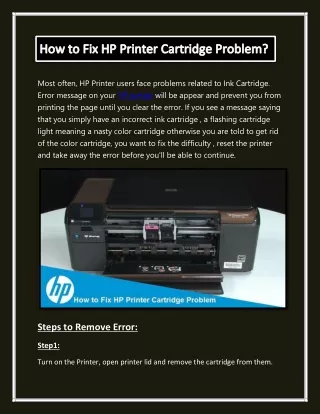
How to fix the HP printer that prints blank pages If the printed output is missing color or black ink or the printed page is blank or has little ink then the issue can be solved by using genuine HP cartridges. Replace any empty or defective cartridges, or clean the printhead. Check the estimated ink levels of the HP printer cartridges. Indicators and ink level warnings provide estimates for planning purposes. When low-ink levels are shown by an indicator, it should have a replacement ink cartridge to prevent possible printing delays. Load paper in the paper tray. Touch the button in the lower left corner of the control panel. Touch the right arrow to choose either tools or estimated ink levels and then click OK. You do not need to replace the cartridges if none of them are low on ink. Replace any low or empty cartridges and align the printer. Load paper in the input tray. Switch on the Power button to turn the
printer on. Open the cartridge door. Wait till the printer remains silent before you continue. Press the cartridge to release it, and then pull the cartridge out to take it out from its slot. Remove the new cartridge from its wrapping, and then pull the tab to remove the plastic tape. Hold the cartridge at the sides with the nozzles toward the printer, and insert the cartridge into the slot until it snaps into place. Make sure that the icon on the slot matches the icon on the cartridge. Insert the black cartridge in the right slot and the tri-color cartridge in the left slot. Push the cartridge until it snaps into place. Close the cartridge door. Align the printer. Make sure that the printer is switched on and paper is loaded in it. Touch the button in the lower left corner of the control panel. Touch the right arrow to select tools or align printer and press ok. Touch the right arrow to select tools or align the printer and touch ok. An alignment page is printed by the printer will then print an alignment page. Lift the lid of the printer and place the alignment page with the printed side down on the scanner glass.
Close the lid and press ok to complete the alignment. Clean the printhead using an automated tool. Identify the problematic ink cartridge and replace it. Align the ink cartridge by making sure that the printer is turned on. Touch the button in the lower left corner of the control panel. Lift the printer lid and press the alignment page with the printed side down on the scanner glass. Close the lid and OK should be pressed to complete the alignment. To get more solutions goto 123.hp.com/support