How to fix hp printer error code 0x61011bed
Get the simplest instruction available in the document to fix the error code 0x61011bed which occurs on the hp printers regularly. Also find out the permanant solution to recover your printer from this error.

How to fix hp printer error code 0x61011bed
E N D
Presentation Transcript
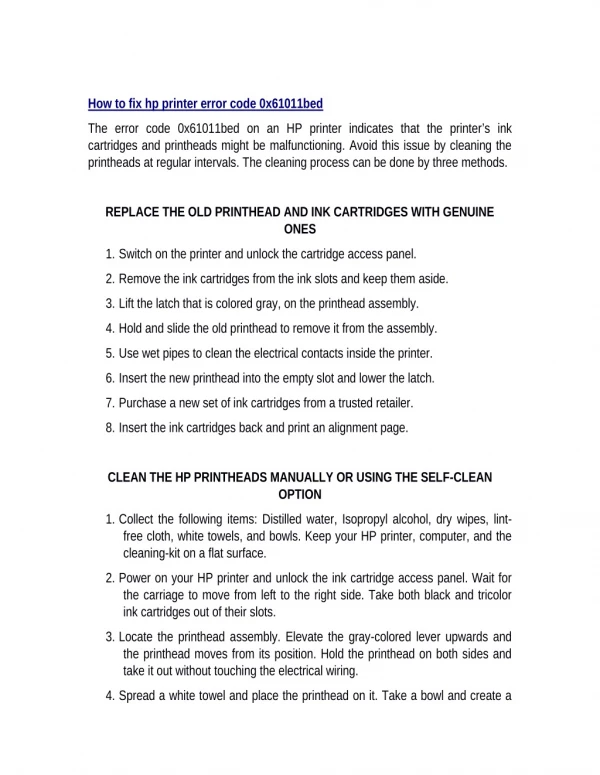
How to fix hp printer error code 0x61011bed The error code 0x61011bed on an HP printer indicates that the printer’s ink cartridges and printheads might be malfunctioning. Avoid this issue by cleaning the printheads at regular intervals. The cleaning process can be done by three methods. REPLACE THE OLD PRINTHEAD AND INK CARTRIDGES WITH GENUINE ONES 1.Switch on the printer and unlock the cartridge access panel. 2.Remove the ink cartridges from the ink slots and keep them aside. 3.Lift the latch that is colored gray, on the printhead assembly. 4.Hold and slide the old printhead to remove it from the assembly. 5.Use wet pipes to clean the electrical contacts inside the printer. 6.Insert the new printhead into the empty slot and lower the latch. 7.Purchase a new set of ink cartridges from a trusted retailer. 8.Insert the ink cartridges back and print an alignment page. CLEAN THE HP PRINTHEADS MANUALLY OR USING THE SELF-CLEAN OPTION 1.Collect the following items: Distilled water, Isopropyl alcohol, dry wipes, lint- free cloth, white towels, and bowls. Keep your HP printer, computer, and the cleaning-kit on a flat surface. 2.Power on your HP printer and unlock the ink cartridge access panel. Wait for the carriage to move from left to the right side. Take both black and tricolor ink cartridges out of their slots. 3.Locate the printhead assembly. Elevate the gray-colored lever upwards and the printhead moves from its position. Hold the printhead on both sides and take it out without touching the electrical wiring. 4.Spread a white towel and place the printhead on it. Take a bowl and create a
cleaning mixture that contains 50% distilled water and 50% Isopropyl alcohol in it. 5.Stir the mixture until the abrasive effect of the alcohol reduces. Take the printhead with the color-codes facing up and place it in the mixture until it completely dissolves. 6.Some HP printer models use cartridges with inbuilt printhead. In that case, place the cartridge in the mixture. Keep the setup aside and do not disturb it for five minutes. 7.The mixture removes the dried ink on the printhead. After five minutes, take the printhead out, wrap it in a lint-free cloth, and let it dry for few minutes. 8.Unwrap the printhead and remove the excess moisture using the dry wipes. Reinsert the printhead into the assembly and the cartridges into the designated slots. Close the cartridge access panel. 9.The next method is using Self-Cleaning option. On your Windows device, click Start > Control Panel > Devices and Printers|Hardware and Sound > Programs > Printers. Right-click the printer in which the printhead needs to be replaced. 10.Select Properties > Tools > Cleaning > Clean Heads|Clean Cartridges. Follow the on-screen prompts to complete the printhead cleaning process. After completing, print an test page to check the printhead alignment. For more information regarding the HP printer, make a contact at 123.hp.com.