Download
1 / 2
20 likes | 43 Views
All in one solution available for hp envy 5660 change cartridges, hp envy 5660 ink cartridges walmart, ink for hp envy 5660, hp envy 5660 print cartridges, hp envy 5660 toner cartridge, hp envy 5660 ink refill, hp 5660 envy printer ink, hp envy 5660 ink replacement.<br><br>https://printer-setup.co/

E N D
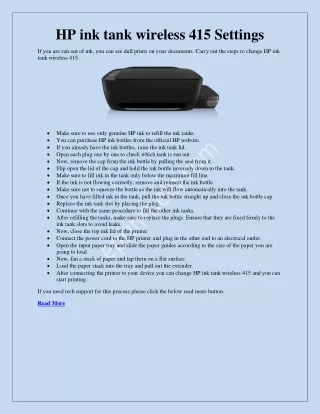
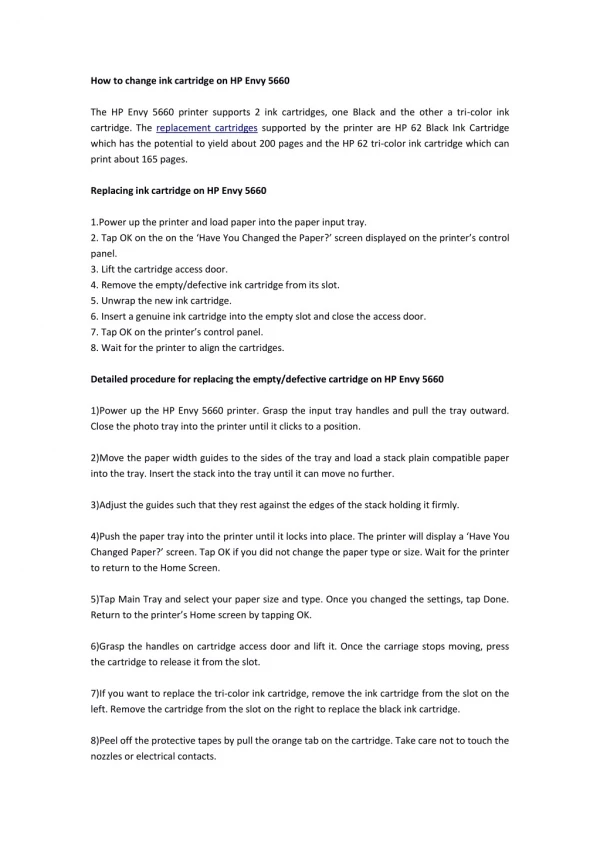
How to change ink cartridge on HP Envy 5660 The HP Envy 5660 printer supports 2 ink cartridges, one Black and the other a tri-color ink cartridge. The replacement cartridges supported by the printer are HP 62 Black Ink Cartridge which has the potential to yield about 200 pages and the HP 62 tri-color ink cartridge which can print about 165 pages. Replacing ink cartridge on HP Envy 5660 1.Power up the printer and load paper into the paper input tray. 2. Tap OK on the on the ‘Have You Changed the Paper?’ screen displayed on the printer’s control panel. 3. Lift the cartridge access door. 4. Remove the empty/defective ink cartridge from its slot. 5. Unwrap the new ink cartridge. 6. Insert a genuine ink cartridge into the empty slot and close the access door. 7. Tap OK on the printer’s control panel. 8. Wait for the printer to align the cartridges. Detailed procedure for replacing the empty/defective cartridge on HP Envy 5660 1)Power up the HP Envy 5660 printer. Grasp the input tray handles and pull the tray outward. Close the photo tray into the printer until it clicks to a position. 2)Move the paper width guides to the sides of the tray and load a stack plain compatible paper into the tray. Insert the stack into the tray until it can move no further. 3)Adjust the guides such that they rest against the edges of the stack holding it firmly. 4)Push the paper tray into the printer until it locks into place. The printer will display a ‘Have You Changed Paper?’ screen. Tap OK if you did not change the paper type or size. Wait for the printer to return to the Home Screen. 5)Tap Main Tray and select your paper size and type. Once you changed the settings, tap Done. Return to the printer’s Home screen by tapping OK. 6)Grasp the handles on cartridge access door and lift it. Once the carriage stops moving, press the cartridge to release it from the slot. 7)If you want to replace the tri-color ink cartridge, remove the ink cartridge from the slot on the left. Remove the cartridge from the slot on the right to replace the black ink cartridge. 8)Peel off the protective tapes by pull the orange tab on the cartridge. Take care not to touch the nozzles or electrical contacts.
9)Insert the new ink cartridges into the empty slots. Place the black cartridge in the right slot and the color ink cartridge in the left slot. 10)Close the access door and tap OK on the control panel. Wait until the printer aligns the ink cartridges and prints an alignment page. Tap OK again. Visit website 123.hp.com/setup