Download
1 / 7
70 likes | 94 Views
Learn how to add Google AdSense to your WordPress blog so you can monetize your WordPress website and earn income. Call now at 1-800-556-3577

E N D
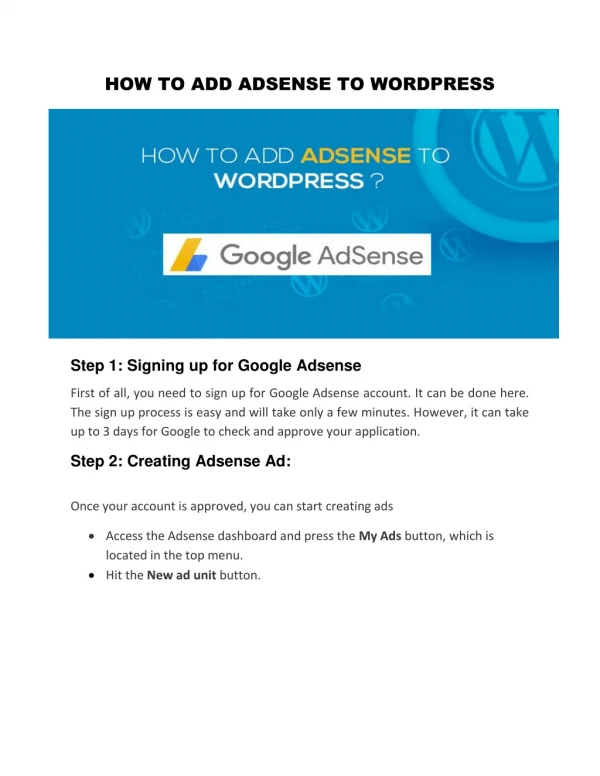
HOW TO ADD ADSENSE TO WORDPRESS Step 1: Signing up for Google Adsense First of all, you need to sign up for Google Adsense account. It can be done here. The sign up process is easy and will take only a few minutes. However, it can take up to 3 days for Google to check and approve your application. Step 2: Creating Adsense Ad: Once your account is approved, you can start creating ads •Access the Adsense dashboard and press the My Ads button, which is located in the top menu. •Hit the New ad unit button.
Enter the necessary settings for your ad. These settings are important as they help to customize your ad and make it more suitable for your website design: Name– The name of your ad. Enter a unique name here – it will be easier to manage multiple ads in the future. Ad size–It’s a very important setting, because ad sizes make a great impact on the view of your website. It’s recommended to selectResponsive if your website is adapted to all devices.
Press Save and get code. A new window with your Adsense code will appear. It will look similar to this code: <script async src=”//pagead2.googlesyndication.com/pagead/js/adsbygoogle.js“></script> <script> (adsbygoogle = window.adsbygoogle || []).push({ google_ad_client: “ca-pub-678303128708xxxx”, enable_page_level_ads: true }); </script> Select and copy the code – you will need it in the next step. Step 3: Adding adsense to wordpress •login into wp-admin •Step1: Type your username
•Step2: Type your Passsword •Step3:Click to login Now you can see your dashboard window look like:
Inserting Ads Manuaally Insert an ad into WordPress is by creating a new widget. The biggest advantage of this method is that you do not need to install any plugins. Follow the steps below in order to create a new widget and insert the Adsense code: •Click on Appearance in sidebar menu. •Click on Widget
To add a new widget, select Text and drag and drop it to the place where you want to display the ads. In this example, we decided to add Adsense to Sidebar, but you can choose any part of your website. Fill the Title and Content fields. •Title– Enter the name of your widget (you can leave it empty). •Content– Paste the copied code from Google Adsense website.
Once you are done press the Save button. To know more information about Google Adsense & WordPress Related Query Call on Toll Free: +1-800-556-3577 (US & Canada) Visit us at wpcustomerservice.com