Is Tech Making pin Better or Worse?
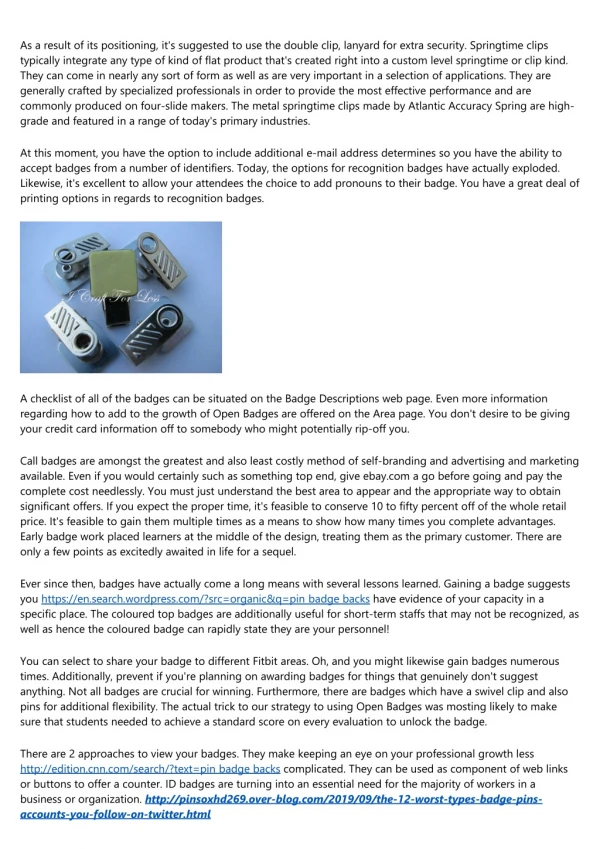
Because of its alignment, it's recommended to utilize the dual clip, lanyard for added security. Springtime clips generally include any type of type of level product that's formed right into a customized flat spring or clip kind. They can be available in nearly any type of sort of shape and are important in a selection of applications. They are usually crafted by specialized technicians in order to offer the best efficiency as well as are commonly made on four-slide devices. The metallic spring clips made by Atlantic Precision Springtime are top-of-the-line and included in a range these days's primary industries. Now, you have the choice to include extra e-mail address identifies so you are able to accept badges from numerous identifiers. Today, the options for recognition badges have actually taken off. Likewise, it's fantastic to allow your guests the option to add pronouns to their badge. You have a lot of printing choices in relation to identification badges. A checklist of every one of the badges can be situated on the Badge Descriptions web page. More info regarding exactly how to contribute to the growth of Open Badges are readily available on the Neighborhood web page. You do not desire to be providing your charge card info off to somebody who could possibly rip-off you. Name badges are among the absolute best and also least expensive way of self-branding as well as marketing offered. Also if you would certainly such as something top end, offer ebay.com a go before going and also pay the total price needlessly. You should merely understand the absolute best spot to show up and also the correct means to get substantial offers. If you expect the proper time, it's possible to save 10 to fifty per cent off of the whole market price. It's possible to earn them numerous times as a means to show the amount of times you complete advantages. Early badge job placed learners at the middle of the style, treating them as the primary customer. There are only a few points as excitedly waited for in life for a sequel. Ever since then, badges have actually come a long way with several lessons discovered. Gaining a badge suggests you have proof of your ability in a details area. The coloured top badges are additionally helpful for short-term personnels that may not be acknowledged, as well as thus the coloured badge can rapidly say they are your personnel! You can pick to share your badge to different Fitbit areas. Oh, and you may additionally make badges numerous times. Additionally, avoid if you're intending on granting badges for things that truly do not imply anything. Not all badges are crucial for winning. On top of that, there are badges which have a swivel clip and also pins for additional flexibility. The genuine key to our strategy to using Open Badges was mosting likely to ensure that learners needed to obtain a baseline score on every assessment to unlock the badge. There are 2 techniques to watch your badges. They make keeping an eye on your expert development less complicated. They can be used as part of links or switches to provide a counter. ID badges are turning into an essential demand for the majority of staff members in a company or company. So, you have to get an appropriate way to use your ID badge to get the job done. Badges, for the big component, are utilised to share authority. If you're thinking about applying recognition badges at your office, or when you need name badges for a special event, then you are going to wish to search for the best deals. Identification badges may be made use of by several organisations as well as for quite a few objectives. They compensate pupils permanently behaviour as well as give them better understandings right into their choices. They are a method to signify proof done by a private key in a proven, trustless means to third-parties. Second, respectable name badges are pricey. The very very first time you obtain 15k, you are going to gain the badge. The badge should be picked depending on the skill which you think you did the best on throughout the Hackathon. Or else, it would signify that the badge was withdrawed. Separating badges from tokens is a considerable action in the procedure. The badges may be made use of by employers as well as recruiters to validate an individual's qualifications and can operate as a differentiator. There are various means to add tailored badges to Gitlab task web page. To link a badge to an additional badge, they require to have an address (or an identifier that can be equated right into an address) where they can be found. Car grille badges can be found in a choice of styles and will certainly withstand for quite some time if your car is appropriately taken care of.
21 views • 2 slides