Download
1 / 20
200 likes | 349 Views
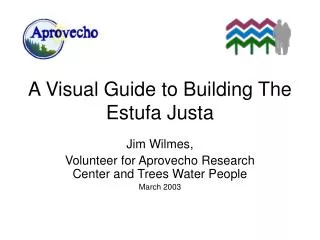
A Visual Guide to Building The Estufa Justa. Jim Wilmes, Volunteer for Aprovecho Research Center and Trees Water People March 2003. 1: Preparing the Base – Preparando la base. 2: Filling the base – Llenando la base.

E N D
A Visual Guide to Building The Estufa Justa Jim Wilmes, Volunteer for Aprovecho Research Center and Trees Water People March 2003
3: Cutting sheet metal to make a channel for the soot. – Cortando la lamina para hacer una canaleta para el hollín.
4: Measuring the area for the plancha - Midiendo el área para la plancha
5: The base with the first layer of bricks added - La base con la primera carrera de ladrillos
6: A space in the third row of bricks for the smoke to escape to the chimney. - Un espacio en la tercera línea para que el humo escape hacia la chiminea
7: Putting the ceramic elbow on a mound of ashes, at the same height as the top row of bricks. - Poniendo el codo encima de la ceniza, a la misma altura de la ultima carrera de ladrillos.
9: A cooking surface of 22 by 22 inches - Una plancha de 22 por 22 pulgadas
10: The bottom of the cooking surface has angle iron welded to it and sealed. - El fondo de la plancha se hace de angulo cuadrado, sellado y con soldadura
11: The brick box is filled with ashes. - La caja se llena con ceniza.
12: The cooking surface centered over the bricks. - La plancha centrada sobre la caja de ladrillo.
13: Filling the border of the cooking surface with cement (a wooden spacer prevents it from sticking to the metal). - Rellenando el borde de la plancha (la regla evita que la plancha se pegue y provee espacio para sacarla)
14: Placing the chimney over a piece of reinforcing rod. - Poniendo la chiminea sobre un pedazo de varilla como refuerzo.
16: The ceramic tube where firewood is fed into the stove, with a plate to allow air to pass under it. - La entrada para poner la leña, con la planchita para asegurar que haya suficiente aire en el fuego.
17: Filling the gap around the stove top with ashes. - Llenando el espacio alrededor de la plancha con ceniza.
18: Making a final test of the stove. - Haciendo una prueba de la estufa.
Jim Wilmes email: jimwilmes@hotmail.com Volunteer for Aprovecho Research Center www.efn.org/~apro and Trees Water People http://www.treeswaterpeople.org/