Mastering PowerPoint Presentations: Text and Graphics
140 likes | 168 Views
Learn to create, modify, align text, graphics, resize objects, adjust layouts, import Word outlines, add tables, insert clip-art, create shapes, and manipulate visuals effectively in PowerPoint with step-by-step guidance.

Mastering PowerPoint Presentations: Text and Graphics
E N D
Presentation Transcript
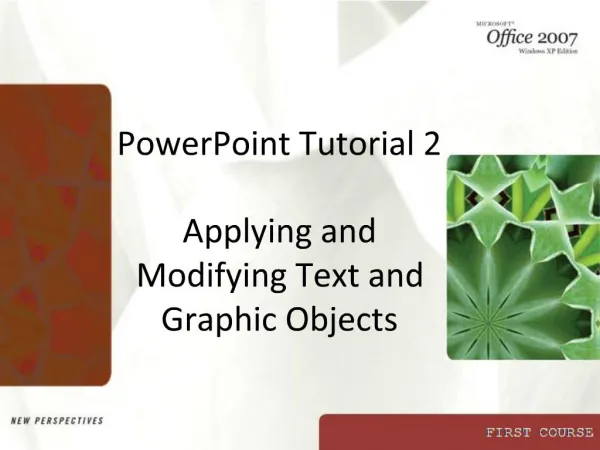
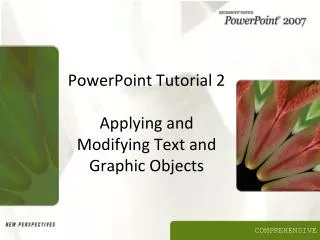
CREATING AND MODIFYING TEXT AND GRAPHIC OBJECTS Dr. Ennis-Cole PPT2.01
OBJECTIVES: • Resize, move, and align text & graphics • Add & modify a design template • Change the layout of existing slides • Insert and resize pictures and clip-art • Insert a table into a slide • Draw and manipulate a simple graphic PPT2.01
Importing a Word Outline • Position yourself where you want the new slides added from an outline • Click Insert, Slides from Outline • Locate the word file on the disk, select it and then click the Insert button • Click the Slide Layout Button • Click the layout you desire PPT2.01
Formatting the Presentation • To change the design template • Double click the design template indicator • Click the template file • Click the Apply button • To modify the title and slide master • Click view, title Master • Press Delete key and retype the new title PPT2.01
Resizing Text Boxes • Select the title text box of the slide master • Drag the resize handlers to desired place • To insert a picture into a slide • Click Insert, point to the picture and then click From File to display the dialog box • Select the desired picture and then click the Insert button • Move and resize the picture as desired PPT2.01
Using Graphics Effectively • Graphics present information visually • Graphics add interest and motivation • Graphics communicate relationships quickly • Graphics increase understanding and retention of information • After all, “A picture is worth a thousand words!” PPT2.01
Aligning Objects: • Select the logo, press and hold the shift key, so that resize handlers appear • Click the Draw list arrow on the drawing toolbar, point to Align or Distribute, then click Align Middle • Click any blank area to deselect the objects PPT2.01
Inserting and Editing Clip-Art • Click Slide Layout with description Text & Clip Art • Click the Pictures Tab • Scroll category and select any object • Click Insert clip button • To animate the image, click Slide Show, Custom Animation • Click Preview, Click OK and save PPT2.01
Creating a Table in a Slide • Change the slide layout to the desired table setting • Double-click the table placeholder • Specify the desired table size • Modify the borders as desired • Add information to the cells • Click on a blank area to exit table mode PPT2.01
Creating and Manipulating a Shape • Go to any slide and change the layout to Title only • Click the AutoShapes list arrow and point to Basic shapes • Select the desired AutoShape and hold down the Shift key • Drag and release the mouse button in the desired position PPT2.01
Rotating an Object: • Click the Draw list arrow and point to Rotate or Flip and then click the Flip Vertical button • Click a blank region to deselect • To add text, click the Text Box button on the drawing toolbar • Type the text PPT2.01
Rotating a Text Box: • Click the Free Rotate button on the Drawing Toolbar • Press and hold the shift key and then the mouse button • Rotate to the desired position • Click Tools, Spelling • Click Slide Show and edit slides where necessary PPT2.01
Printing the Presentation and Exiting PowerPoint • Click File, Click Print, select Handouts and then set the Slides per Page to 6 • Make sure the Grayscale check box is selected • Click the OK Button • After printing is complete, Click the Close Button in the PowerPoint Window PPT2.01
PPT 2.01 • “That’s all folks !” PPT2.01