Download
1 / 15
150 likes | 312 Views
Using Wordpress , A Free Internet Blogging Site To Create A Company Intranet Training Site. Jeffrey LeFevre Tucson Electric Power Company. Advantages . Free Easy to Access Easy to use Menu Driven Saves money

E N D
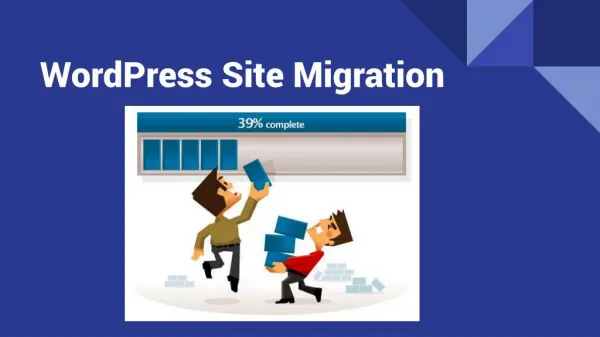
Using Wordpress, A Free Internet Blogging Site To Create A Company Intranet Training Site Jeffrey LeFevre Tucson Electric Power Company
Advantages Free Easy to Access Easy to use Menu Driven Saves money Makes training videos, Power Points or other training material available to all. Allows shift workers ability to view classes given at “normal times” such as HR, safety meetings etc.
Creating an e-mail address You must be able to access e-mail to open a Wordpress account for the interactive portion of the presentation. If you do not have an e-mail address, you can create one by going to hotmail.com or Google Gmail.
Creating a blog in WordPress Go to wordpress.com Start A Blog – Select “Sign Up Now” Enter User Name Create Password Confirm Password Enter e-mail address Check “Legal Flotsam” box Select “Gimme a Blog” Select “Next” then “Signup” Go to your e-mail account. An e-mail will be sent to you. Select the link as directed
Designing your blog Log into your account using your user name and password. Select “View Your Site” Under “Meta” select “Log in” Log in to your blog Dashboard is on left side Go to “Appearance” and then “Themes” Select the theme you desire (Refresh to view more)
Adding a New Post For practice we will take a copy of this Power Point presentation and add it to our newly created blog.
Creating a Post • Go to “Posts” • “Add New” • Name Post • Select Add Media Icon (little sun) • Select “Flash Uploader”or “Browser uploader”(whichever works best) • Browse for the file you want • Select “Upload” • Select “Show” (if applicable) • Select “Insert Into Post” • Select “Publish” • “View Post” takes you to blog
Creating Menu Categories “Site Admin” or “Edit” returns you to dashboard On the Dashboard under “Posts” select “Categories” Name the category Select “Add Category” Go to “Edit Post” on dashboard Go to desired post and “Edit” Uncheck the “uncategorized” box and then check the box for the category you created. (Sub categories can also be created) Select “Update” When you view your blog the category menu will now appear and the blog will be under the new category you created
Edit Post Go to Posts Select “Edit” on desired post Check appropriate categories and sub-categories (select parent) Select “Update” Select Blog Title at top of page to view
Adding Videos You cannot install videos on your blog library without first downloading a video upgrade. ($60 – Remember, There ain’t no such thing as a free lunch!) There is also a limit to file size for other files. SO…………
This is what you need to do. • Have your I.T. folks set up a server and configure Wordpress on the server. • You can now download files to folders on the server and configure your blog to locate these files on the server. • Power Points can be hyperlinked to text and viewed. • Videos can be viewed by downloading a flash player which is added to the blog as a “widget” and then using embedded script to connect to the flash file on the server.
Creating Videos We use a Sony DCR-SR82 camera with a 60 GB hard drive. For better sound we use a Sony ECM-HW1R Wireless Microphone. Videos are edited in Adobe Premiere Elements 4.0 and converted to flash video (Flash 8 @ 700k) Video files are placed on the server and the file path is added to the video script.
Thank You! I hope this presentation has helped you to see how easy it is to set up and use Wordpress to create a company intranet training site. Thank you for your attention and participation.
Contact : Jeff LeFevre Tucson Electric Power Co. Springerville Generating Station jlefevre@tep.com 928-337-7458 Questions?