Download
1 / 21
210 likes | 359 Views
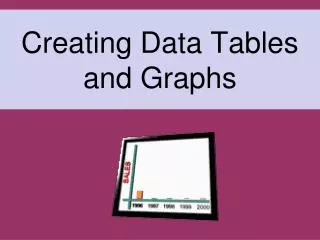
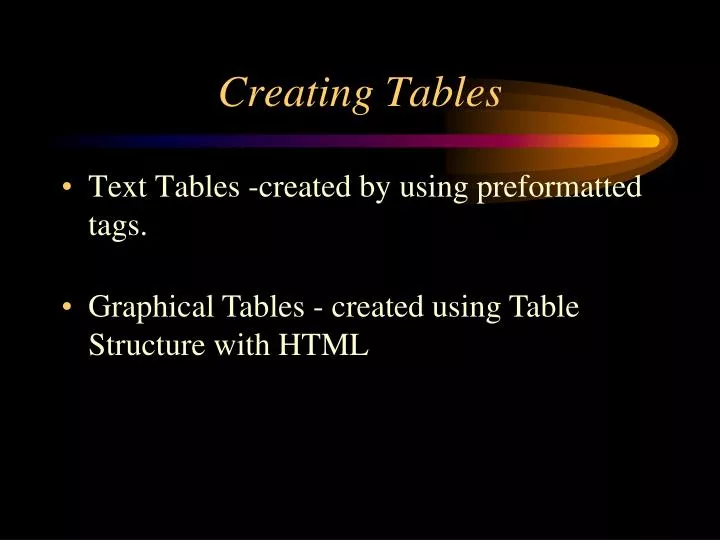
Creating Tables. Text Tables -created by using preformatted tags. Graphical Tables - created using Table Structure with HTML. Preformatted Tables. Type <PRE> to use the preformatted text tag. Enter the table text, aligning the columns of the table by inserting blank spaces as appropriate.

E N D
Creating Tables • Text Tables -created by using preformatted tags. • Graphical Tables - created using Table Structure with HTML
Preformatted Tables • Type <PRE> to use the preformatted text tag. • Enter the table text, aligning the columns of the table by inserting blank spaces as appropriate. • Type </PRE> to turn off the preformatted text tag.
A Text Table This figure shows a text table.
Graphical Tables • Enter the <TABLE> AND </TABLE> tags to identify the beginning and end of the table. • Enter <TR> and </TR> tags to identify the beginning and the end of each table row. • Enter <TD> and </TD> to identify the beginning and the end of each table cell. • Enter <TH> and </TH> to identify text that will act as table headers.
A Graphical Table This figure shows a graphical table
Simple Table Tags (2 x 2) <TABLE> <TR> <TD>first row, first cell</TD> <TD>first row, second cell</TD> </TR> <TR> <TD> second row, first cell</TD> <TD>second row, second cell</TD> </TR> </TABLE>
Table Techniques • Start each table row on it’s own separate line. • Indent the table cell tags three or more spaces from the table row tags to make them easier to read. • Add blank spaces between table rows. • Generously add Comment tags.
Inserting a Comment Tag • To insert a comment into a HTML file, enter the following tag: <!---comment text---> • Anything after the exclamation point is interpreted as a comment and is not displayed by the browser.
Table Frames and Rules • The frames attribute allows you to determine which sides of the table will have borders. • The frame attribute syntax is: <table frame=“type”> • type is either “box” (the default), “above”, “below”, “hsides”, “vsides”, “lhs”, “rhs”, or “void”
Effect of Different Frame Values • This figure shows the effect of each of the frame values on the table grid.
Creating Frames and Rules Continued • The rules attribute lets you control how the table gridlines are drawn. • The syntax of the rules attribute is: <table rules=“type”> • type is either “all”, “rows”, “cols”, or “none”
Effect of Different Rules Values Effect of Different Rules Values
Changing a Table’s Appearance • Table Border: <TABLE BORDER=size> (size is in pixels) • Individual Table Cell Borders: <TABLE CELLSPACING=size> (default is 2 pixels) • The gap between the cell text and surrounding cell border: <TABLE CELLPADDING=size> (default is 1 pixel)
Aligning a Table on the Page • Left aligned, wrapping text to the right: <TABLE ALIGN=LEFT> • Right aligned, wrapping text to the left: <TABLE ALIGN=RIGHT> • Center on the page: • Best Practice is to use CSS styles
Row Groups • The <thead> tag is used to group the header content in an HTML table. • The thead element should be used in conjunction with the tbody and tfoot elements. • The tbody element is used to group the body content in an HTML table and the tfoot element is used to group the footer content in an HTML table.
Row Groups (continued) • Note: <tfoot> must appear before <tbody> within a table, so that a browser can render the foot before receiving all the rows of data. • The table header, table body, and table footer must all contain the same number of columns. • Notice that these elements will not affect the layout of the table by default. However, you can use CSS to let these elements affect the table's layout.
Specifying Table Size • <TABLE WIDTH=size HEIGHT=size> • Size can be in either pixels or as a percentage of the browser’s display area. • Percentages must be enclosed in quotation marks. Example: WIDTH =“70%”
Creating a Spanning Cell • To create a cell that spans several columns, enter the COLSPAN property within the <TD> or <TH> tags as follows: <TD COLSPAN=value> where value is the number of columns spanned.
Creating a Spanning Cell (continued) • To create a cell that spans several rows, enter the ROWSPAN property within the <TD> or <TH> tags as follows: <TD ROWSPAN=value> where value is the number of rows spanned.
Creating a Page Layout with Tables • Create gutters and use cell padding to keep your columns from crowding each other. • Add background colors to columns to provide visual interest and variety. • Use the VALIGN=TOP property in cells containing articles, to ensure that the text flows from the top down.
Creating a Page Layout with Tables(continued) • Use row spanning to vary the size and starting point of articles within your columns. Having all articles to start and end within the same row creates a static layout that is difficult to read. • Avoid having more than three columns of text, if possible. Inserting additional columns could make the column widths too narrow and make the text too hard to read.