Printer Support:Calibration of Canon Printer
20 likes | 107 Views
Printer Support Team explaining “some instructions to calibrate your Canon Printer”. So just take a look and if you need any assistance use Canon Printer Support Number: 1 877 234 3909.<br>http://www.oncalltechsupport.co/canon-printersupport.php

Printer Support:Calibration of Canon Printer
E N D
Presentation Transcript
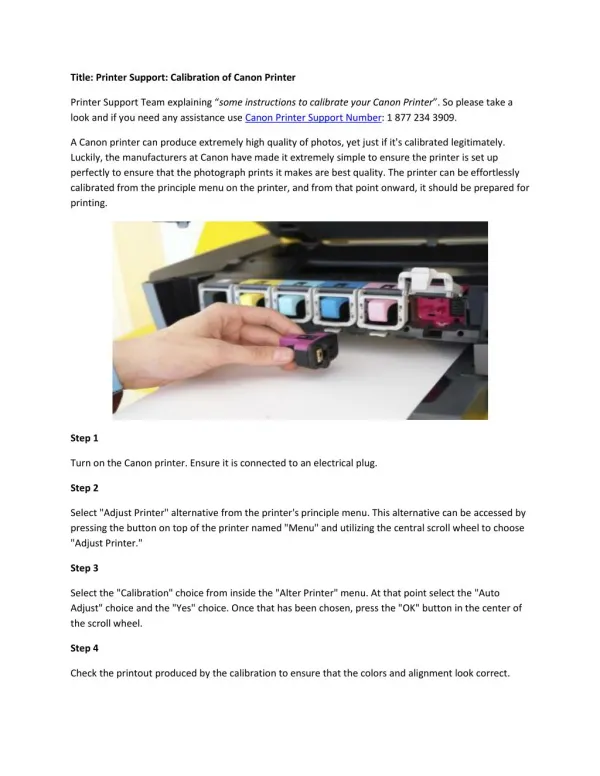
Title: Printer Support: Calibration of Canon Printer Printer Support Team explaining “some instructions to calibrate your Canon Printer”. So please take a look and if you need any assistance use Canon Printer Support Number: 1 877 234 3909. A Canon printer can produce extremely high quality of photos, yet just if it's calibrated legitimately. Luckily, the manufacturers at Canon have made it extremely simple to ensure the printer is set up perfectly to ensure that the photograph prints it makes are best quality. The printer can be effortlessly calibrated from the principle menu on the printer, and from that point onward, it should be prepared for printing. Step 1 Turn on the Canon printer. Ensure it is connected to an electrical plug. Step 2 Select "Adjust Printer" alternative from the printer's principle menu. This alternative can be accessed by pressing the button on top of the printer named "Menu" and utilizing the central scroll wheel to choose "Adjust Printer." Step 3 Select the "Calibration" choice from inside the "Alter Printer" menu. At that point select the "Auto Adjust" choice and the "Yes" choice. Once that has been chosen, press the "OK" button in the center of the scroll wheel. Step 4 Check the printout produced by the calibration to ensure that the colors and alignment look correct.