Download

1 / 11
0 likes | 3 Views
Introduction <br>Installing new outdoor flooring can transform your yard into a beautiful and functional space. Whether you're planning to lay down pavers, tiles, or decking, proper preparation is key to ensuring your new flooring lasts for years. In this guide, we'll walk you through the essential steps for preparing your yard for outdoor flooring installation, focusing on subfloor preparation steps.<br><br><br>

E N D
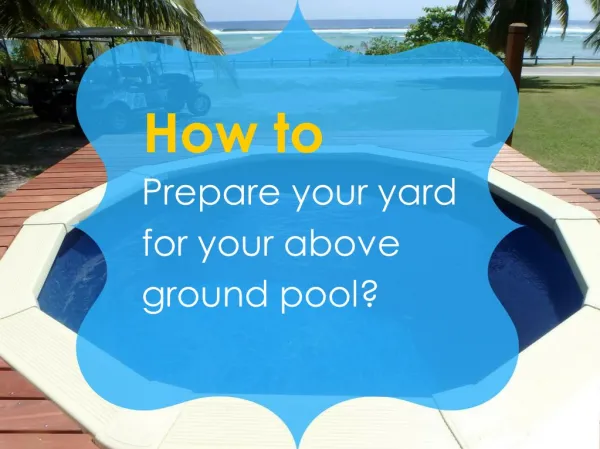
How to Prepare Your Yard for New Outdoor Flooring Welcome! In this presentation, we'll walk you through the essential steps to prepare your yard for new outdoor flooring. From understanding your options to the final touches, we'll cover everything you need to transform your outdoor space with a stunning new floor. by United Flooring UF
Know Your Flooring Options Wood Tile Pavers Durable and natural-looking, wood outdoor flooring adds warmth and charm to your yard. It requires regular maintenance but can last for years with proper care. Tile is a popular choice for its wide range of styles and low maintenance. It's highly resistant to weather and can withstand heavy foot traffic. Interlocking pavers create a classic, rustic look. They're easy to install and can be customized to fit your specific yard layout.
Plan Your Project Measure the Area 1 Accurately measure the space you want to cover with new flooring. This will help you determine the right amount of materials needed. Sketch the Layout 2 Create a simple sketch of your yard, including any existing structures or landscaping. This will guide your flooring layout and help you visualize the final result. Consider Surroundings 3 Take into account the existing features in your yard, such as walkways, patios, or flower beds. Ensure your new flooring seamlessly integrates with these elements.
Gather Your Materials and Tools Essential Tools 1 Shovel, rake, wheelbarrow, compactor, and any specialty tools required for your chosen flooring material. Base Materials 2 Gravel, sand, and edging to create a sturdy foundation for your new flooring. Flooring Materials 3 Depending on your choice, you'll need pavers, tiles, or wooden boards, along with any necessary adhesives or fasteners.
Clear the Area Remove Existing Vegetation Start by clearing away any grass, weeds, or other vegetation from the area. This will provide a clean slate for your new flooring. Clear Debris and Rocks Thoroughly remove any rocks, roots, or other debris that could interfere with the installation process or cause issues down the line. Level the Surface Once the area is clear, use a rake to ensure the ground is level and even, preparing it for the next steps.
Level the Ground Smooth the Surface Use a rake to gently smooth out any uneven areas, filling in low spots and removing high spots to create a level surface. Compact the Soil Once the ground is leveled, use a compactor or heavy roller to firmly pack down the soil, ensuring a stable foundation. Final Adjustments Perform a final inspection and make any necessary adjustments to ensure the ground is perfectly level and ready for the next steps.
Create a Solid Base Gravel Layer 1 Start by laying down a 2-3 inch layer of crushed gravel. This will provide excellent drainage and a sturdy foundation for your new flooring. Sand Layer 2 On top of the gravel, add a 1-inch layer of coarse sand. This will help level the surface and create a smooth base for your flooring. Compact and Smooth 3 Use a compactor or roller to firmly pack down each layer, ensuring a solid, stable foundation for your outdoor flooring.
Install the Edging Concrete Edging Metal Edging Stone Edging Sturdy and durable, concrete edging provides a clean, finished look to your outdoor flooring. Metal edging is a versatile choice that can be easily customized to fit your desired layout. Natural stone edging adds a rustic, elegant touch to your outdoor flooring installation.
Lay the Flooring Start from one corner Follow the manufacturer's instructions Ensure each piece is level and secure
Final Touches and Maintenance Final Touches Ongoing Maintenance Once the flooring is installed, fill any gaps with sand or specialized filler. Thoroughly clean the area and dispose of any debris. Regularly sweep, clean, and maintain your new outdoor flooring to keep it looking its best and ensure its longevity.
Get in touch with us Phone: +91-9811100025 , 9818700025 Harmeet@unitedfloorings.com www.unitedfloorings.com C 65, DDA Shed, Pocket A, Okhla I, Okhla Industrial Estate, New Delhi, Delhi 110020