Download
1 / 12
120 likes | 252 Views
Konfigurasi pada modem TP-Link. Port forwarding ( Dilakukan Pada Local PC) Sekarang masuk ke modem Biasanya http://192.168.1.1 user :admin, password : admin. MODEM TP-Link TD8817. Pilih Advanced Setup > NAT > Vitual Server Isikan Rule Index : 1 Application : IPCam1 Protocol : ALL

E N D
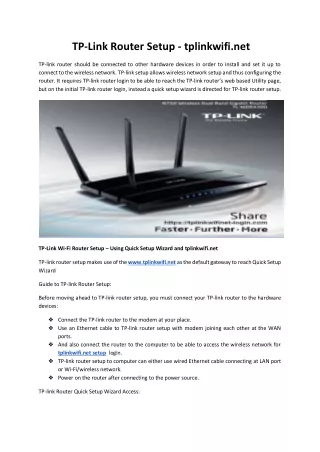
Port forwarding (DilakukanPada Local PC) Sekarangmasukke modem Biasanyahttp://192.168.1.1 user :admin, password : admin
MODEM TP-Link TD8817 Pilih Advanced Setup > NAT > Vitual Server Isikan Rule Index : 1 Application : IPCam1 Protocol : ALL Start Port Number : 1234 (Sesuai dengan port kamera) End Port : 1234 Local IP Address : 192.168.1.100 (Sesuai IP pada Kamera) Lakukan Save / Add
SekrangCobaAkseskameradariluarjaringan . Misalhttp://113.91.36.101:1234(P address publik : Port kamera)
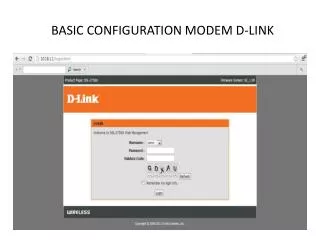
Jika modem TP-link andabukansepertidiatas, berikutuntuktipe TP-Link yang lain. Masuk ke modem. Biasanya 192.168.1.1 Setelah itu Klik Forwarding->Virtual Serversclick Add New
Pada Service Port , masukkan port kamera yang tadi anda buat. Pada IP Address, masukkan IP address kamera. Protocol > Pilih ALL atau TCP Klik SAVE
Klik pada tab STATUS untuk mengetahui IP Address publik koneksi speedy Anda
Step 7 Setting DDNS pada modem (Setting pada Local PC) Sebelumnya, buatakundi dyndns.com Baca dulupanduanpendaftaran Dyndns.com
Isikan data seperti pada saat daftar di dyndns.com My Host Name : monitoring1.dyndns-free.com E-mail Address : email_anda@yahoo.com Username : (isikan user saat daftar di dyndns) Password : password dyndns Lakukan Save
Step 8 Akses kamera menggunakan domain dyndns anda (Pada PC diluar jaringan)