Diy Tips - Installing Tile Floors
20 likes | 38 Views
So what are the main steps regarding any tile vocation? Mark the center of ground so those who are ready to get the tiles it is very simple for you to find. When utilizing the backsplash, no backer is essential.

Diy Tips - Installing Tile Floors
E N D
Presentation Transcript
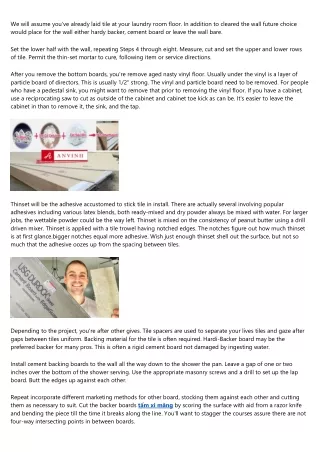
We will assume you've already laid tile at your laundry room floor. In addition to cleared the wall future choice would place for the wall either hardy backer, cement board or leave the wall bare. Set the lower half with the wall, repeating Steps 4 through eight. Measure, cut and set the upper and lower rows of tile. Permit the thin-set mortar to cure, following item or service directions. After you remove the bottom boards, you're remove aged nasty vinyl floor. Usually under the vinyl is a layer of particle board of directors. This is usually 1/2" strong. The vinyl and particle board need to be removed. For people who have a pedestal sink, you might want to remove that prior to removing the vinyl floor. If you have a cabinet, use a reciprocating saw to cut as outside of the cabinet and cabinet toe kick as can be. It's easier to leave the cabinet in than to remove it, the sink, and the tap. Thinset will be the adhesive accustomed to stick tile in install. There are actually several involving popular adhesives including various latex blends, both ready-mixed and dry powder always be mixed with water. For larger jobs, the wettable powder could be the way left. Thinset is mixed on the consistency of peanut butter using a drill driven mixer. Thinset is applied with a tile trowel having notched edges. The notches figure out how much thinset is at first glance.bigger notches equal more adhesive. Wish just enough thinset shell out the surface, but not so much that the adhesive oozes up from the spacing between tiles. Depending to the project, you're after other gives. Tile spacers are used to separate your lives tiles and gaze after gaps between tiles uniform. Backing material for the tile is often required. Hardi-Backer board may be the preferred backer for many pros. This is often a rigid cement board not damaged by ingesting water. Install cement backing boards to the wall all the way down to the shower the pan. Leave a gap of one or two inches over the bottom of the shower serving. Use the appropriate masonry screws and a drill to set up the lap board. Butt the edges up against each other. Repeat incorporate different marketing methods for other board, stocking them against each other and cutting them as necessary to suit. Cut the backer boards tấm xi măng by scoring the surface with aid from a razor knife and bending the piece till the time it breaks along the line. You'll want to stagger the courses assure there are not four-way intersecting points in between boards.
If you discover a good deal on tile, be aware that cheap tiles often vary in size quite a little bit. That variation makes installation difficult. Decide how you will trim the tile too. If the edges seem exposed, choose tile with finished glazed edges. Some floor tiles have glazed edges as well as great as counter top tiles. Mark the very center line with the wall (measured top to bottom), using a tape measure and detail. Screw a 1-by-2 board below that line to sustain the rows of tiles you sets. From this point, you will set the top half of the wall. Hand tools for installing ceramic tile include trowels, cutters and measuring securities. Trowels needed vary with the jobs. A fundamental trowel will be the rectangular notched trowel. It is used to spread the adhesive. The trowel notches let the installer gauge the thickness of the adhesive. An inferior margin trowel is for detail tasks. Tile cutting is a critical job. The basic cutter is a nipper, may especially used by detail strive. A cutter board is often used for straight cuts, The cutter board scores tile help to make it in order to break. A circular wet saw will be the real workhorse of a skilled professional. Saws may be all different grades and sizes. You are able to find discounted saw can be suitable for your job role. Place the tile for the mortar and twist until it remains safe and secure. The twisting releases the air trapped the actual tile. Don't lean on the tile or press it down with your knee. Certain you keep tile is exactly where oodles of flab . it. Place spacers inside of the tile. Lay next bash same steps until all the tile is on flooring. Let sit for no less twenty 4 hours and then grout the tile.