Table Top TV Installation Guide for Easy Home Setup
1 likes | 5 Views
Learn how to install your TV using a table top setup. This guide covers key benefits, required tools, safety tips, and step-by-step instructions for a quick, flexible, and damage-free installationu2014perfect for renters and modern home setups.<br><br>

Table Top TV Installation Guide for Easy Home Setup
E N D
Presentation Transcript
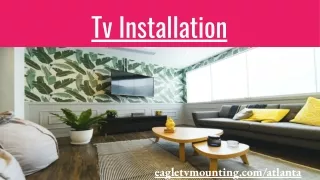
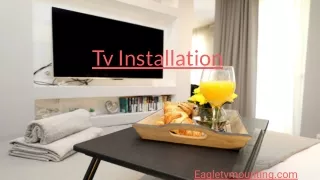
Table-Top TV Installation: A Smart Choice Opting for a table-top TV setup offers straightforward, adaptable placement directly onto your furniture. It's perfect for creating flexible home entertainment arrangements without the hassle of drilling into walls. In fact, over 60% of Australian households choose non-mounted TVs, easily accommodating popular large screens like 55-inch models.
Key Advantages of Table-Top Setup Cost-Effective Flexibility No Damage Avoids significant wall-mounting expenses, saving you money. Easily reposition or relocate your television as needed. Preserves walls, especially crucial for rented properties. Quick Installation Often completed swiftly, within 20-30 minutes.
Pre-Installation Checklist & Considerations TV Size & Weight Ensure the stand supports TVs up to 65kg, like a 75-inch model. Stand Compatibility Verify VESA mounting standards, such as 400x400mm. Surface Stability Use a robust, level surface that bears the TV's weight. Ventilation Allow minimum 10cm clearance around the TV for airflow. Cable Management Plan routing for power, HDMI, and aerial cables effectively.
Essential Tools & Materials TV Stand: Original legs or VESA-compatible aftermarket stand. Screwdrivers: Phillips #2 and Flathead, matching TV screw types. Spirit Level: To ensure a perfectly level viewing surface. Cable Ties/Sleeves: For neat and safe cable organisation. User Manual: Crucial for specific TV model instructions.
Simple Installation Steps Unpack Carefully remove TV and stand components. Attach Stand Securely fasten stand to TV's VESA points. Position Place TV centrally on stable furniture. Connect Cables Plug in power, HDMI, and peripherals. Power On Initial setup and channel tuning.
Optimising Your Viewing Experience Top Third 2.1- 3.5m Viewing Distance 100% Ergonomics Glare Reduction For a 55-inch TV, aim for 2.1-3.5 meters. Position screen so its top third is at eye level when seated. Avoid direct light; use blackout curtains for clarity.
Common Pitfalls & Troubleshooting Instability Tighten stand screws; ensure surface is level. Cable Clutter Use cable management tools to prevent tangles. Overheating Verify adequate air circulation around TV vents. Incorrect Height Adjust stand height or use risers for optimal eye level. HDMI Issues Try different ports or higher- spec HDMI 2.1 cables.
Conclusion & Professional Assistance Benefits Planning Table-top installation offers safety, flexibility, and cost savings for your home. Proper planning ensures optimal viewing and the longevity of your television. Professional Help Consider professional installation for complex setups or large screens (75-inch+). Contact us: Phone: 0478 107 774 Email: support@tvpro.com.au Website : https://tvpro.com.au