LiveText Tutorial
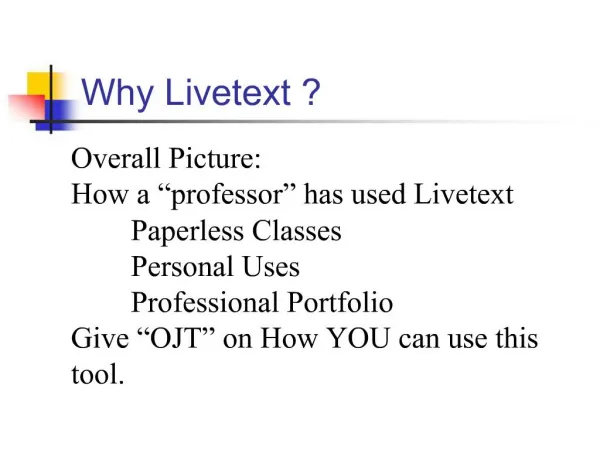
This tutorial guides you through creating a project in LiveText. Starting with accessing the MY WORK tab to select a new project type, you’ll learn how to choose templates, create documents, and manage project properties. We cover adding content, standards, and personal as well as LiveText resources. With detailed steps, including how to edit pages and save your work, this guide is designed for users looking to effectively build and manage their projects in LiveText.

LiveText Tutorial
E N D
Presentation Transcript
LiveText Tutorial How to Create a Project Gordon & Sexton 8/08
Step 1: Under MY WORK click on NEW tab. Gordon & Sexton 8/08
Select “Project” from either list GSU or LiveText. There are some pre-made projects in each. You can choose different templates within each. You will get a preview on this page to help you decide the look of your project. Step 2: In Create a Document use pull down menu under FOLDER. Gordon & Sexton 8/08
Step 3: Template – choose which kind of project you want to create. For instance – if you want to create your own storage site choose Design-Your-Own (DYO) Project under LiveText. Gordon & Sexton 8/08
Step 4: Give your project a name and a description. Note: a description is not necessary. Then click the green button “Save as New Document.” Gordon & Sexton 8/08
To view the project description click on “eyeball button- Show Properties.” Step 5: You can now see the created project, project pages and sections. Gordon & Sexton 8/08
LiveText Tutorial – Project Creation Adding Content to Your Project Gordon & Sexton 8/08
Can add or delete pages through this tab The Edit Properties tab on top left will allow you to edit the type of project you want, i.e. the description and name, the type of document and the layout. Pages in document Step 6: Adding Content to your Project Gordon & Sexton 8/08
Step 6a: Editing Project Properties – can change name, description, document type, layout, and style. Gordon & Sexton 8/08
Step 6b: Managing Pages – can change name of page and the order in which they appear; can hide, add, and/or delete pages. Gordon & Sexton 8/08
Click on edit to open section and enter new content. Two sections are in this page. They are text and image sections. Step 7a: When adding content to your project you must select the page to edit from Table of Contents. Gordon & Sexton 8/08
Add a LiveText link Type inside boxmuch like a Word document. Add an externallink Attach image Attach documents Step 7b: Content can be added in multiple ways to a Text & Image Section. Once all changes made click “Save & Finish” button. Gordon & Sexton 8/08
LiveText Tutorial – Project Creation Adding Standards to Your Project Gordon & Sexton 8/08
Step 8a: Add Standards to page by selecting “Standards” page. Gordon & Sexton 8/08
By selecting “Add New” you will get a list of national and/or statestandards to choose from. Step 8b: Add Standards by choosing “Add New” tab to select from a list of pre-populate standards. Gordon & Sexton 8/08
Select Standards from list Step 8c: Select Standards Gordon & Sexton 8/08
Note: Multiple pages of Standards.You must save standards for each page before you go on to next page. Step 8d: Select Standards by clicking in box to left of standard and then choosing “+Add Standards.” Gordon & Sexton 8/08
Step 8e: View of Standards Page with selected standards visible. You can add from multiple standard sets if desired to Standards page. Gordon & Sexton 8/08
LiveText Tutorial – Project Creation Adding Personal Resources to Your Project Gordon & Sexton 8/08
Step 9a: Add “Resources” by selecting Resource Page Gordon & Sexton 8/08
Step 9b: Resource page allows you to link to external websites, other LiveText documents, and Streaming Video (If you purchased video access with your LiveText account). Gordon & Sexton 8/08
Select type of resource to link You can also provide a description (a good idea to remind you what is found through that linked resource), indicate the subject and grade levels (not necessary to select in order to move forward). Step 9c: To add a “Personal Resource” click tab, enter name and URL. Choose type from pull down menu. Gordon & Sexton 8/08
After information suppliedsave before choosing “save and finish” to be sure link was made. Step 9d: Save linked resource. Gordon & Sexton 8/08
Once you know resource is linked then choose“Save & Finish” Step 9e: Select “Save & Finish.” Gordon & Sexton 8/08
Selected resources now appearunder Resource Page. Step 9f: View selected “Personal Resources.” Gordon & Sexton 8/08
LiveText Tutorial – Project Creation Adding LiveText Resources to Your Project Gordon & Sexton 8/08
Community Tabtakes you to variousshared items in LiveText You can search to determine what resourceshave been shared via LT. Knowing this will help when attaching LT resources to your Resource Page. Step 10: If you want to add a “LiveText Resource” you may want to preview those first under the “Community Resource” tab. Gordon & Sexton 8/08
Select “Add LiveText Resources” tab. Enter keyword to search for the LTresource. Click in box and select “+Add Resources” to attach. Step 10a: To add a “LiveText Resource” to the Resource Page of your Project select the proper tab. Gordon & Sexton 8/08
If selected resourceis correct then click “Save & Finish” Check to be sure selected LT resourcehas been added. Step 10b: Once resource saved check list to be sure it is correct. Gordon & Sexton 8/06
Personal Resource added LiveText Resource added View of Resource Page Gordon & Sexton 8/08