
Check Valve Modification Guide: Overview and Steps | Lead-Free LF Version Update 2010
Learn about the detailed steps for the modification of the 709DCDA series check valve from its production start in 1979 to the introduction of the lead-free LF version in 2010. Discover the process for check cover, valve, seat, and disc removal and replacement.

Check Valve Modification Guide: Overview and Steps | Lead-Free LF Version Update 2010
E N D
Presentation Transcript
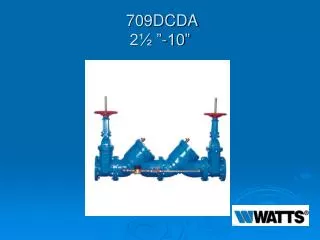
Modification Overview • Production began in 1979 and is current. • Lead free (LF) version was introduced in 2010. • Bypass for the 709DCDA: 1979-1991 (3/4” 709) 1991-1993 (3/4” 007M1) 1993-1998 (3/4” 007M3) 1998-Current (1/2” 007)
Check Cover Removal • Cover is o-ring sealed. • Loosen bolts ½”. Spring load is now released from the cover and retained by the check subassembly. • Verify spring load before removing all the bolts.
Check Valve Removal • Center stem guided check assembly. • Disc & spring subassembly. • Slide subassembly straight out of seat and body.
Check Seat Removal * 21/2-3” Seats removed by ¼ turn twist. • 4”-10” Seats secured by two retaining wires. Each wire 10” long. • Pull one wire clockwise / one wire counter clockwise. • Seats are o-ring sealed and pull straight out of body.
Check Disc Replacement • Remove retaining nut for sizes 21/2”-4”. • Remove allen head screws in retainer plate for sizes 6”-10”.